Thursday , 25 April 2024

Axial EXO Terra Build – Part 3 – Rear Gearbox/Suspension

CompetitionX Build Blog

Axial EXO Terra Build

The Build – Part 3
Part 3 revolves around the rear gearbox and suspension. This is a pretty straighforward build.

Build Notes:
The rear gearbox and suspension is much like the front. The same steps will apply.
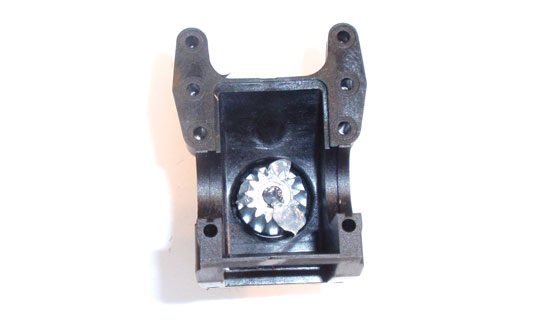
Axial EXO Terra Build - Step 31
Grab the second gearbox half that you built early on. If you didn’t put any grease on the input gear, do so now.

Axial EXO Terra Build - Step 32
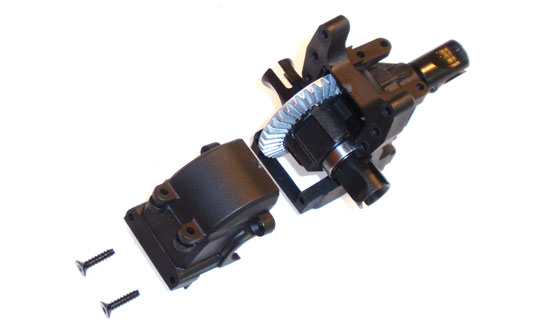
Insert the differential and attach the outer case half. Note the direction of the differential.

Axial EXO Terra Build - Step 33
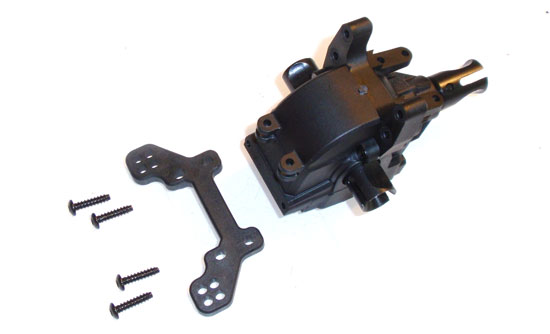
Attach the rear shock tower as shown.

Axial EXO Terra Build - Step 34
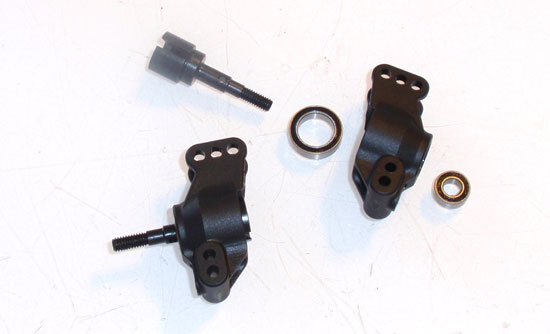
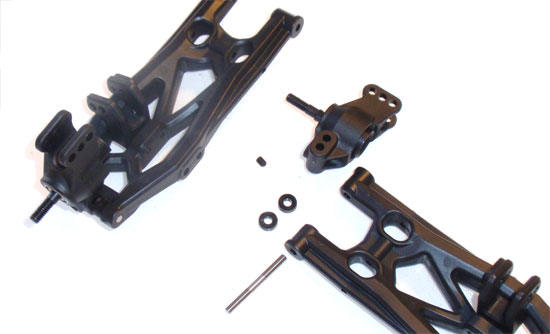
Assemble the two rear uprights by installing the bearings and outdrives. They uprights are the same on both sides so there is no need to worry about a left and a right piece. Don’t worry about attaching the dogbones; they’ll only get in the way. We’ll insert them later.

Axial EXO Terra Build - Step 35
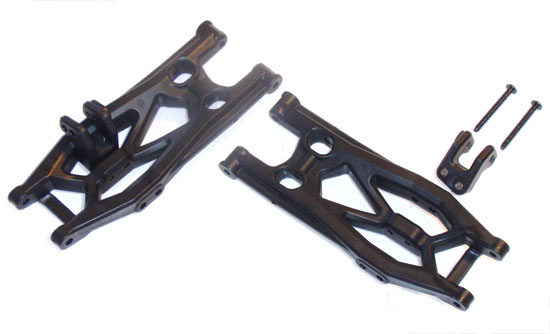
Attach the shock mounts to the rear suspension arms. Note the orientation; the piece should ‘curve’ towards the inside of the arm.

Axial EXO Terra Build - Step 36
Attach the rear uprights to the suspension arms. Make sure you install the spacers on the opposite side of the arm than the shock mounts.

Axial EXO Terra Build - Step 37
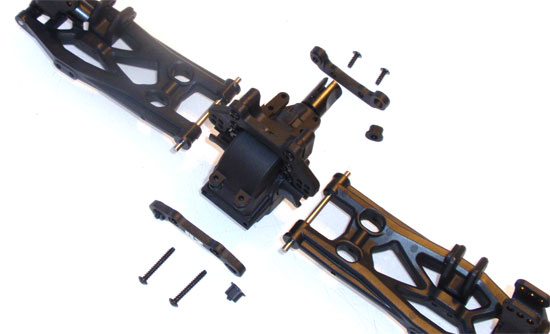
Press the hinge pin inserts into both arm mounts and attach the R2 hinge pin mount to the back of the gearbox. Slide the hinge pins through the arms and insert into the rear hinge pin mount. Align and attach the R1 hinge pin mount to the front of the rear gearbox and secure. Rotate the arms up and down to make sure there is free movement. You don’t want any binding in the suspension arms.

Axial EXO Terra Build - Step 38
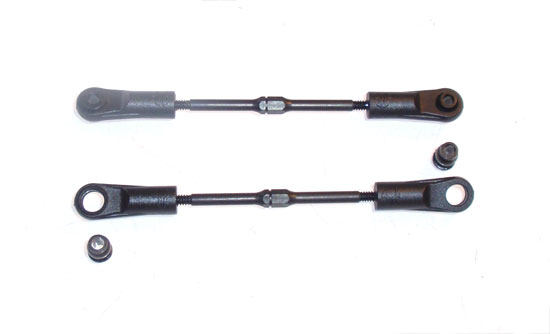
Build a pair of turnbuckles and insert the bushings. Axial’s 48mm setting is spot on.

Axial EXO Terra Build - Step 39
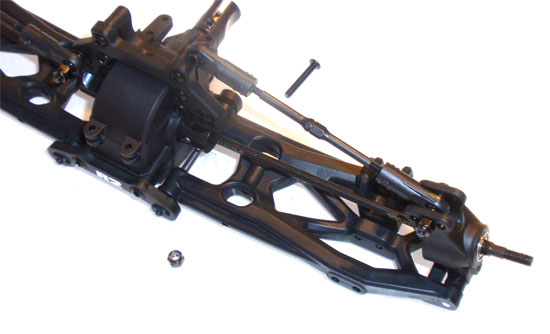
Attach one end of the turnbuckle to the upright. Slide the dogbone into place and attach the other end of the turnbuckle to the rear shock tower. Go ahead and use the attachment locations provided by Axial.

Part 4 – Assembling the center differential.
Back to the Axial EXO Terra Build List

About Tony Phalen

Tony Phalen - As an avid RC enthusiast, Tony has been building, bashing and racing RC Cars for over 30 years. He has participated in every kind of surface racing events - 1/18 scale trucks, 1/10 scale TC, Rock Racers, Rally - if it had wheels, he's raced it! He's also worked on both sides of the industry fence; collaborating with many major manufacturers (as well as being a sponsored driver) to working for a high-profile industry magazine. During this time he has learned many tricks, tips and techniques and is sharing that knowledge on CompetitionX - the most informative RC website on the internet!

Check Also

Injora Mud Paw 1.0 M/T Tires | CompetitionX

Injora Mud Paw 1.0″ M/T Tires | CompetitionX

Injora has announced a new set of 1.0″ M/T Tires for your tiny trucks – …