The Build – Part 2
The second part of the build will focus on installing the rear gearbox, belt drive and steering system. Pretty simple and straightforward, but there are a few key places to pay attention to.
Build Notes:
 Make sure you trim ALL the flashing off all of the parts you take off the parts trees. Even the slightest bit of extra material could affect the way the part works.
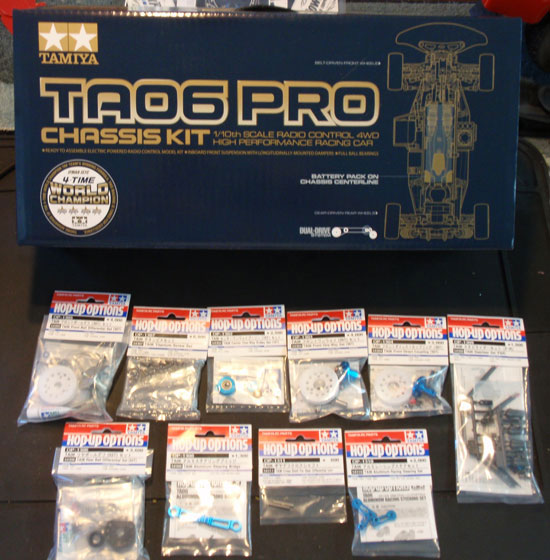
For electronics, I will be using a Savox Low-Profile Servo, Tekin RS ESC and Tekin motor. Radio system and batteries are still up in the air.
Look at the each step in the instructions CAREFULLY! There are a few times where, if you are scanning over them quickly, you will miss a shim. I had to go back and fix this once.
 Installing the rear gearbox is a piece of cake. It drops right in and almost locks into place. You can install the belt after you have it in the chassis…there is plenty of room.
 Install the ballstuds into the gearbox cap. Drop the cap and the spur gear guard into place.
 The complete rear gearbox. Four screws hold the cap in place, making removal for maintenance pretty simple.
 For this build, the stock plastic steering is being replaced by Tamiya’s optional blue aluminum setup. Pay attention to the direction of the center link (read the instructions that came with the steering parts).
 The completed steering. I would suggest a SMALL amount of threadlocking compound be placed in the screw and ballstud holes to make sure nothing comes loose.
 The IFS front suspension swing-arms go together pretty easily. NOTE: you will need to place TWO shims on each side. The illustration shows them but if you’re scanning quickly you might miss this step.
 Power is transferred to the front wheels via this pulley unit. NOTE: This is the 2nd spot where you will need to pay attention to the shims. They’re in the instructions but can be easily missed.
 The completed IFS caps, ready for install.
 Attach the belt to the pulley and drop in your completed pulley system into place. Two screws hold it in place.
 Tamiya sent over one of their TA06 Front Spools that I will be using for this project. This gives me awesome drive out of the corners and excellent brake control. Well worth the extra cash!
 Install the front belt on the pulley system and follow the directions here to install the front diff/spool. Make sure both belt-tension rings are placed the same on the bearings.
 Install the ball ends into the front diff cap and set into place. Four screws hold the cap in place.
 Part 3 – Assembling the front and rear suspension.
Back to the Tamiya TA06 Pro Build List