Thursday , 25 April 2024

Team Associated B44.3 Build – Part 10 – Electronics

Team Associated B44.3 Build – Part 10 – Electronics

The Build – Part 10
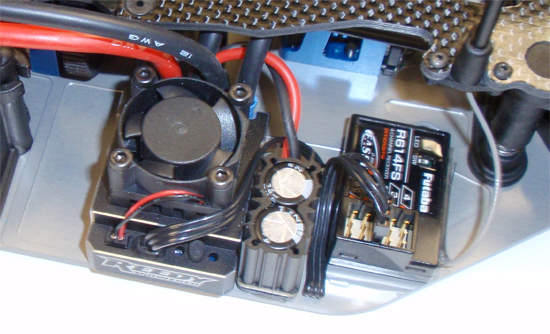
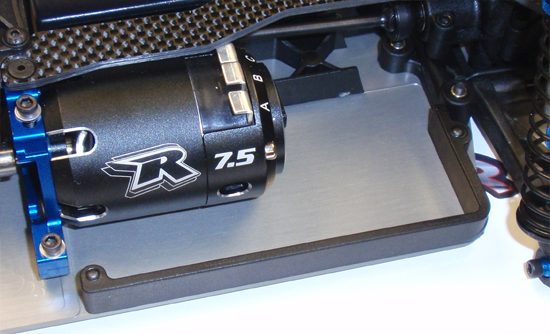
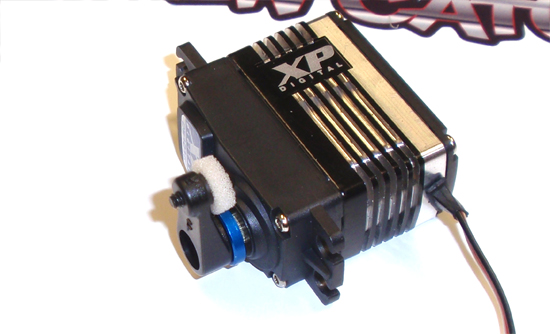
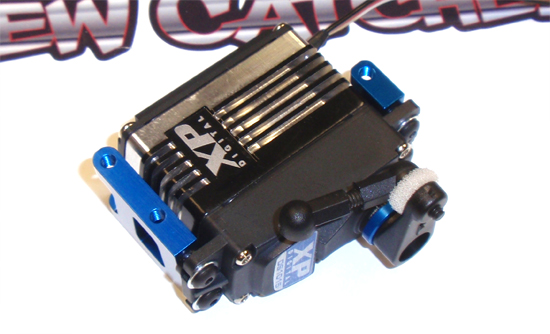
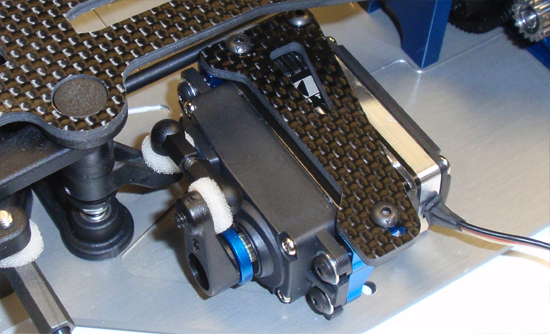
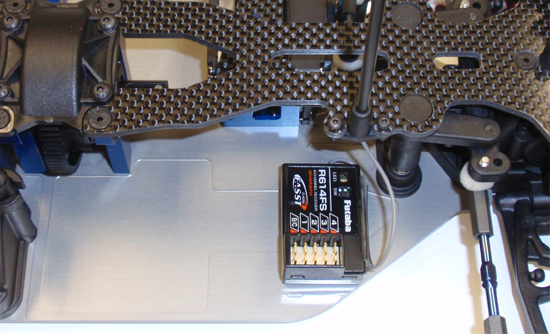
The final major step in the Team Associated B44.3 build is installing the electronics.

Build Notes:
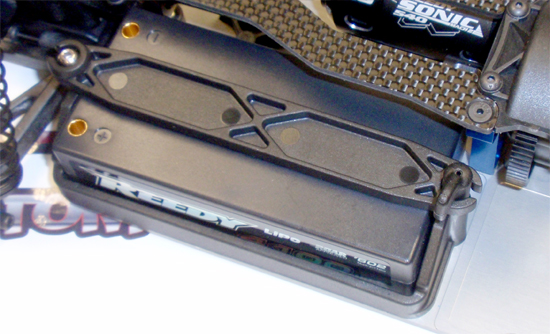
The B44.3 allows you to build the car using either a saddle-pack setup or a single shorty LiPo battery. I chose to use the single shorty so the build steps will reflect that.

I’ve included a few build items at the bottom of the list that I use that make electronics installation a whole lot easier. They include a quality soldering iron (with adjustable heat), a ‘helping hands’ soldering aid and a good roll of double-sided tape.

Team Associated B44.3 Buggy Build Step 119
Attach the left side rail as shown.

Team Associated B44.3 Buggy Build Step 120
Attach the battery cradle, ball joint and 4-40 set screw. Insert the battery and adjust the ball joint and set screw until the battery strap lays on top of the battery. Now install the battery strap lock and rotate it into place.

Team Associated B44.3 Buggy Build Step 121
Assemble the servo horn and attach it to the servo.

Team Associated B44.3 Buggy Build Step 122
Attach the floating servo mounts but do not tighten just yet. Assemble the servo drag link and pop it onto the servo horn.

Team Associated B44.3 Buggy Build Step 123
Attach the floating servo brace onto the servo mounts. A dab of threadlock should be used. Once secure, tighten the 4 servo mounts screws from Step 122.

Team Associated B44.3 Buggy Build Step 124
Attach the floating servo mount assembly to the chassis and pop the servo drag link onto the steering rack.

Team Associated B44.3 Buggy Build Step 125
Using a quality double-sided tape, stick the receiver to the chassis and route the receiver wire up through the antenna mount. Add the antenna tube and cap.

Team Associated B44.3 Buggy Build Step 126
Using a quality double-sided tape, stick the ESC to the chassis. The Reedy Blackbox uses external capacitors so those were also attached to the chassis. Feed your wires over to the battery (either above or below the top deck). Feed the motor wires over to the motor and solder into place. Don’t forget to attach the sensor wire.

That’s it. Super easy!


Team Associated B44.3 Buggy Build – Part 1 – Differentials
Team Associated B44.3 Buggy Build – Part 2 – Gearboxes
Team Associated B44.3 Buggy Build – Part 3 – Steering
Team Associated B44.3 Buggy Build – Part 4 – Suspension
Team Associated B44.3 Buggy Build – Part 5 – Center Bulkhead
Team Associated B44.3 Buggy Build – Part 6 – Top Decks
Team Associated B44.3 Buggy Build – Part 7 – Turnbuckles / Driveline
Team Associated B44.3 Buggy Build – Part 8 – Anti-Roll Bars
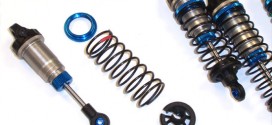
Team Associated B44.3 Buggy Build – Part 9 – Shocks
Team Associated B44.3 Buggy Build – Part 10 – Electronics
Team Associated B44.3 Buggy Build – Part 11 – Wheels, Tires and Body

Back to the Team Associated B44.3 Buggy Build List

About Tony Phalen

Tony Phalen - As an avid RC enthusiast, Tony has been building, bashing and racing RC Cars for over 30 years. He has participated in every kind of surface racing events - 1/18 scale trucks, 1/10 scale TC, Rock Racers, Rally - if it had wheels, he's raced it! He's also worked on both sides of the industry fence; collaborating with many major manufacturers (as well as being a sponsored driver) to working for a high-profile industry magazine. During this time he has learned many tricks, tips and techniques and is sharing that knowledge on CompetitionX - the most informative RC website on the internet!

Check Also

Injora Mud Paw 1.0 M/T Tires | CompetitionX

Injora Mud Paw 1.0″ M/T Tires | CompetitionX

Injora has announced a new set of 1.0″ M/T Tires for your tiny trucks – …