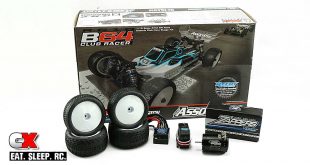
The Build – Part 1
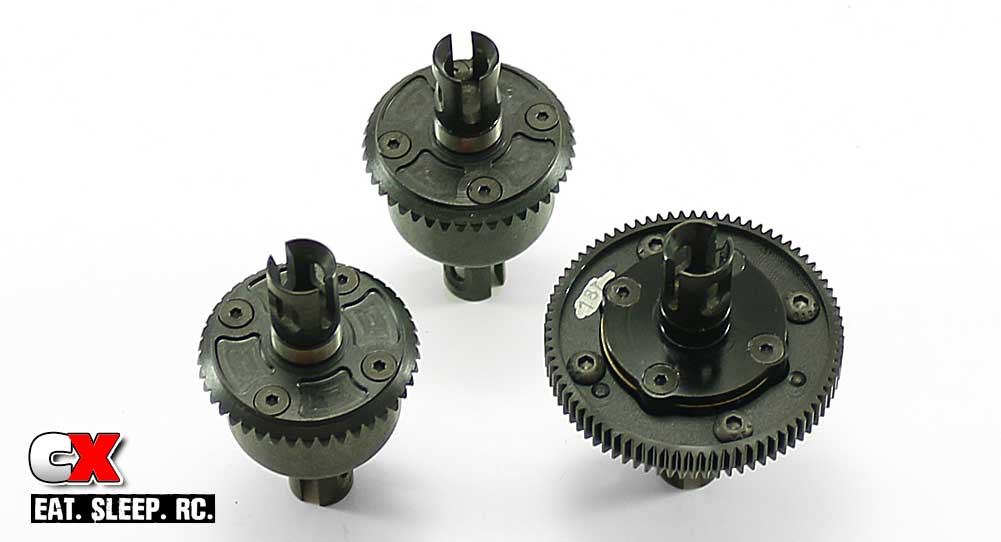
The Team Associated B64 Club Racer comes equipped with 3 planetary gear diffs; front, middle and center. It also comes with large bottles of diff fluid to fill them; 10K and 200K.
 The diff fluid can be a bit messy, especially the 200K. It’s extremely thick and difficult to work with; just be prepared with some spare towels on hand to clean up the mess.
 We will be showing the build of one diff – the front one – however, you can build the front AND rear together since they are both exactly the same.
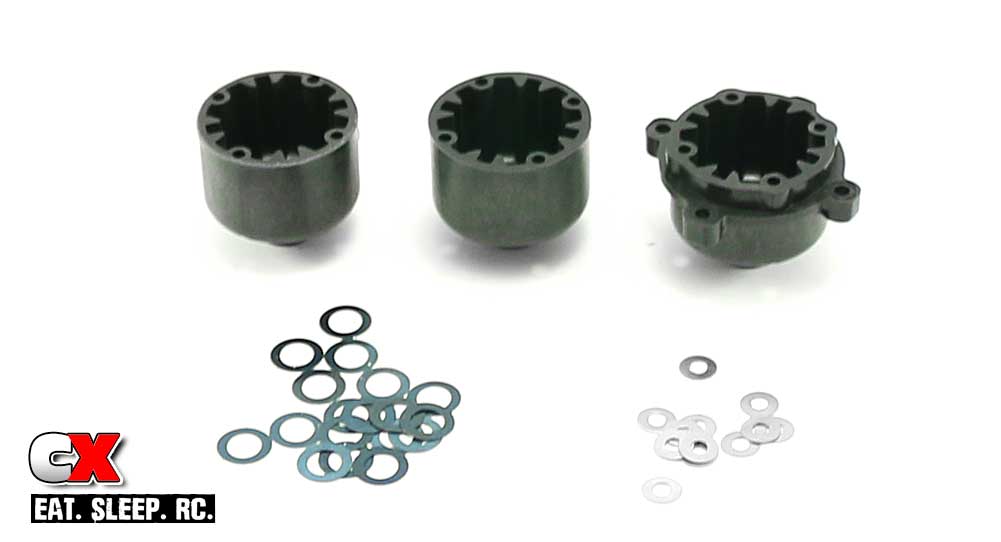
Our first order of business is to separate everything. There are two different gear cases – the two that are the same are for the front and rear diff, the odd one is for the center diff.
You’ll also notice two different sized shims; the black ones are for the input shafts while the silver ones go on the planet gears.
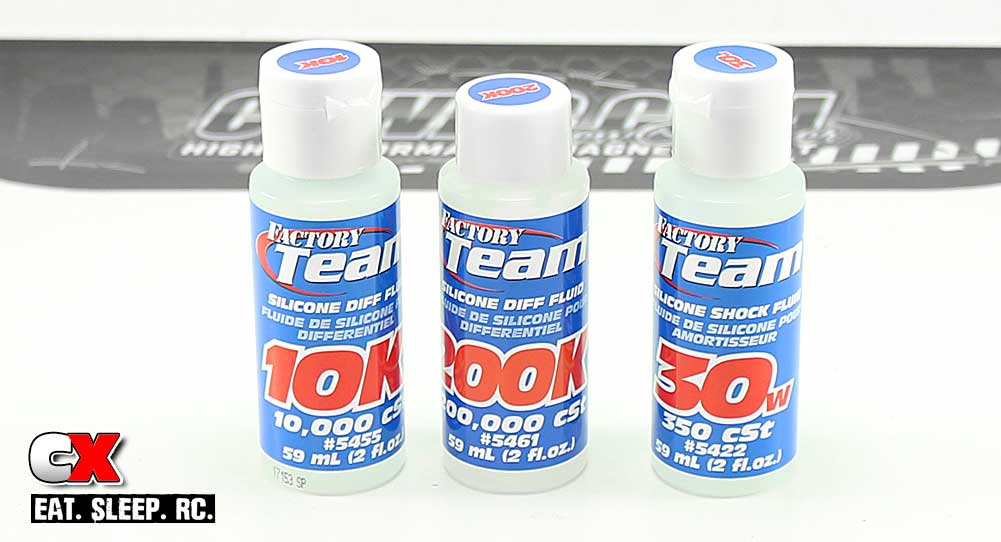
Here’s a look at the fluids included in the kit; 10K for the front and rear diff, 200K for the center diff and 30W for the shocks. Happy to see AE including their normal packaged fluids for future rebuilds.
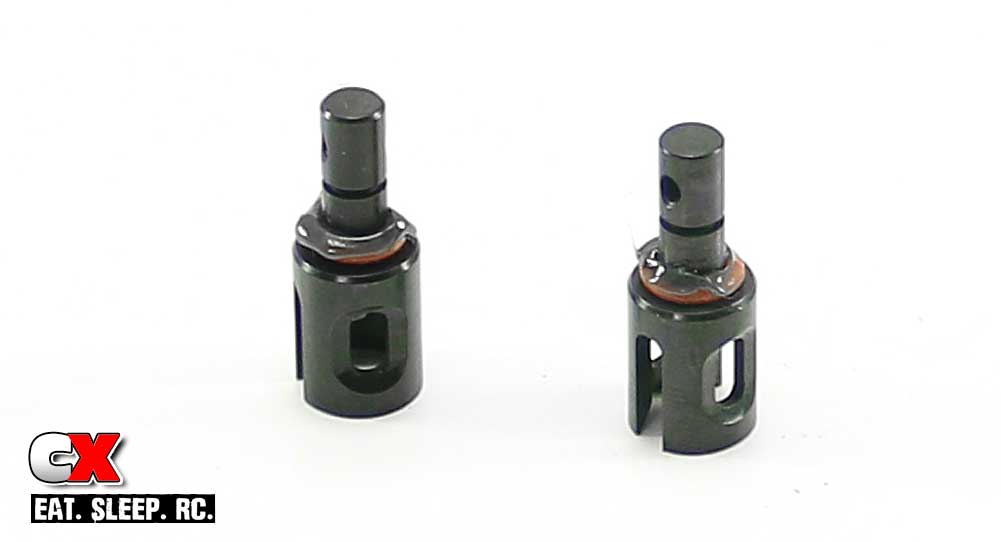
Alright, the first step is to locate the outdrives and slide a red o-ring over them as shown. Slab a liberal amount of grease onto the o-ring to protect it and help keep the seal when installed.
Slide one of the outdrives into the diff case. Drop three (3) black shims down over the outdrive as shown.
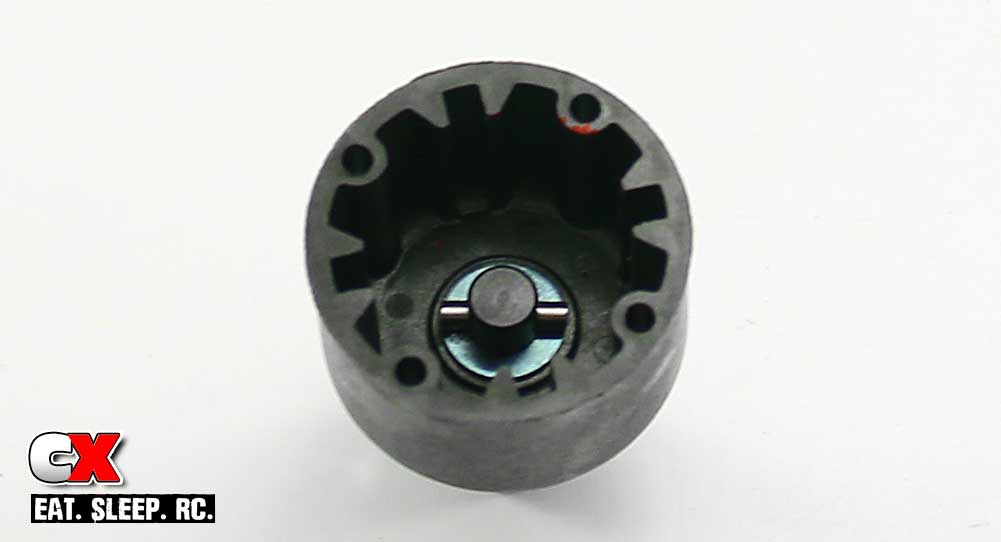
Slide the cross pin through the hole in the outdrive and center it. You may need to press the black shims down a bit to get the pin to slide through.
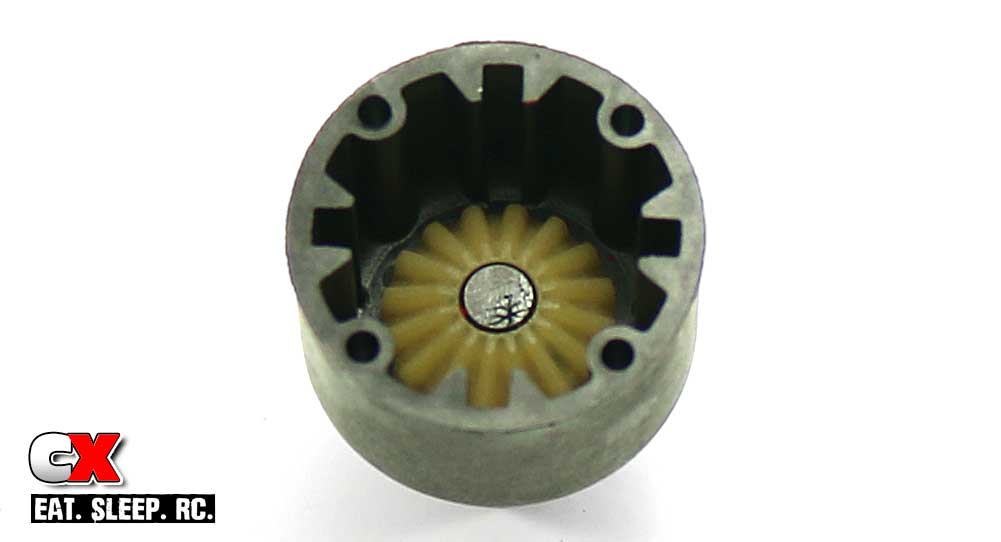
Grab one of larger sun gears and drop it into the case, keying the back of it to the cross pin. I like to use a little bit of black grease on the back side of the gear to keep it from becoming dislodged during handling.
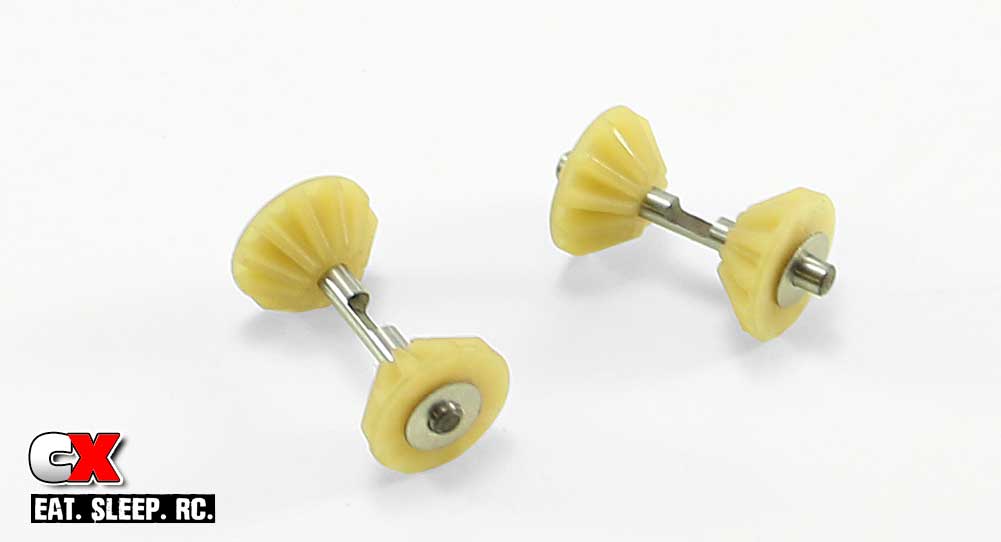
Assemble a pair of the smaller sun gears. Note the silver shims; ONE should be on the backside of each gear.
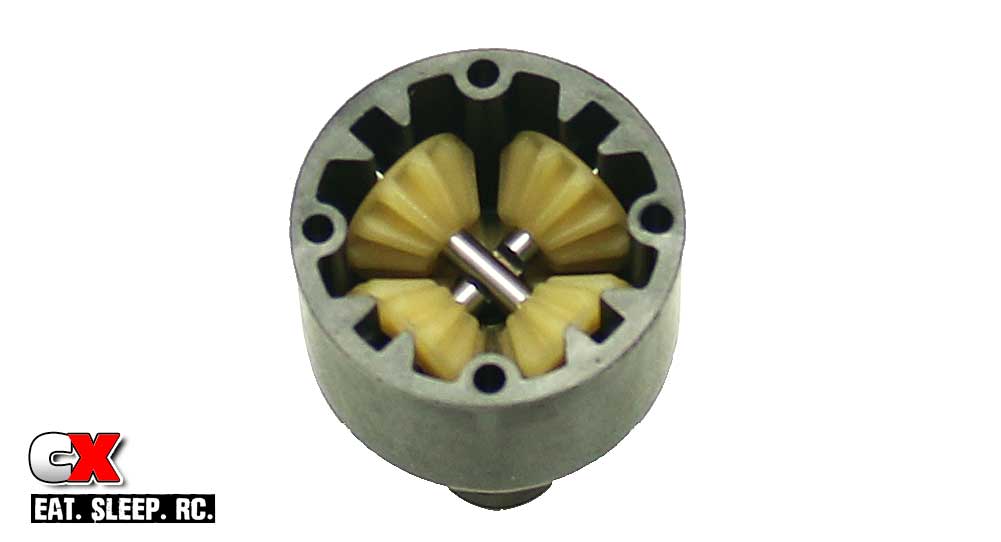
Slide one smaller sun gear assembly into the diff case, making sure the notch in the cross pin is facing up. Now slide the other smaller sun gear assembly into the diff case, making sure the notch in the cross pin is facing down. The two notches should mate up to each other.
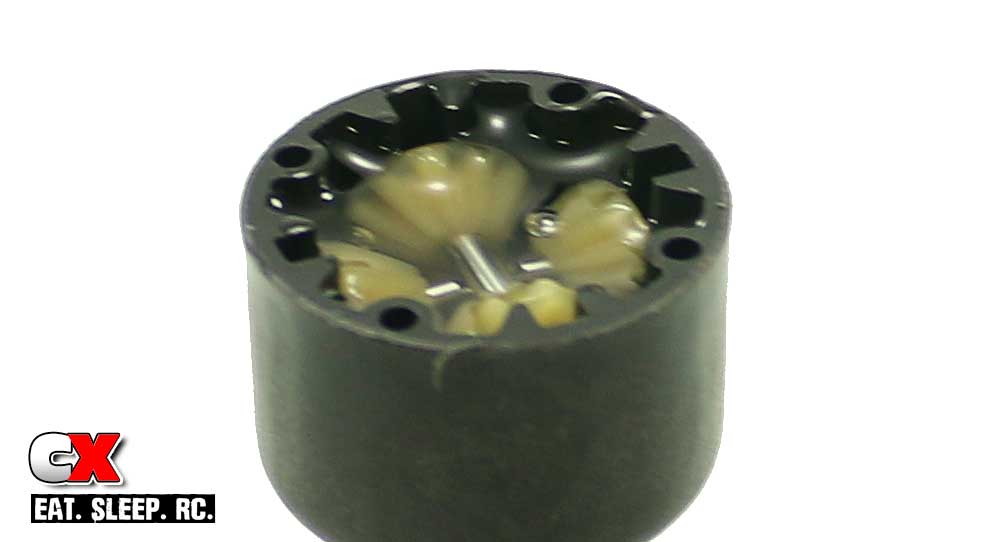
Fill your diff with 10K fluid until it’s to the top of the sun gears. Let it settle a few moments as it seeps down into the crevices and refill if necessary.
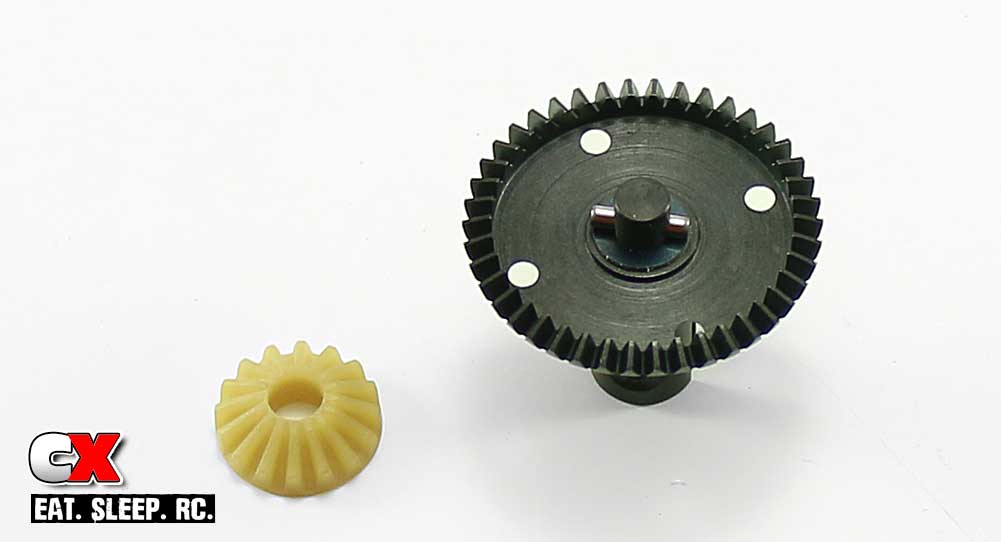
Moving to the other side of the diff, slide the other outdrive into the diff gear followed by 3 shims and the cross pin. Slide the larger sun gear into place, keying it to the cross pin.
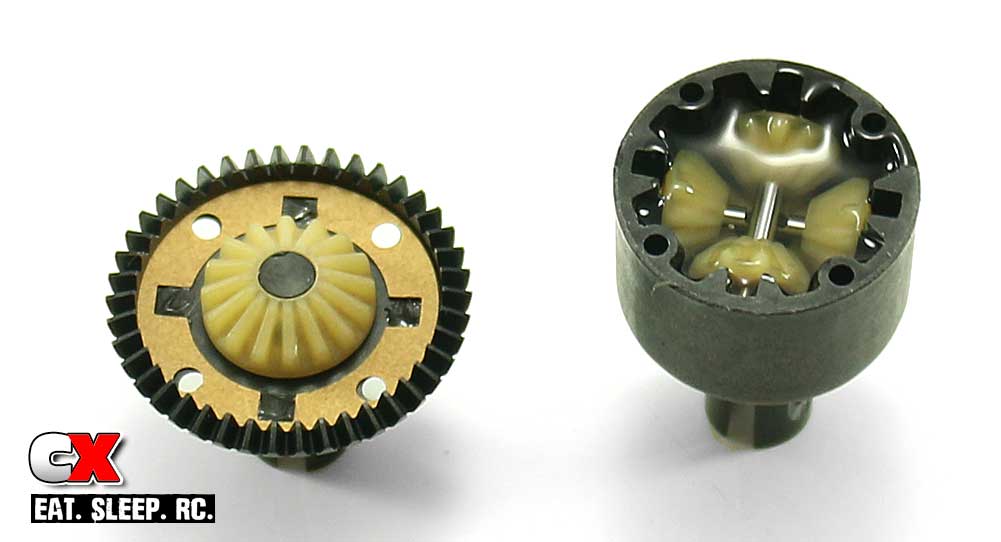
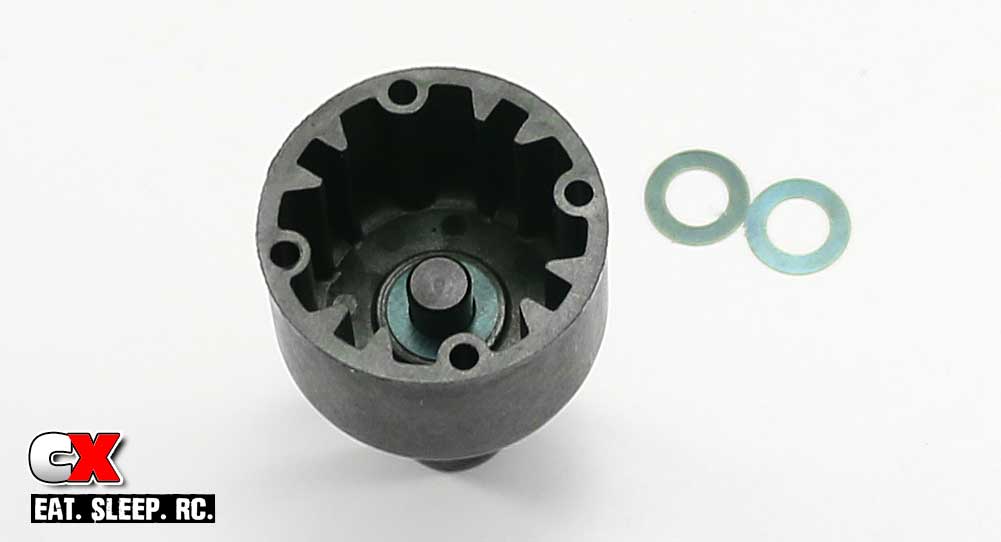
Take one of the diff gaskets and carefully drop it into place as shown. I like to add a very small drop of black grease to keep it located.
Mate the two halves together, making sure the screw holes line up and secure with the 2.5x8mm screws.
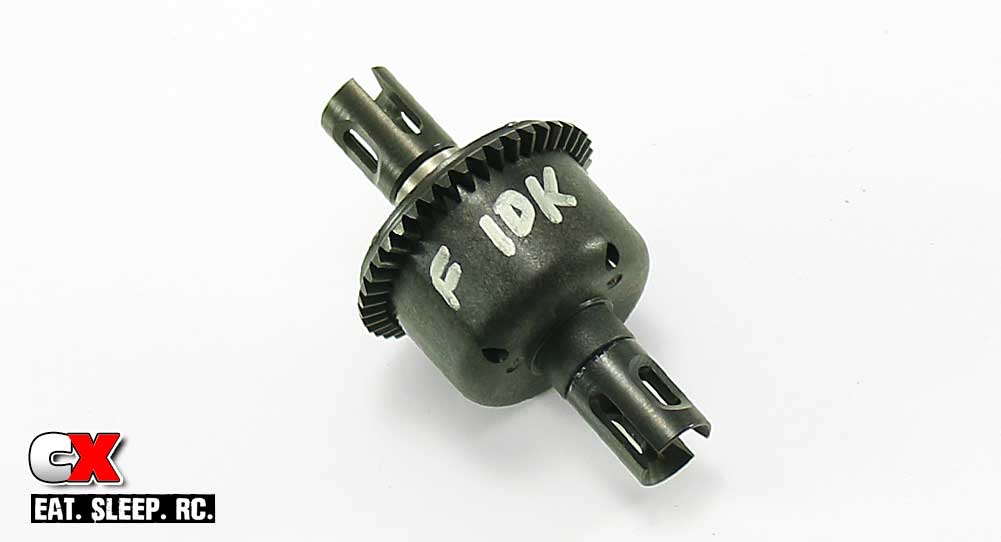
For later reference, I like to write on the outside of the diff the fluid weight. If you’ve built both the front and rear diffs together, add a (F) or (R) just in case you decide to tune the fluid at a later time.
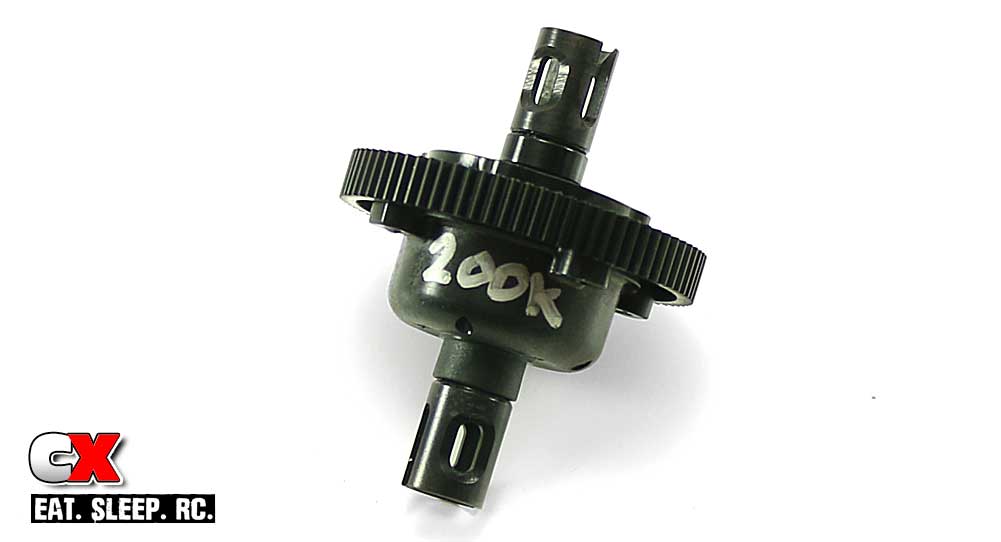
Following the same steps, build the center differential. The only added suggestion I have is to add some of the 200K to the diff prior to installing the pair of planet gear assemblies. Since it’s so thick, it takes a REAL long time seep down into the gears. Applying some early will cut down the wait time.
Now that you’re done with the diffs, take a few moments to clean off any excess fluid from the outside. Set them aside and let’s move on to Part 2 – the Chassis.
Team Associated B64 Club Racer Build – Opening Page
Team Associated B64 Club Racer Build – Part 1 – Differentials
Team Associated B64 Club Racer Build – Part 2 – Chassis
Team Associated B64 Club Racer Build – Part 3 – Steering
Team Associated B64 Club Racer Build – Part 4 – Front Bulkhead
Team Associated B64 Club Racer Build – Part 5 – Front Suspension
Team Associated B64 Club Racer Build – Part 6 – Servo
Team Associated B64 Club Racer Build – Part 7 – Rear Bulkhead
Team Associated B64 Club Racer Build – Part 8 – Rear Suspension
Team Associated B64 Club Racer Build – Part 9 – Turnbuckles
Team Associated B64 Club Racer Build – Part 10 – Shocks
Team Associated B64 Club Racer Build – Part 11 – Electronics
Team Associated B64 Club Racer Build – Part 12 – Body, Wheels and Tires