The Build – Part 2
Part 2 of our Team Associated F6 build revolves around the steering and servo install. This car accepts both standard and forward mounted servos as well as a long or short bellcrank option. Graphite upper and lower arms are used as well.
 This is the first step where graphite parts will be used; if you want to give your F6 a little more professional feel, check out our video explaining how to prep and seal your graphite parts: How To: Prep and Seal Carbon Fiber / Graphite Parts
 There’s alot going on with this front end, so pay close attention to the direction of the parts. I’ve been building for a long time and even I messed up on a couple of them.
Many of these steps feature screws going into aluminum parts; I highly suggest blue threadlocker when attaching these. Typically I would tell you at each step, but that would get a bit redundant. It’s now in the notes.

Step 1 is easy; attach the 4 suspension arm standoffs to the chassis.
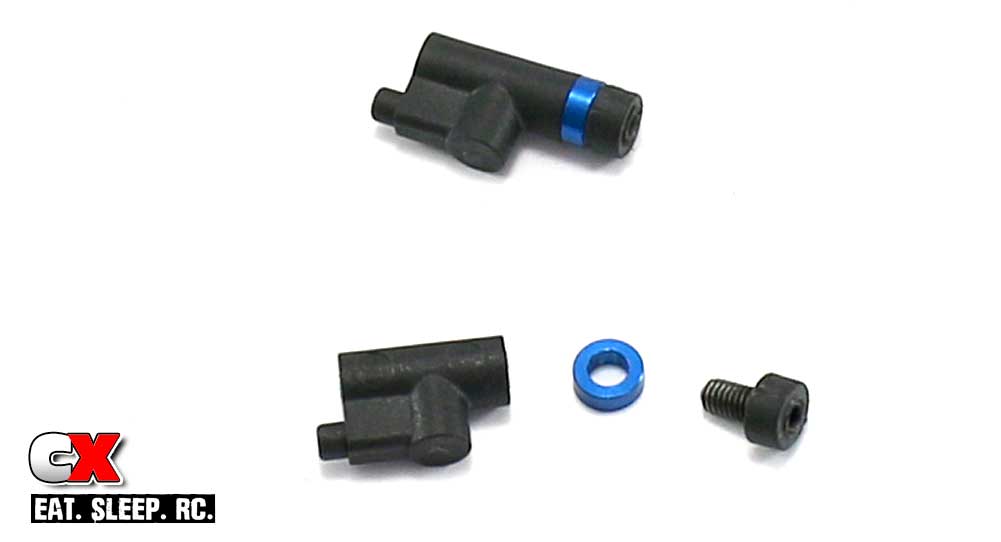
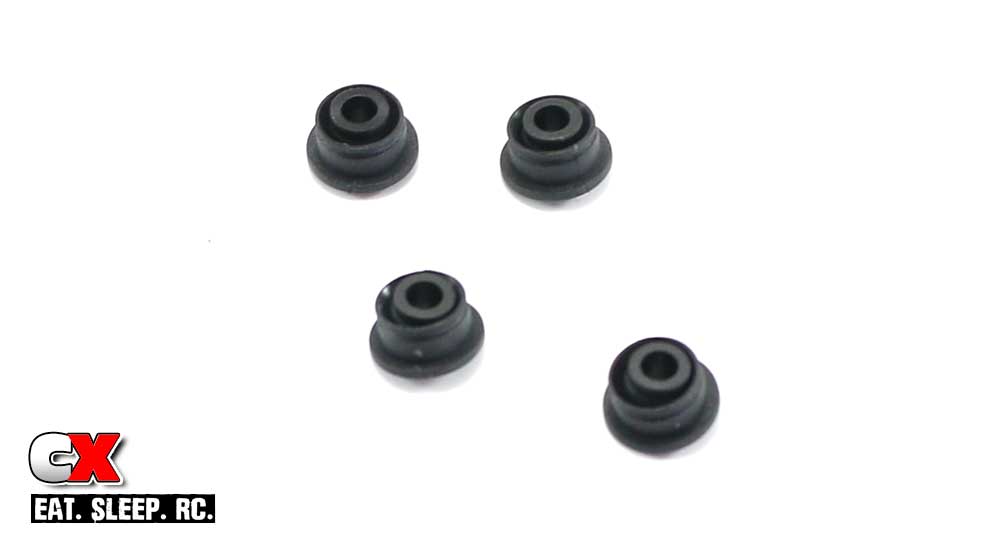
Assemble the steering stop/droop buttons. For those of you that want to be super precise (onroad car – you should be), thread the set screw just past the top of the button, then remove any flashing.
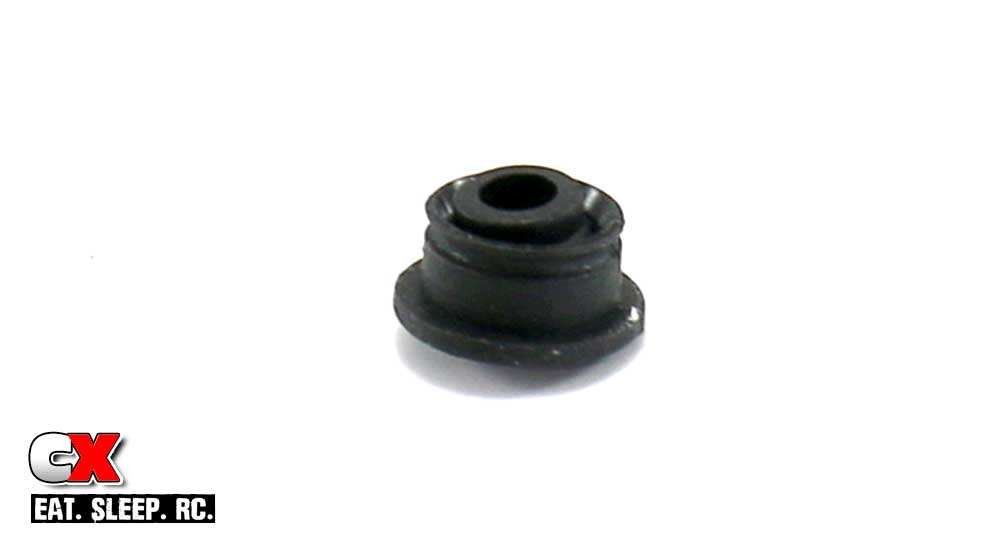
If you already opened all the bags, you’ll find the 2 suspension arm pivot balls that are different from the rest. If you havent’ done so yet, find them now before you snap the wrong ones in place. The correct ones have an extended lip on only one side; the others have extended lips on both sides.
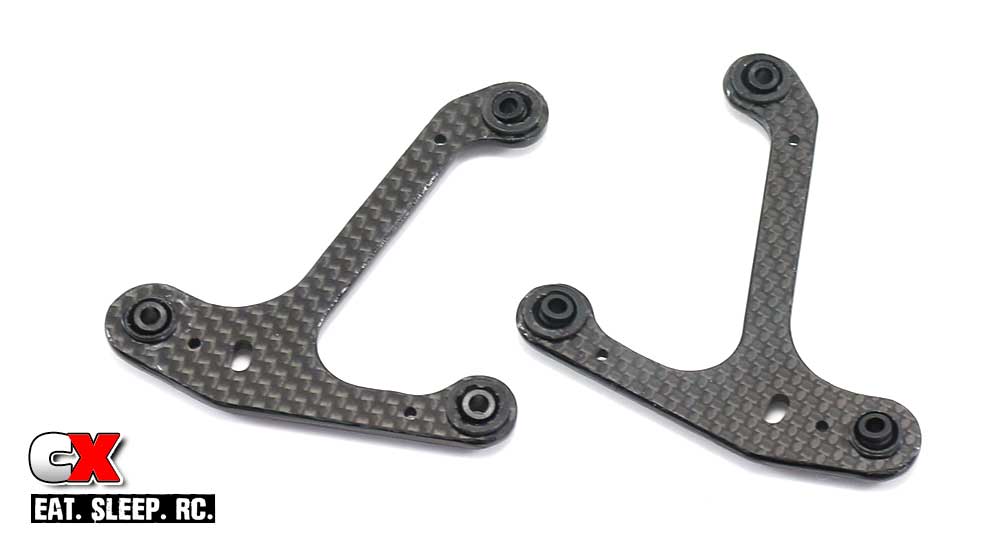
Press the pivot ball assembly into the arms as shown. They may be a little tight, that’s ok. Don’t sand away any material to make them fit or you’ll have a very sloppy suspension setup.
Once pressed through, slide the o-ring over to lock the bushing in place. If needed, use your fingernail to press the o-ring deeper into the grooves.
The manual also give the option to glue these in place; I wouldn’t suggest this just yet in case you assemble them incorrectly.
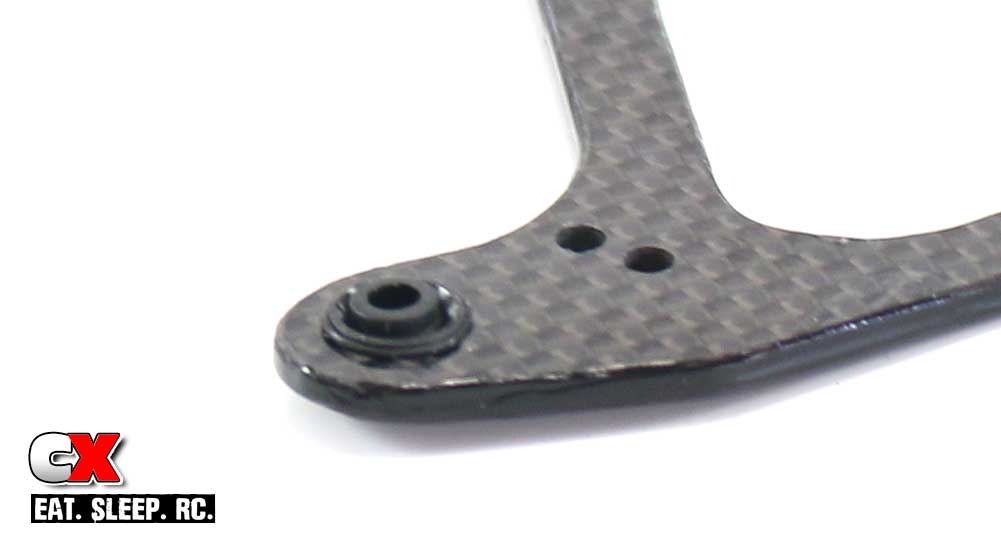
Attach the steering stop/droop assembly on both lower suspension arms.

Attach the lower suspension arms to the standoffs as shown. Note the orientation of the steering stops.
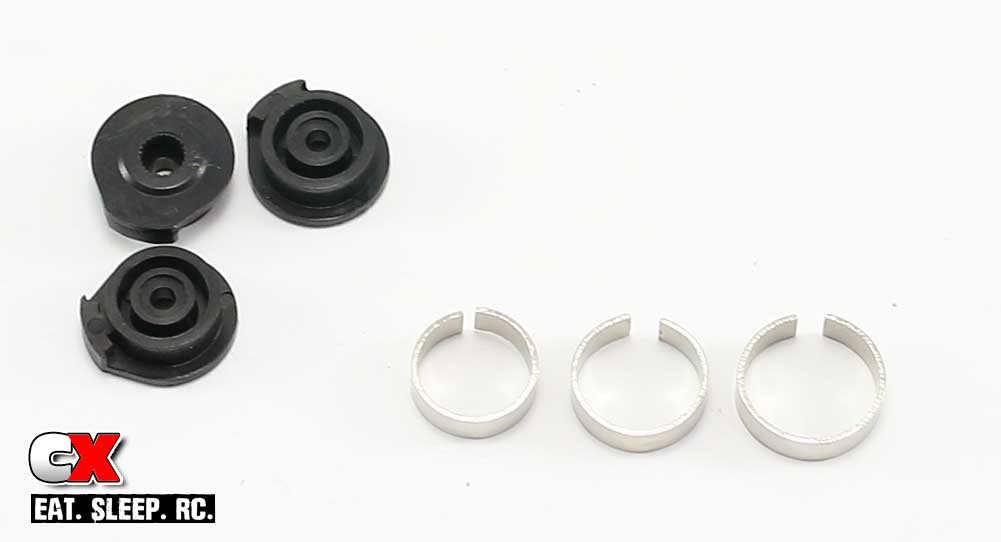
The servo saver on the F6 is not incorporated into the bellcrank but attached straight to the servo itself. It uses 3 steel clamps off different sizes.
Before assembling them, make sure you choose the correct horn for your servo. Unfortunately the horns are not marked, so you’ll have to test fit them to your servo to find out which one you need.

A look at the completed servo saver and steering arm. I left this unassembled so you could get a better look at how it all goes together.
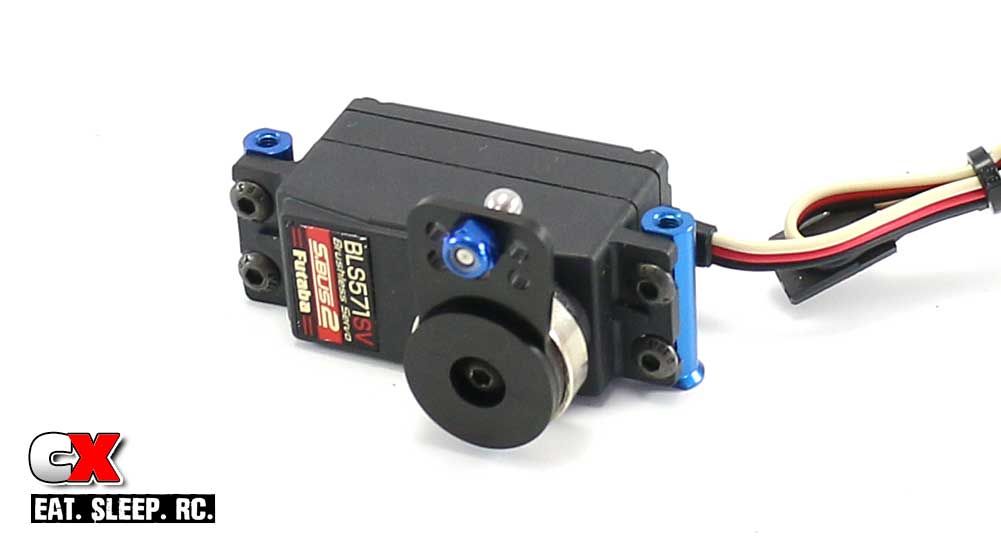
The F6 requires the use of a shorty servo. If you don’t have one, you’ll need to get one otherwise it will extend off the chassis (in the standard location) or be too tall in the forward location. I’m going with Futaba’s BLS571SV S.Bus servo – small, fast and plenty powerful.
Attach the assembled servo saver to the servo. Also at this time, go ahead and attach the servo mounts as well, however don’t tighten them down all the way just yet. Note the longer one with the ‘foot’ goes to the right.
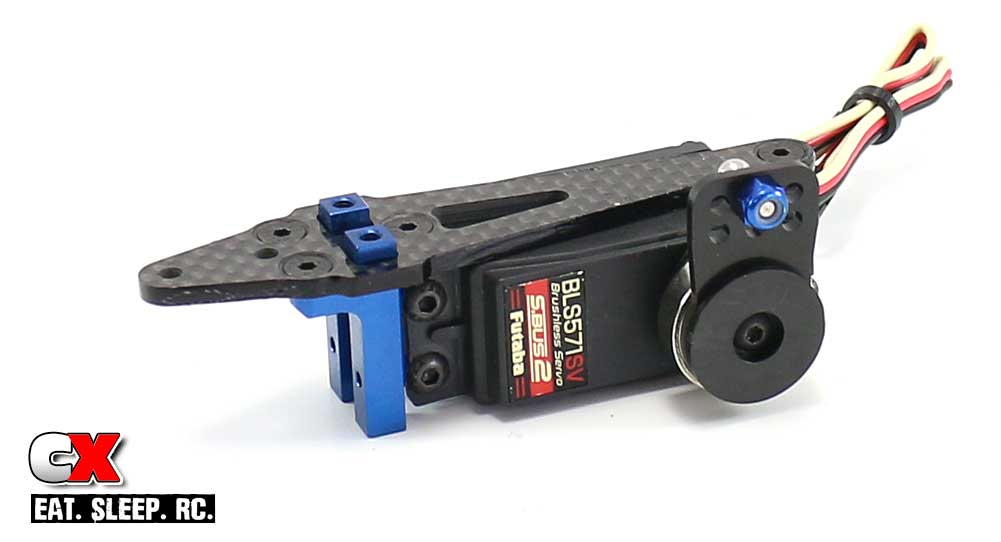
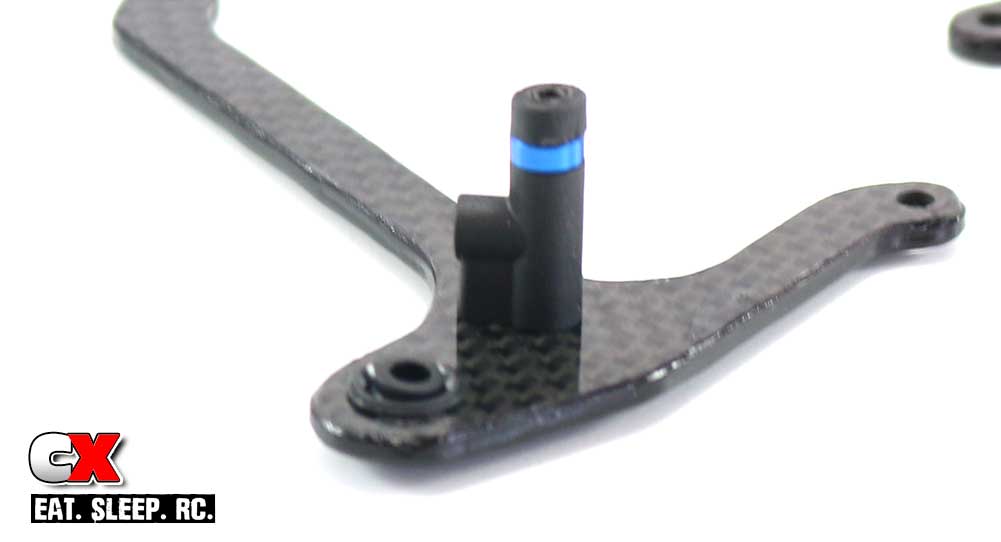
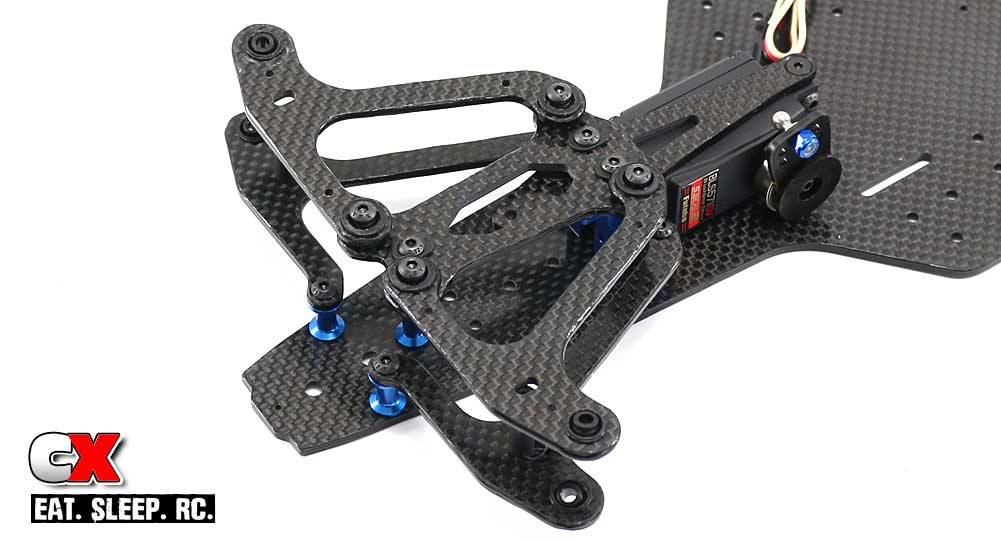
Attach the graphite top plate to the aluminum front bulkhead, then attach that assembly to the servo standoffs.
This step had me stumped for a few; note the bulkhead poking up through the graphite mount. Instructions weren’t too clear here but got it figured out.
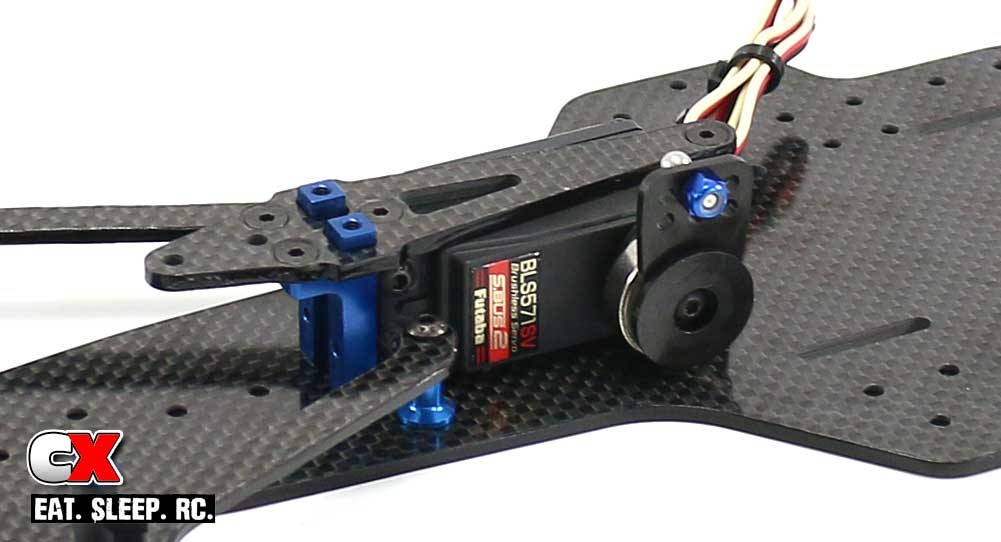
Place the servo assembly onto the chassis and secure with the 3 3x6mm screws. You can tighten up the screws from Step 9 at this point as well.
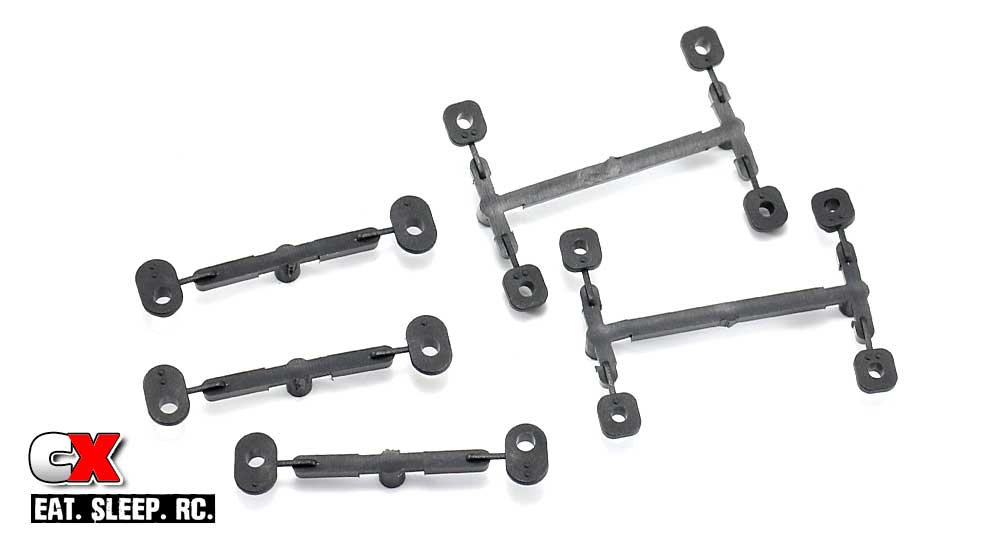
These are the plastic inserts you’ll use to tune the front suspension on the F6. They press into another graphite front top plate.
Remove the 4 1-dot square inserts and the 3 1-dot oval inserts. Clean any flashing off of them.
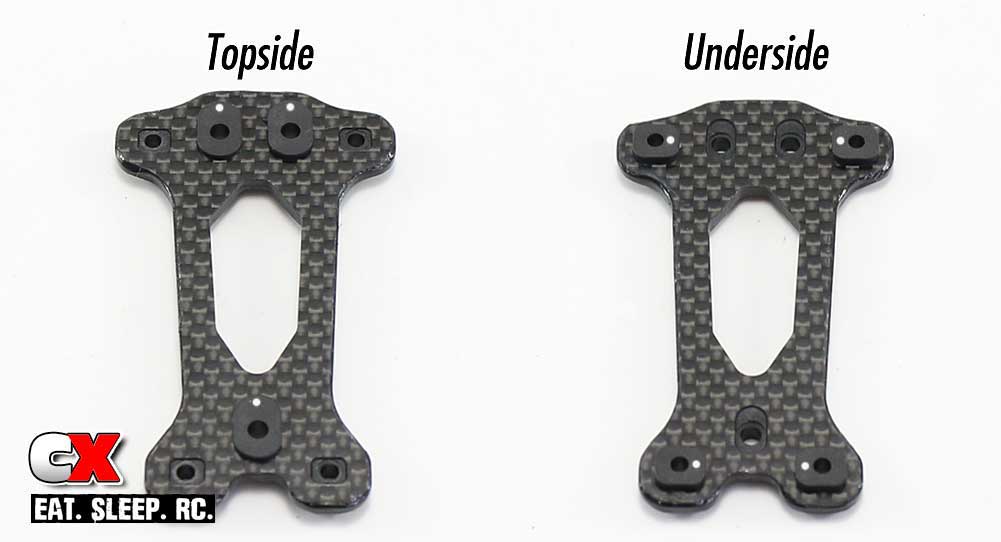
Press the inserts into place as shown. I’ve colored the dots and show both sides to make it easier to note their position.
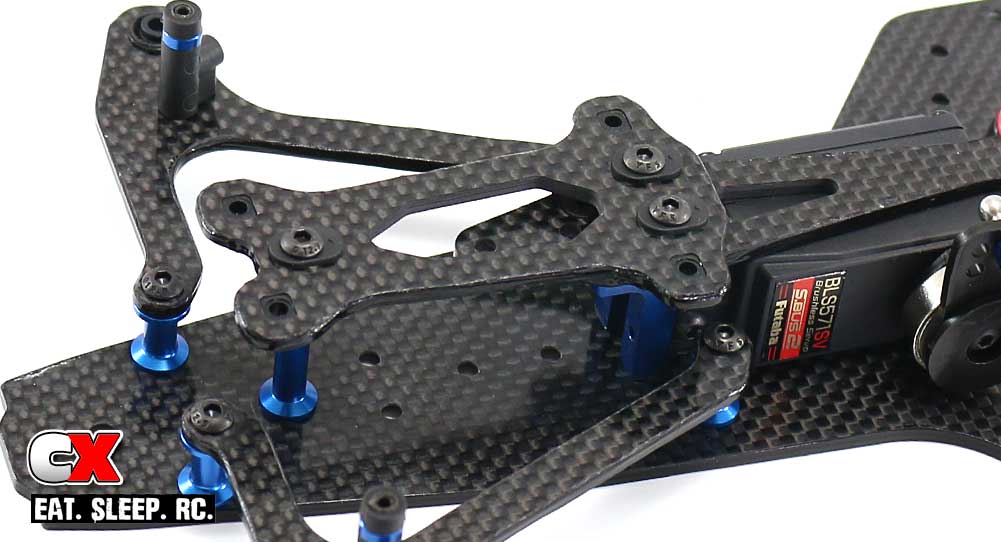
Attach the top plate to the chassis. The screws go through the plastic inserts first so slowly tighten by hand so you don’t strip the plastic.
Make 4 more of these inserts using the plastic balls with extended lips on both ends.
Press them into the graphite upper suspension arms like you did the lower ones.
Note, however, that they are pressed in differently! The 2 on the ‘legs’ press in from the top; the 3rd is pressed in from underneath.
Screw the upper suspension arms in place. The screws go through the plastic inserts so slowly tighten by hand so you don’t strip the plastic.
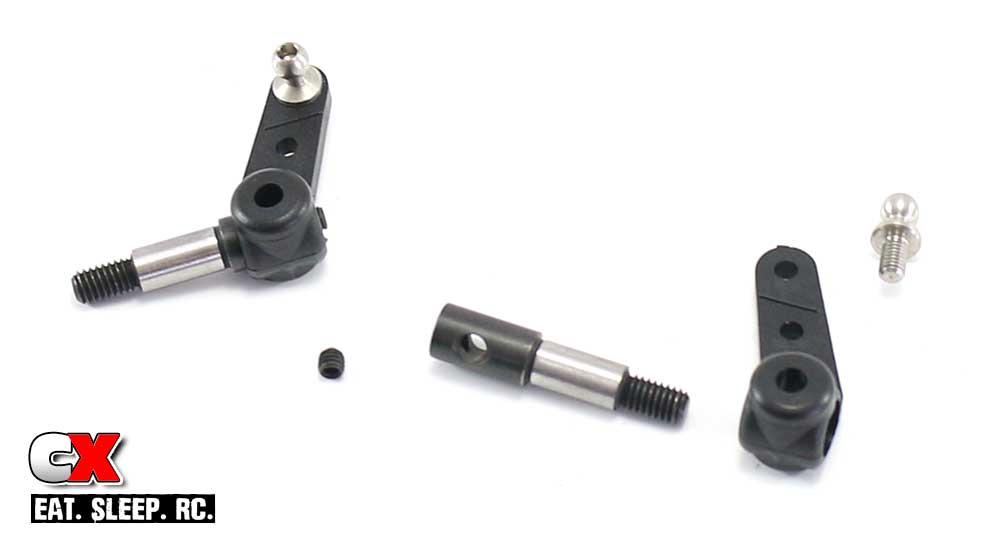
Build a pair of steering arms; insert the setscrew into the axle (only a very short way) and press the axle through the plastic steering arm. Finally, feed the ballstud into the steering arm.
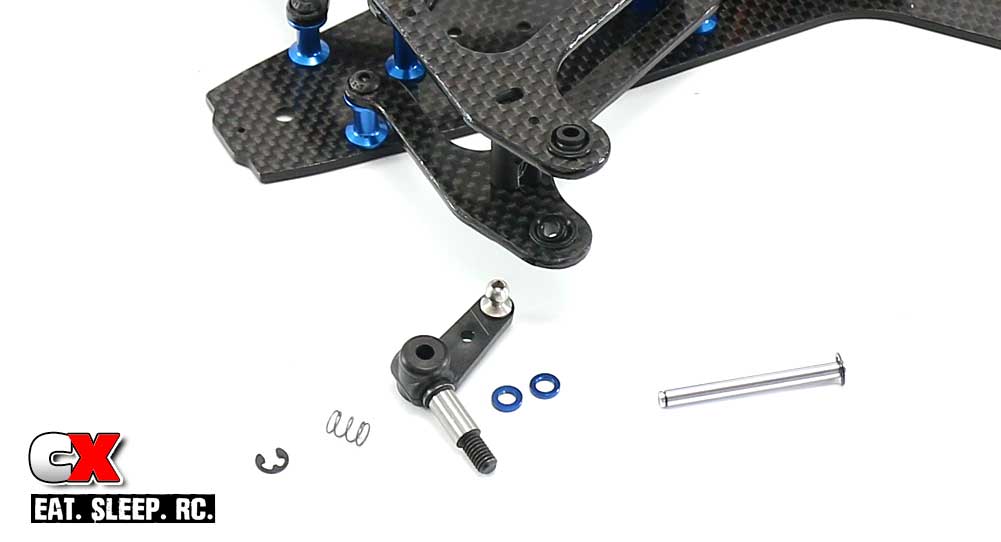
Before we get to the final assembly of the steering, we need to do a little prep work first.
The first thing is to slide the kingpin through the steering arm assembly. The axle and arm holes need to line up perfectly; waiting to do this during final assembly can cause a lot of 4-letter words to exit your head. Prepping it now will help.
Pre-compress the suspension spring a few times with your fingers. Snap an e-clip onto one end of each kingpin.
Ok, start by applying a drop of two of the 10K fluid to the kingpin, using your fingers to spread it around evenly. Now insert the kinpin through the top of the suspension arm, the 2 1mm blue washers, the steering arm assembly and the suspension spring. Capture everything with the lower e-clip.
If the 10K fluid got wiped off, you can apply more at this time.
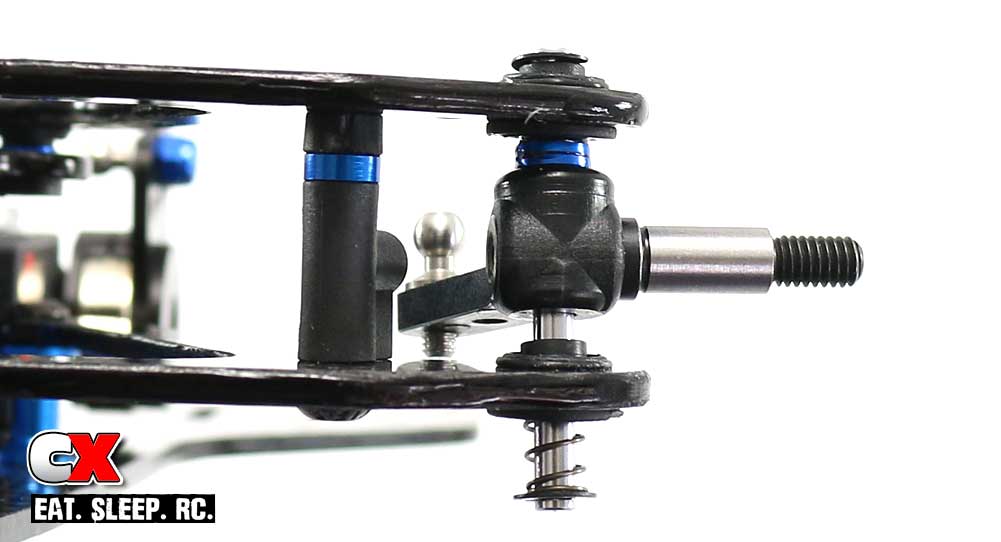
The last step is to set the gap between the bottom of the steering arm and the lower suspension arm. Use the manual to set it properly and lock the steering arm to the kingpin using the setscrew in the back of the axle.
Whew, that was a pretty long step. But, the front end is done and looking good! Let’s get to the bellcrank system.
Team Associated Factory Team F6 Build – Opening Page
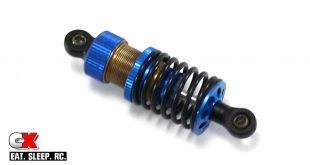
Team Associated Factory Team F6 Build – Part 1 – Shock, Damper Tubes & Turnbuckles
Team Associated Factory Team F6 Build – Part 2 – Front Suspension & Servo
Team Associated Factory Team F6 Build – Part 3 – Steering
Team Associated Factory Team F6 Build – Part 4 – Rear Suspension
Team Associated Factory Team F6 Build – Part 5 – Rear Axle
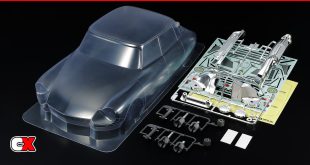
Team Associated Factory Team F6 Build – Part 6 – Wings
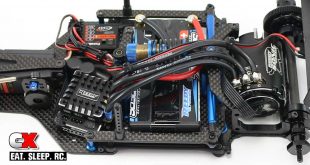
Team Associated Factory Team F6 Build – Part 7 – Electronics

One comment
Pingback: Team Associated Factory Team F6 Formula 1 Build - Part 7 - Electronics