

How to Change RC Battery Connectors
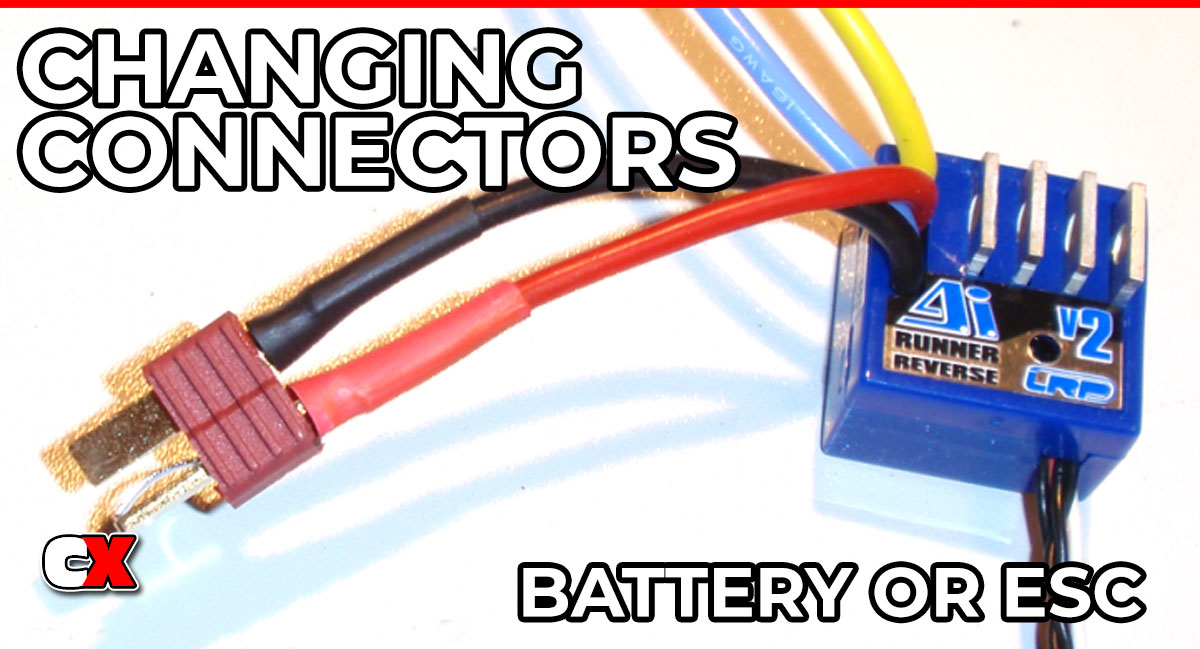
At some point in the RC hobby, you’ll run into a simple but frustrating problem – your battery and ESC don’t use the same connector.
One might have a Deans plug, while the other uses XT60, EC3 or a proprietary connector (thanks Traxxas). You can use an adapter, but that’s not the best long-term solution. Adapters add resistance, create extra heat and introduce another failure point.
The better option is to change the connector so everything matches.
The good news? This is a basic skill that every RC hobbyist can learn. The first time you accomplish it, you’ll use this skill for years across all your vehicles.
In this guide, you’ll learn how to safely change connectors on your battery or ESC, plus what to watch out for, common mistakes and pro tips to get it right the first time.
Why Change RC Connectors?
There are a few common reasons to swap connectors:
• Compatibility: Your battery and ESC use different plug types
• Performance: Direct connections reduce resistance compared to adapters
• Standardization: Use one connector type across all your vehicles
• Reliability: Fewer connection points mean fewer failures
Adapters work in a pinch, but if you’re serious about your setup, swapping connectors is the better solution.
Common RC Connector Types
Before you start, it helps to know what you’re working with.
I have another article here on CompetitionX that outlines the most popular connectors used in RC. Visit this article for more info.
Before You Start
Tools You’ll Need
• Soldering iron or station (60W+ recommended)
• Solder (rosin core – IMPORTANT)
• Heat shrink tubing
• Wire cutters/strippers
• Helping hands (optional but helpful)
Skill Level
Beginner to intermediate
Time Required
10–20 minutes
Safety Tips (Read This First)
Working with RC batteries – especially LiPo – requires attention.
• Never cut both wires at the same time
• Work on one wire at a time to avoid short circuits
• Double-check polarity before soldering
• Keep positive and negative wires separate at all times
A simple mistake here can damage your electronics instantly – or worse.
How to Change RC Battery and ESC Connectors
Step 1: Remove the Old Connector
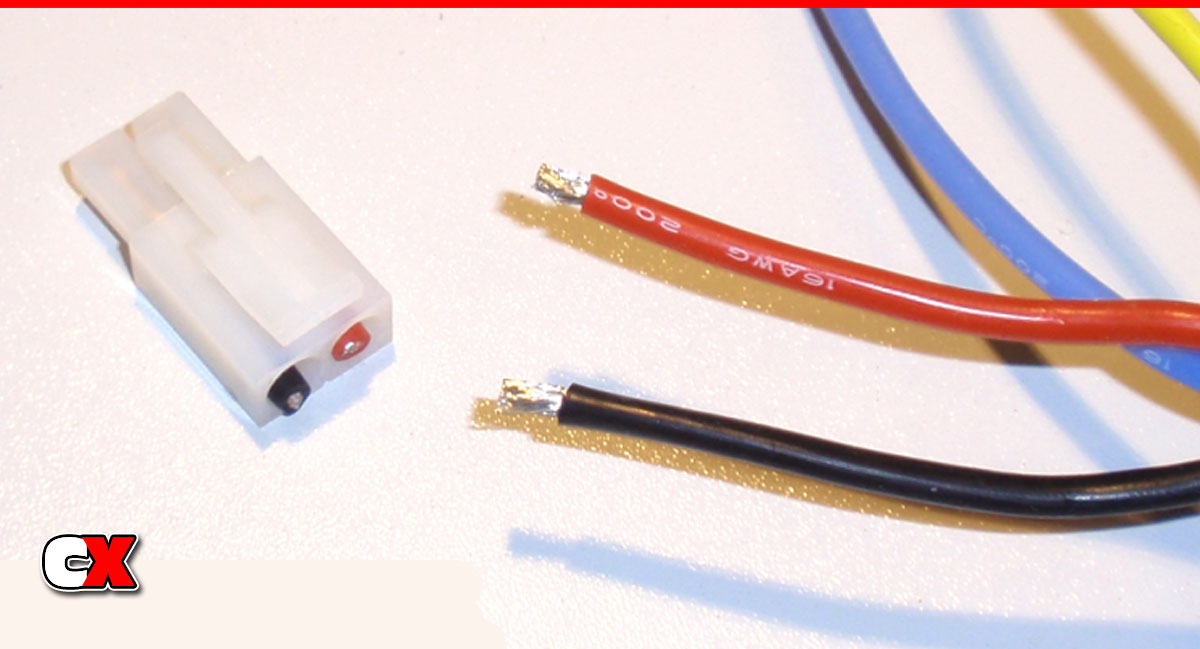
The connector pictured is extremely common and referred to as a Tamiya connector, one of the most widely used connectors in RC.
Snip that connector off and toss it in the trash. Take your scissors (or hobby knife, or whatever) and trim a small amount of the shielding off of both wires as shown. If you are working on a battery, trim the shielding off of one wire and fold it out of the way before working on the second wire. DO NOT LET THE EXPOSED WIRES TOUCH! If there’s a concern, wrap a piece of tape over the wire and proceed to the second wire.
Step 2: Strip and Tin the Wires
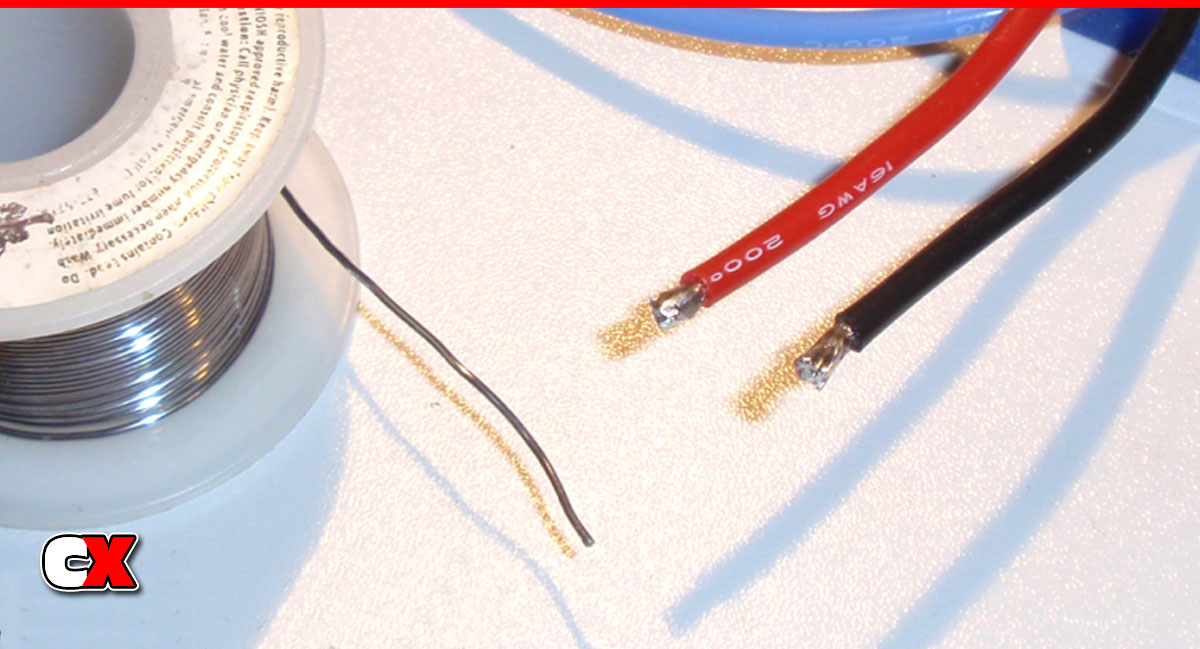
Tin both wires with a little bit of rosin-core solder as shown. Make sure to coat the wires completely.
Pro Tip: Pre-tinning makes the final connection attach easier.
Step 3: Prep the Connector
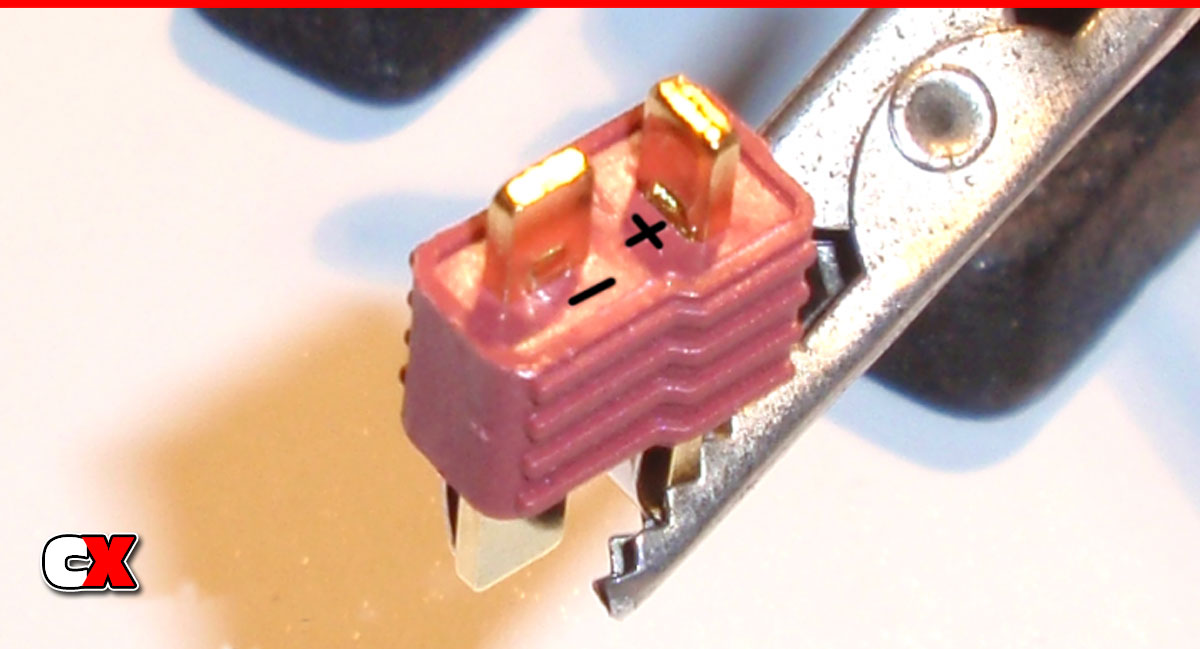
All high-end connectors have the positive and negative terminals designated on the connector itself. You want to inspect the connector carefully to make sure you’re solding to the correct terminals. This Deans-style connector has the + and – near the tabs. I’ve highlighted them in black so you can see them better.
Step 4: Tin the Connector
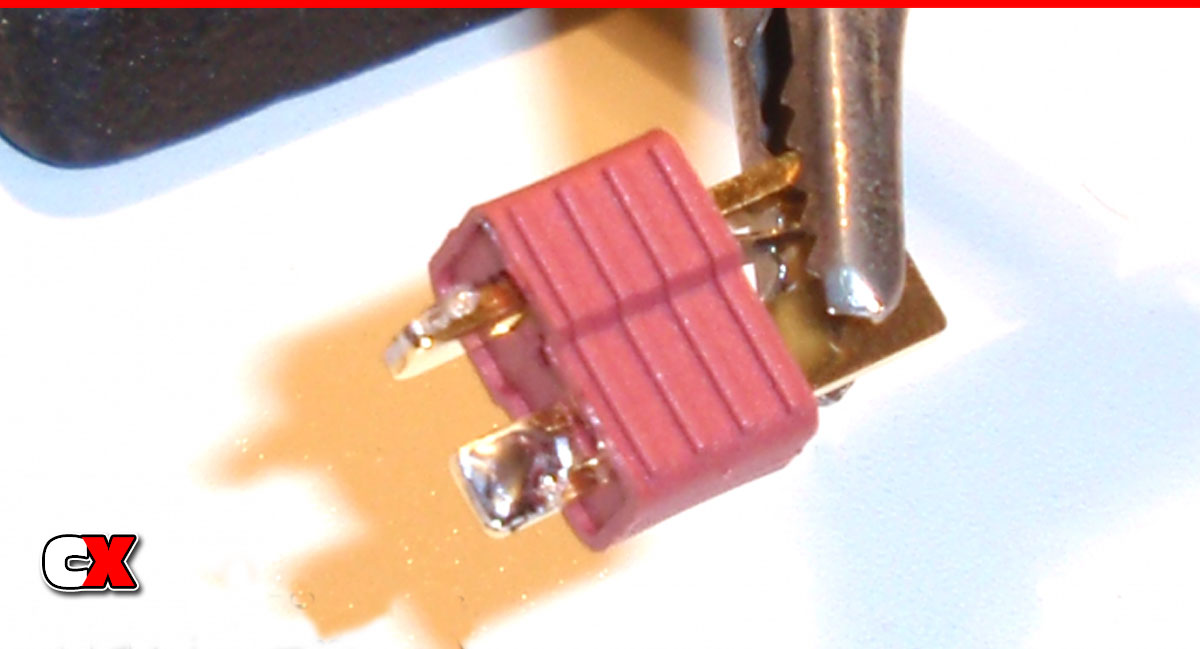
Apply a small amount of solder to the tabs on the connector.
Step 5: Solder the Wire to the Connector
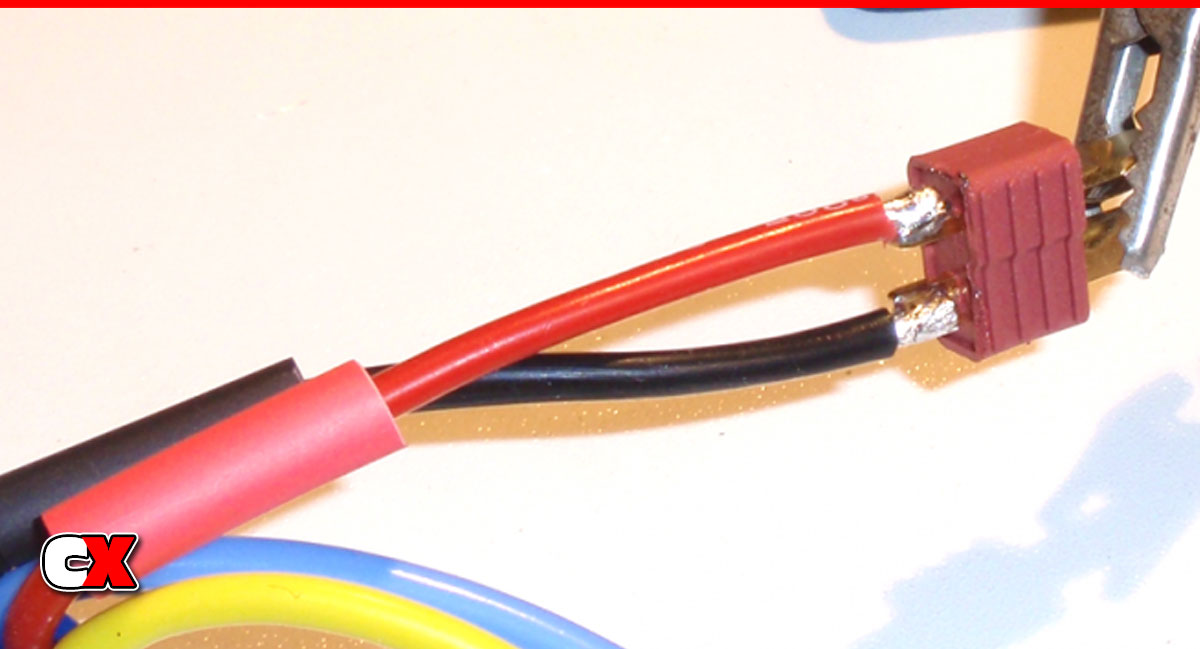
Slide a piece of shrink tubing onto each wire, then carefully solder each wire to the new connector.
Again – make sure you attach the red wire (or positive wire) to the + terminal and the black wire (negative wire) to the – terminal. Using your handy Hobby Tools Helping Hands Soldering Aid to hold onto the wires (and connector) makes it much easier!
Important: Match the polarity correctly. I can’t stress this enough.
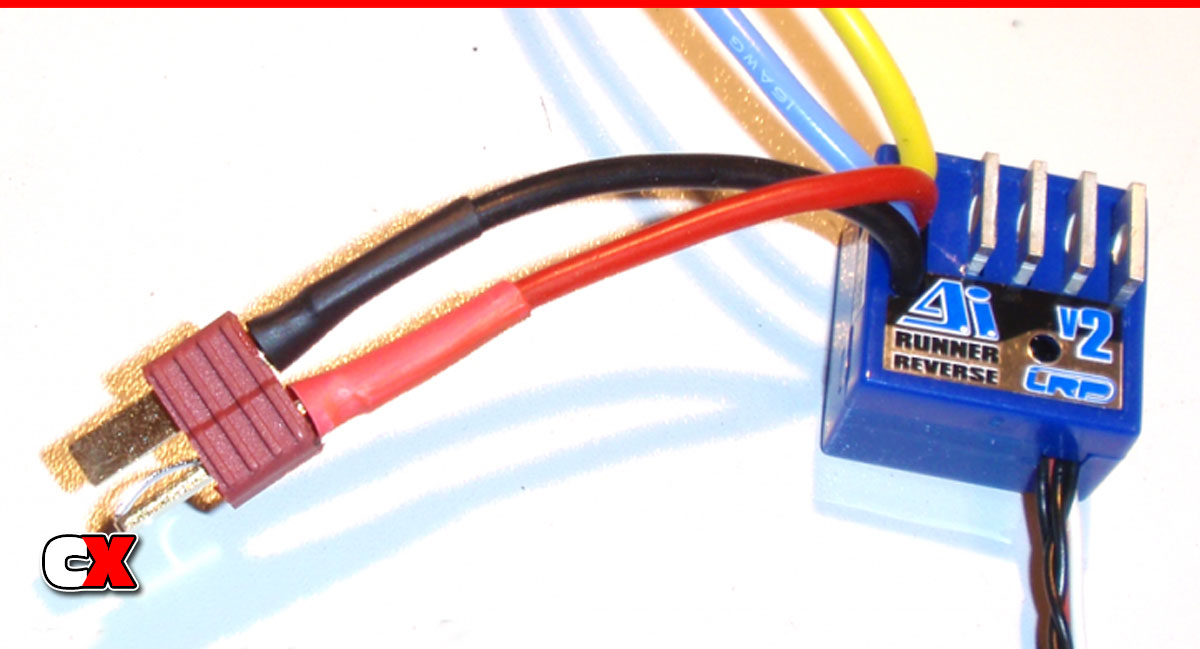
Slide the tubing down and over the connector terminal and use a heat source to shrink it to size. You can use your soldering iron, lighter or even a hair dryer. Just be careful not to burn yourself.
Common Mistakes to Avoid
Even experienced RC drivers mess this up occasionally.
Reversing polarity
This can instantly destroy your ESC or battery
Cold solder joints
Weak connections that fail under load
Forgetting heat shrink
Exposed wires can short out
Overheating the connector
Can melt plastic housings
Cutting both wires at once
High risk of short circuit
Pro Tips for Better Results
• Use a high-watt soldering iron (60W or more)
• Pre-tin everything before final soldering
• Use flux for cleaner joints
• Keep connectors plugged together while soldering to prevent warping
• Work quickly to avoid overheating components
FAQ
Q: Can I use an adapter instead of changing connectors?
A: Yes, but adapters add resistance and can create heat. Direct connections are more efficient and reliable.
Q: What is the best RC battery connector?
A: There isn’t a single best option, but XT60 and XT90 are widely used because they are durable and handle high current well.
Q: Is it safe to solder directly to a LiPo battery?
A: Yes, as long as you’re careful. Always cut and work on one wire at a time and avoid shorting the leads.
Q: What happens if I reverse polarity?
A: Reversing polarity can instantly damage your ESC, battery or both. Always double-check before soldering.
Q: How do I choose the right connector?
A: Match your ESC connector or standardize one type across all your vehicles.
Q: Why is my connector getting hot?
A: This usually means high resistance caused by a poor solder joint or a connector that isn’t rated for your setup.
Q: Can beginners change RC connectors?
A: Yes. With basic soldering skills and patience, this is one of the easiest and most useful RC skills to learn.
Related Articles
What Does C Rating Mean on a LiPo Battery?
LiPo Battery Safety

