
How to Set Your RC Slipper Clutch
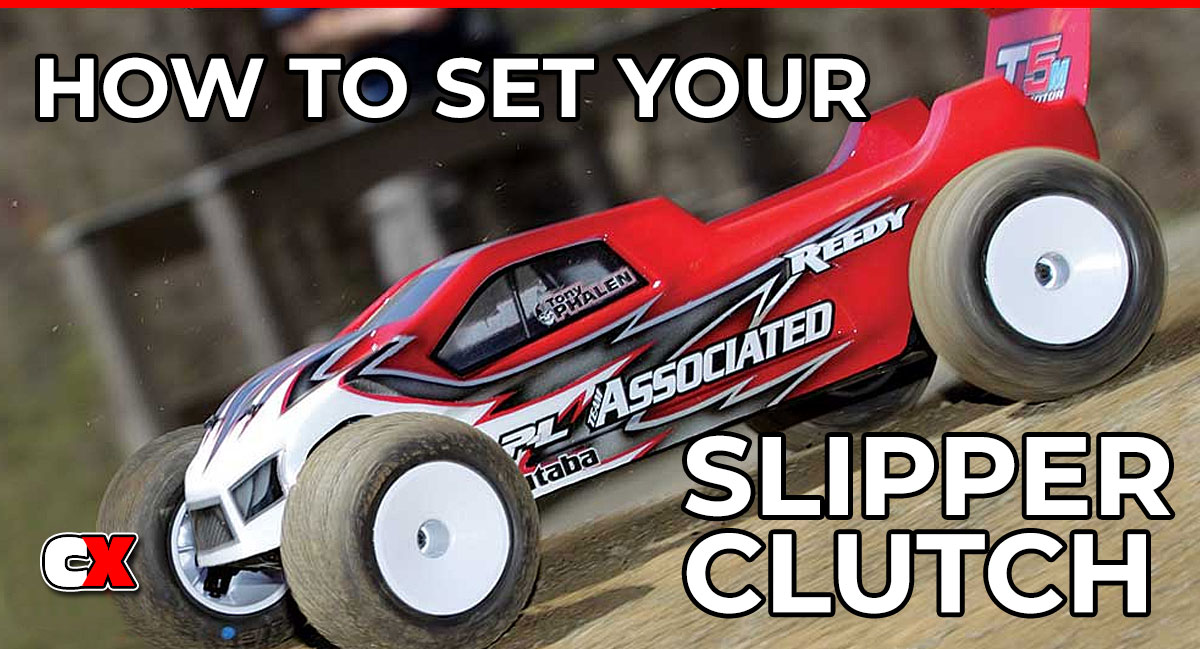
What Is a Slipper Clutch?
A slipper clutch is a small but critical part of your RC car’s drivetrain. It is connected to the spur gear and allows controlled slipping between the motor and the wheels.
Instead of sending 100% of the motor’s power instantly to the drivetrain, the slipper clutch absorbs shock during acceleration.
This matters because electric motors deliver power instantly. Without a slipper clutch, that sudden burst can potentially damage drivetrain components.
In simple terms, the slipper clutch:
• Protects your drivetrain
• Smooths out acceleration
• Improves traction on loose surfaces
Why Slipper Clutch Adjustment Matters
Getting your slipper clutch set correctly affects how your car drives more than most beginners expect.
Here’s what happens depending on your setting:
Too Tight
• Instant, aggressive acceleration
• Increased risk of stripped gears
• More stress on drivetrain parts
• Harder to control on loose surfaces
Too Loose
• Sluggish acceleration
• Loss of top-end efficiency
• Excessive heat buildup
• Reduced responsiveness
Correct Setting
• Smooth, controlled launches
• Better traction
• Improved durability
• Consistent performance
A properly set slipper clutch gives you both performance and reliability.
How the Slipper Clutch Works
The slipper clutch uses friction pads pressed against the spur gear. A spring and nut apply pressure to these pads. When torque exceeds the set limit, the clutch slips instead of transferring all the force. The tighter the nut, the more pressure is applied, and the less it slips.
Many setups use dual pads for better durability and smoother engagement .
Tools You’ll Need
Before you begin, gather the following:
• Nut driver or wrench (typically 7mm)
• Marker or pen (optional, for reference)
• Fully charged battery
• Clean work surface
Step-by-Step: How to Set Your Slipper Clutch
Step 1: Start Fully Tight
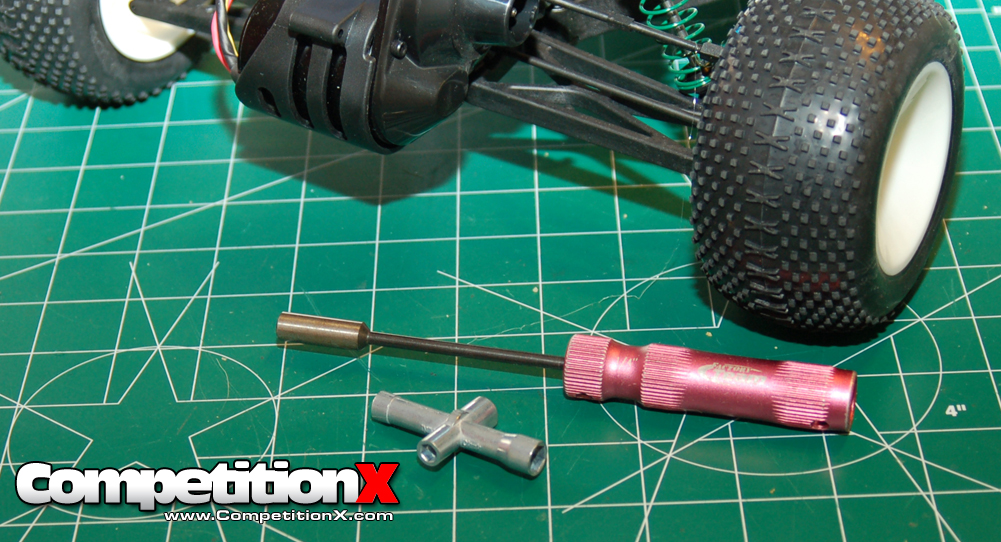
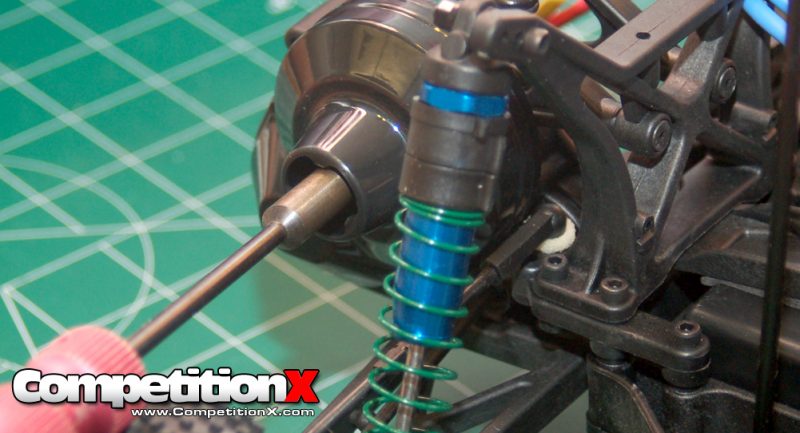
Tighten the slipper clutch nut all the way down (do not overtighten to the point of damaging threads). This gives you a consistent baseline.
Step 2: Back It Off
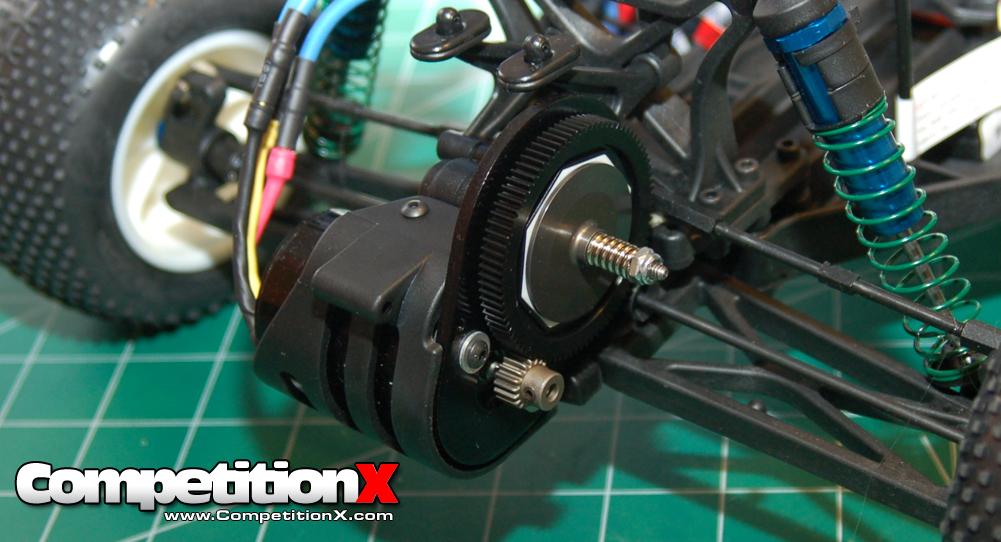
Loosen the nut slightly:
• Start with 1/4 turn for general use
• Up to 1/2 turn for looser surfaces
This is your starting point.
Step 3: Test the Car
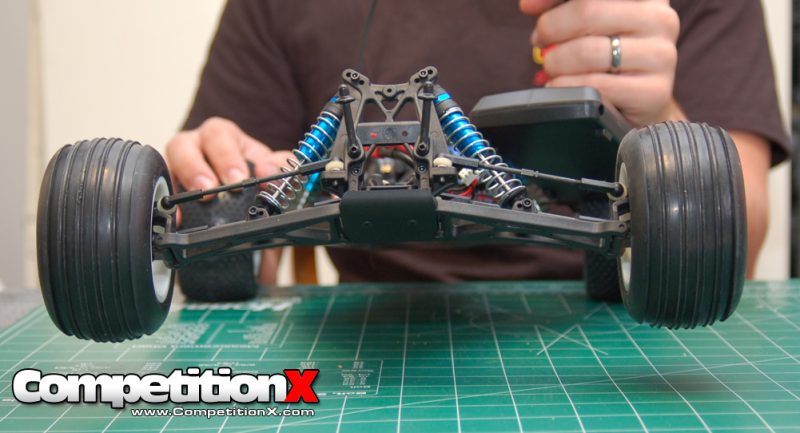
Place the car on your pit space, facing away from you.
1. Turn on transmitter.
2. Turn on your vehicle.
3. With the transmitter in your left hand, place your left forearm on the left rear tire and your right hand on the right rear tire.
4. HOLD FIRMLY! Now apply full throttle, but only in short bursts.
The front of your vehicle should lift off the surface slightly.
Step 4: Fine Tune
If the front of you vehicle doesn’t lift off the surface (or less than 2″-ish), your slipper is too loose.
• Tighten slightly, about 1/8 of a turn
• Re-test
If the front end lifts up higher than 5″, your slipper is too tight.
• Loosen slightly, about 1/8 of a turn
• Re-test
Repeat until you find the balance.
Surface-Based Adjustments
Your ideal slipper setting depends heavily on where you drive.
High-Traction Surfaces (Pavement, Carpet)
• Tighten the slipper more
• Reduces slip and improves acceleration
Loose Surfaces (Dirt, Gravel, Sand)
• Loosen the slipper slightly
• Improves traction and control
Off-Road / Bashing
• Slightly looser setting
• Protects drivetrain from jumps and impacts
Racing
• Fine-tuned for track conditions
• Usually tighter for maximum efficiency
Common Mistakes to Avoid
1. Overtightening
This is the most common mistake. A fully locked slipper removes its protective function.
2. Ignoring Wear
Slipper pads wear down over time, changing your settings. Recheck periodically.
3. Adjusting Too Much at Once
Small adjustments are key. Large changes make tuning harder.
4. Not Testing Under Load
Always test on the ground—not in the air.
Signs Your Slipper Clutch Needs Adjustment
Watch for these warning signs:
• Sudden loss of acceleration
• High-pitched slipping noise
• Stripped spur gear
• Overheating motor or ESC
• Inconsistent launches
These usually indicate your slipper is either too loose or too tight.
FAQ
Q: What does a slipper clutch do in an RC car?
A: It protects the drivetrain by allowing controlled slipping during acceleration, reducing stress on gears and components.
Q: How tight should my slipper clutch be?
A: Start fully tight, then loosen about 1/4 turn. Fine-tune based on performance and surface conditions.
Q: What happens if my slipper clutch is too loose?
A: You’ll lose acceleration, generate heat, and reduce overall efficiency.
Q: What happens if it’s too tight?
A: You risk damaging gears, driveshafts, and differentials due to sudden power transfer.
Q: How often should I check my slipper clutch?
A: Check it regularly, especially after hard runs, crashes, or changes in performance.
Q: Do all RC cars have slipper clutches?
A: No. Some vehicles use center differentials instead, but most beginner and mid-level RC cars include a slipper clutch.
Q: Can I upgrade my slipper clutch?
A: Yes. Many aftermarket options offer better materials, improved durability, and smoother engagement.
Related Articles
RC Gear Ratio Explained
RC Differential Explained
RC Tire Compound Explained
RC Suspension Tuning Guide
RC ESC Function Guide

