Friday , 19 April 2024

Team Durango DEST210R Build – Part 8 – Attaching the Gearbox

Team Durango DEST210R Build

The Build – Part 8
In Step 8 we attach the gearbox to the chassis. There is only one place the gearbox can mount but, depending on the configuration with which you built it (RM3, RM4, MM3, MM4) will designate how to attach it.

Build Notes:
Pay close attention when mounting the gearbox. Make sure you are using the correct configuration to mount it.

Depending on the size (and mounting) of your servo, you may or may not need to install the front battery stop. I couldn’t get it to fit while using the Futaba BLS157HV servo.

These build notes are for the MM4 configuration. Some of the steps may vary depending on the configuration you build.
Team Durango DEST210R Build - Step 79
Team Durango DEST210R Build – Step 79
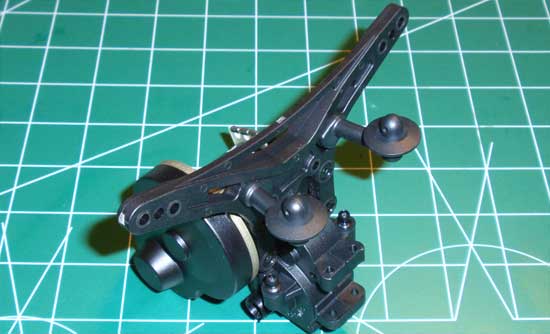
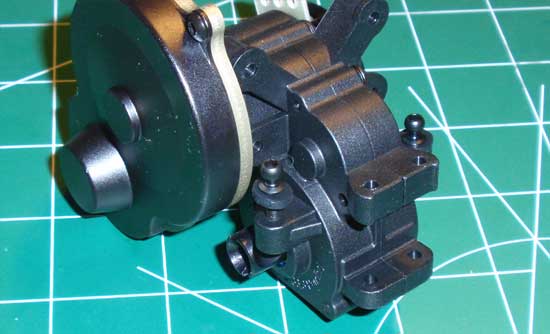
Start the install by attaching the ball ends to the gearbox. Don’t forget the 2 plastic washers on each side.

Team Durango DEST210R Build - Step 80
Team Durango DEST210R Build – Step 80
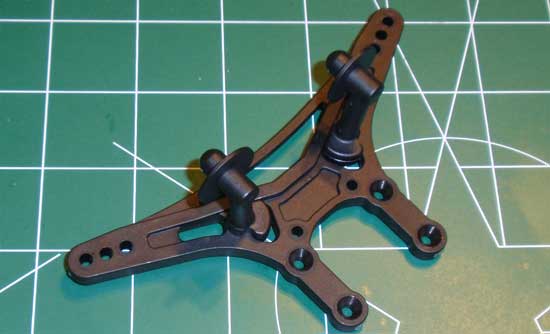
Attach the body mounts to the shock tower. Notice the direction of the shock tower for the MM4 build.

Team Durango DEST210R Build - Step 81
Team Durango DEST210R Build – Step 81
Attach the shock tower to the gearbox.

Team Durango DEST210R Build - Step 82
Team Durango DEST210R Build – Step 82
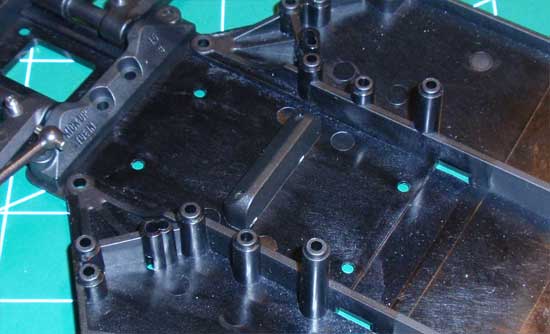
Install the front and rear battery stop. As I mentioned earlier, I could not get the front battery stop to fit because of the size of the servo.

Team Durango DEST210R Build - Step 83
Team Durango DEST210R Build – Step 83
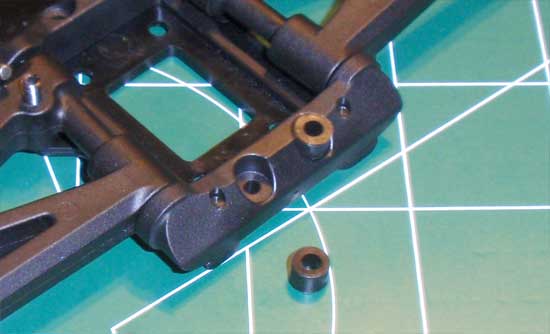
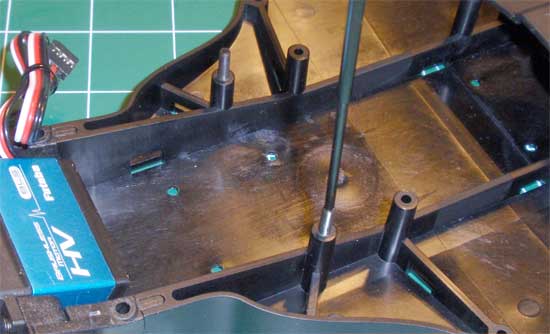
Take the two spacers and press them into place. They should be a slightly tight fit so you won’t have any problem with them falling out. If not, a dab of black grease will help keep them in place.

Team Durango DEST210R Build - Step 84
Team Durango DEST210R Build – Step 84
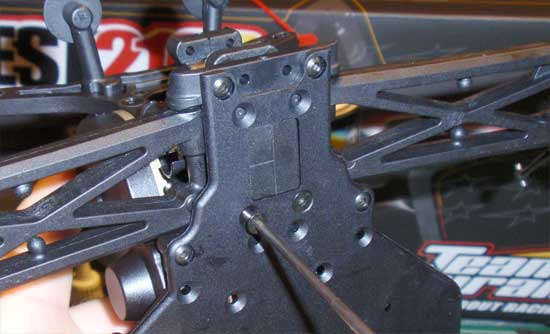
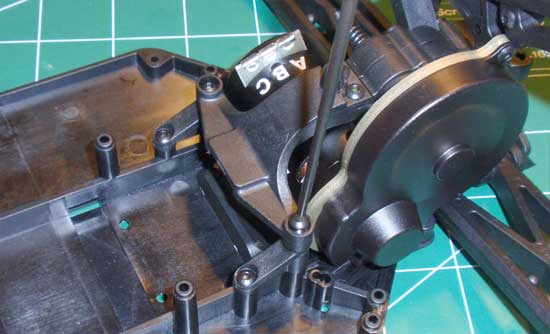
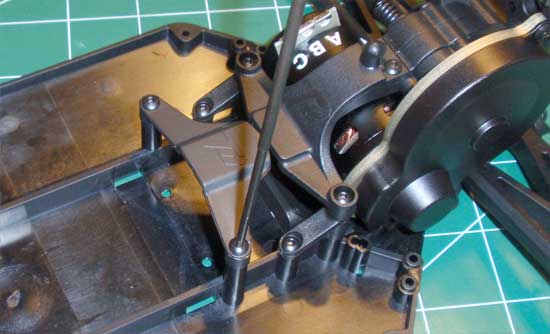
Drop the gearbox assembly into place and secure with the 2 3x10mm screws.

Team Durango DEST210R Build - Step 85
Team Durango DEST210R Build – Step 85
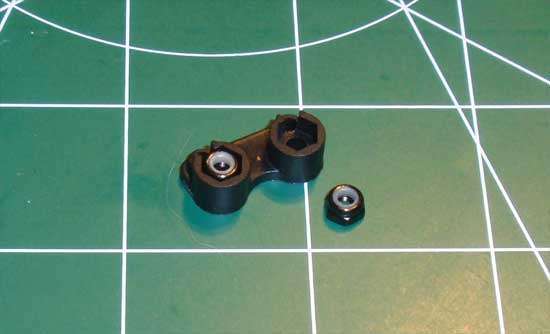
Press the two locknuts into the upper anti-roll bar mount.

Team Durango DEST210R Build - Step 86
Team Durango DEST210R Build – Step 86
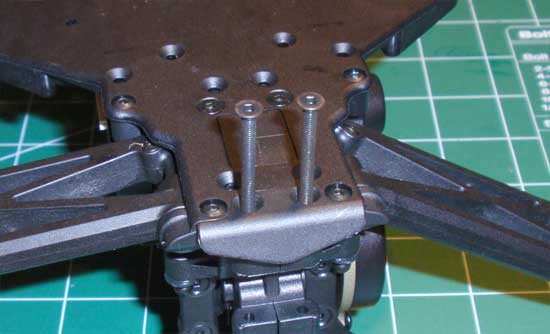
Set the rear bumper into place and feed the two 3x30mm screws up through the chassis about 3/4 of the way.

Team Durango DEST210R Build - Step 87
Team Durango DEST210R Build – Step 87
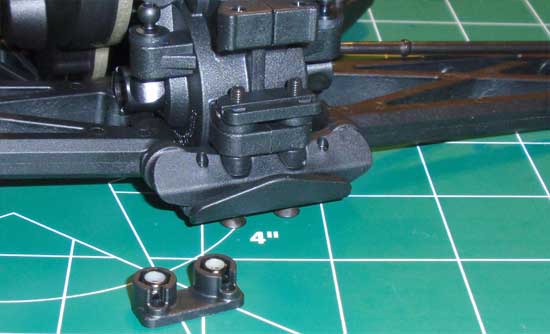
Place the lower anti-roll bar mount over the two screws followed by the upper anti-roll bar mount and tighten down the 3x30mm screws. No need to overtighten since the screws feed into the locknuts.

Team Durango DEST210R Build - Step 88
Team Durango DEST210R Build – Step 88
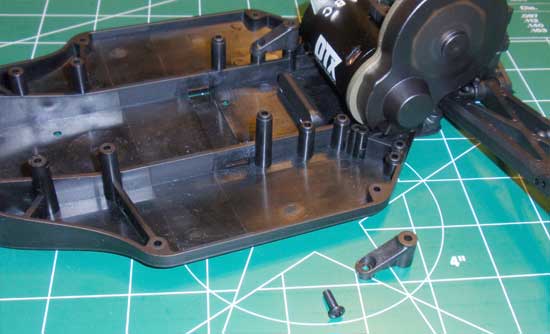
Place the chassis braces into place and secure with the 3x10mm screws.

Team Durango DEST210R Build - Step 89
Team Durango DEST210R Build – Step 89
Drop the motor/rear chassis brace into place and secure.

Team Durango DEST210R Build - Step 90
Team Durango DEST210R Build – Step 90
Set the battery brace locator into place and secure.

Team Durango DEST210R Build - Step 91
Team Durango DEST210R Build – Step 91
While not a step to mount the gearbox, we’ll put it here anyway since Durango has it here. Screw the battery brace thumbwheel setscrews into the chassis. Put them in about 1/2 way; we can adjust them later.

Part 9 – Building the turnbuckles.
Back to the Team Durango DEST210R Build List

About Tony Phalen

Tony Phalen - As an avid RC enthusiast, Tony has been building, bashing and racing RC Cars for over 30 years. He has participated in every kind of surface racing events - 1/18 scale trucks, 1/10 scale TC, Rock Racers, Rally - if it had wheels, he's raced it! He's also worked on both sides of the industry fence; collaborating with many major manufacturers (as well as being a sponsored driver) to working for a high-profile industry magazine. During this time he has learned many tricks, tips and techniques and is sharing that knowledge on CompetitionX - the most informative RC website on the internet!

Check Also

Tamiya 2024 Catalog

Video: Exciting Releases in the 2024 Tamiya Catalog | CompetitionX

People love catalogs. Hobby fans love Tamiya. So, all you hobbyists-type people are going to …