Beginner’s Guide to RC – How To: Prep and Seal Your Carbon Fiber / Graphite Parts
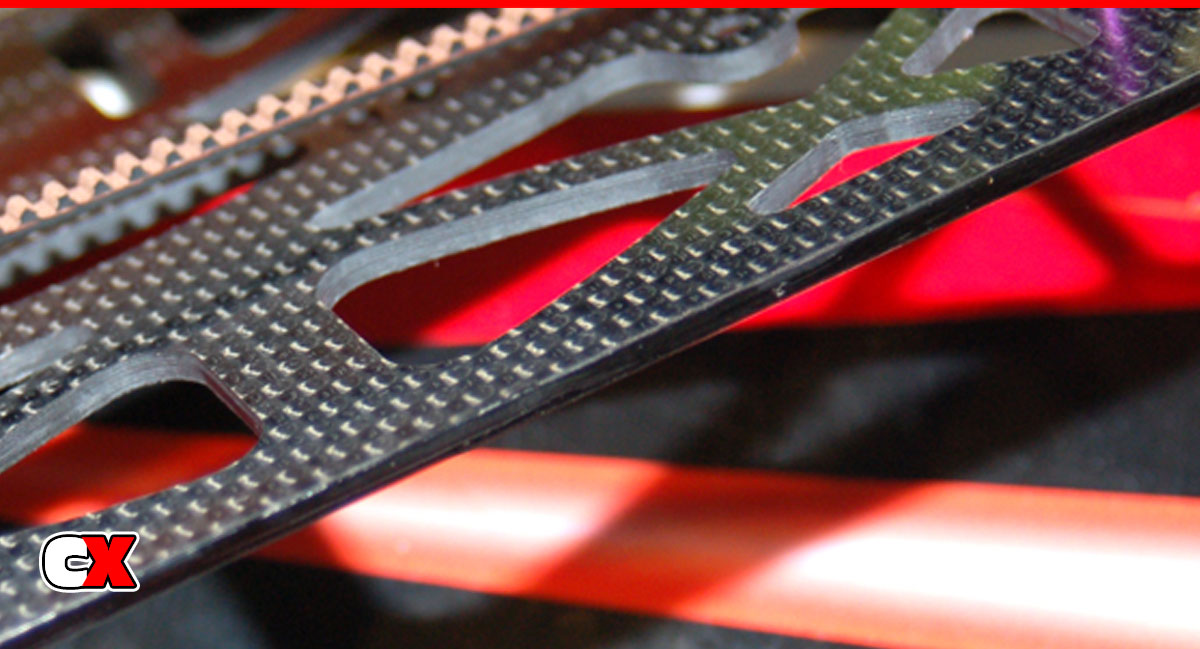
Most high-end on- and off-road RC cars and trucks come with carbon fiber (or graphite) components. These components are lightweight and super-strong … 2 key factors in keeping your ride fast and nimble. These parts are cut from a large sheet and, once completed, often have sharp, un-prepared edges. These edges can be fragile in a crash and the carbon fiber plate can delaminate, causing the part to weaken and fail.
To combat that, there is a process of ‘sealing’ the sides of the CF parts. This involves taking a small amount of super glue and applying it to edge of the parts, effectively sealing the edges. This will allow the parts to take much more abuse before failing.
Items Needed:
 A file. You don’t need anything fancy.
CA glue. Any kind will do. Note that thinner glue will be a little more difficult to work with but will dry faster.
Black Marks-A-Lot or Sharpie (optional)
Q-Tips. For applying the glue.
Small piece of plastic, preferably a plastic bag.
A towel for any emergency cleanup.
NOTE: Work in an open area with good ventilation! There is a chance that fumes may arise that will irritate your eyes and nose. Good ventilation will help prevent this from happening.
Step 1:
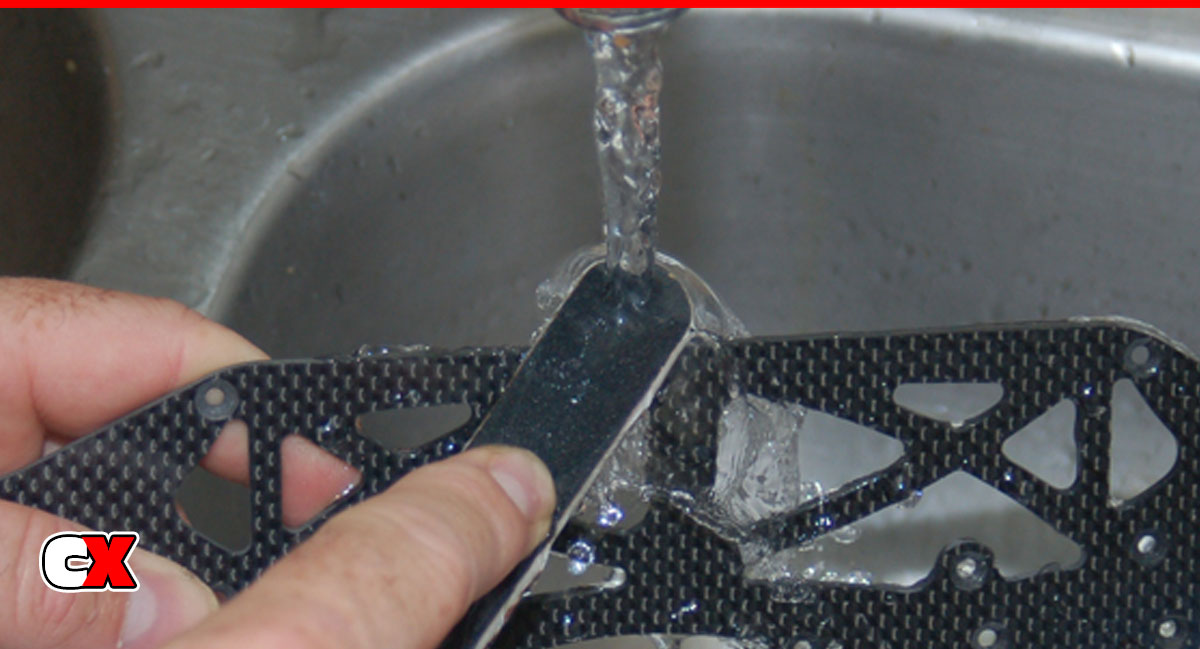
Remove your carbon fiber parts and, under running water, lightly sand the outside edges with your file. Make sure you sand BOTH sides of your parts. Graphite dust is extremely fine and, since it’s not good to breathe in, sanding under water will eliminate the dust. The object here is to remove the hard edge of the cut carbon fiber.
Step 2:
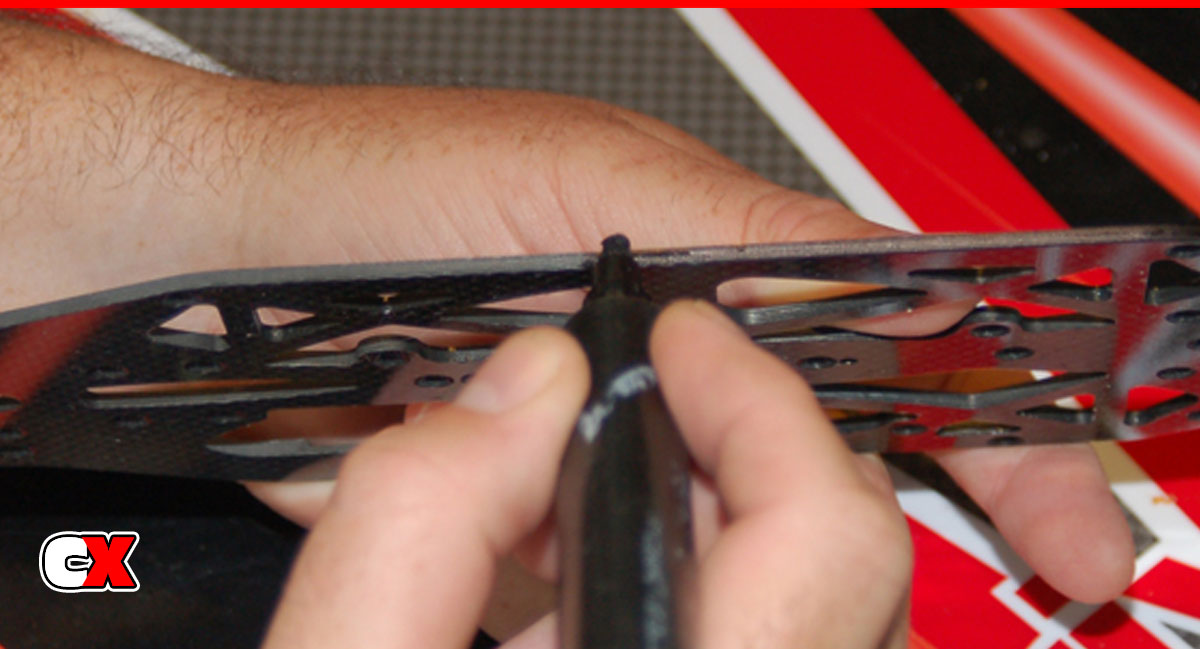
This step is completely optional, but I like to do this because if looks a little more “Factory”. Once you have sanded all the edges, take a Sharpie and color the edges of your carbon fiber parts. This will turn the edges black and make the final product much more appealing. If you’re adventurous, you can try different color markers. I Sharpied a red one once and it came out pretty cool, but because it was initially a little hard to see, I had to do some additional prep work.
Next, find yourself a place that you can set your parts to dry. Remember, you will be applying super glue to the EDGES of your parts and then setting them aside. Find some place where they won’t glue themselves to the surface you place them.
Step 3:
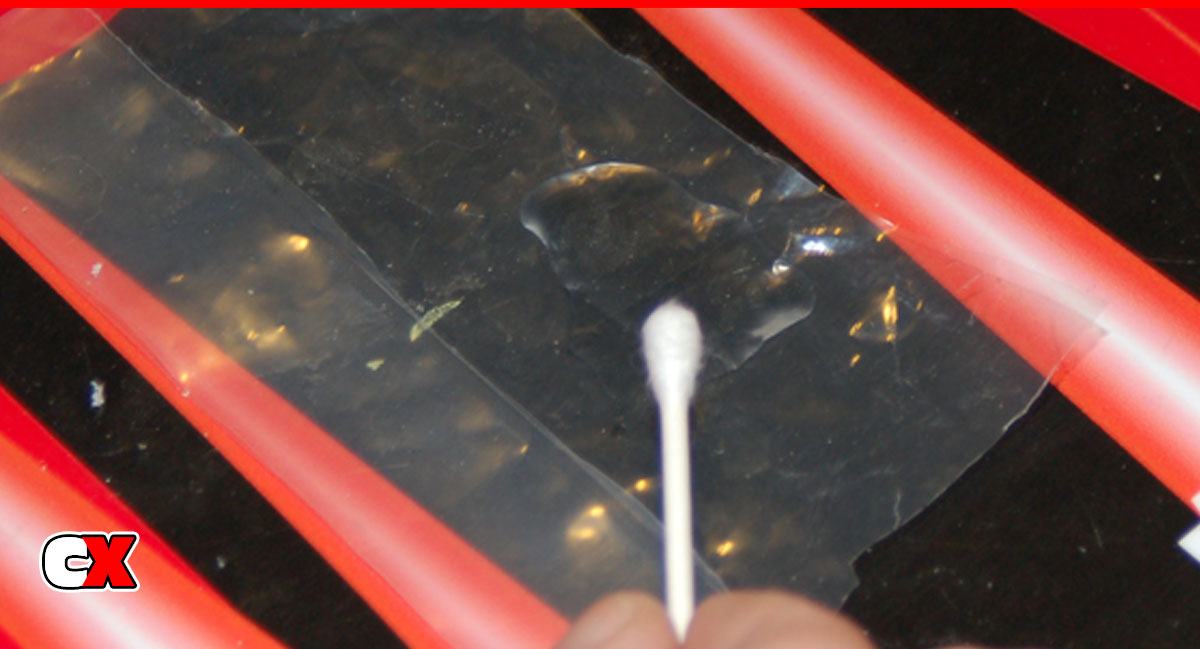
BE CAREFUL! Super glue is great for bonding things together … including FINGERS! Take your piece of plastic to pour a small amount of super glue onto it. You don’t want to put too much that it overflows on to your work area. The reason we use plastic is that it’s not porous; the glue will not seep in and dry out.
Step 4:

Take a Q-Tip and dab a little glue onto the edge of the part. You may need to dab quite a few times; just make sure you don’t put too much. Apply a good coat all the way around your part. Set your part aside to dry (should only take a few seconds). Follow the same procedure for the rest of your parts.
Step 5:
Once dry, you are free to continue assembling your vehicle. It is suggested that you complete this procedure BEFORE you build your vehicle.
Purchase AKA Premium CA Glue
![]()
Purchase Pro-Line Pro-Bond CA Glue
![]()
Purchase ProTek RC CA Glue
![]()


Could you use a Sharpie Oil-Based Paint Marker instead of a regular one?
Hey Nathan. I don’t see why you couldn’t. I’ve used white out followed with a red Sharpie before to create a pretty cool look. I would clean the carbon fiber really well to make sure the Sharpie can get a good grip on it.
Shoot me a picture afterwards … I’d like to see how it turned out!
The filing and glueing effect will definitely help with delamination which is a common quality defect in carbon fiber caused by sharp pressure on the carbon fiber plies.
After filing, the carbon fiber plies will be more evened out. The carbon dust is harmful to your lungs so make sure to do filing in an open area like Tony mentioned in the article.
The gluing is what the industry calls “Edge Seal.” It will definitely help carbon fiber plies from coming apart in the event of crash.
Good tips!
Thanks. I “Edge Seal” all my carbon fiber parts. The only way to go!