Back in 2004 I had a chance to attend the first RC Motorcycle Nationals held in Las Vegas. My buddy and I showed up the day before the race with only ONE full day of testing under our belts with our 1/5 scale motorcycles. Because of their design, driving them around the track was difficult and definitely took a different driving style. It would have been nice to have some sort of gyro in the wheels, a 2.4GHz radio system and perhaps an easier way to change the battery. Thankfully, Kyosho read my mind and included all three of these items into their 1/18 scale Moto GP Motorcycle, the Mini Z Moto Racer.
AT A GLANCE
WHO MAKES IT: Kyosho
WHO IT’S FOR: Everyone
HOW MUCH: $230
BUILD TYPE: RTR

FACTS
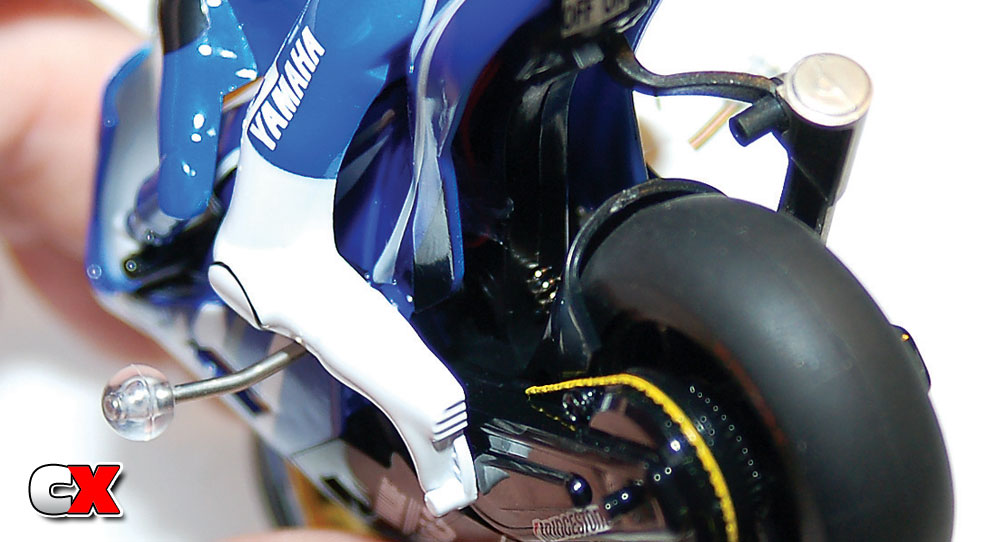
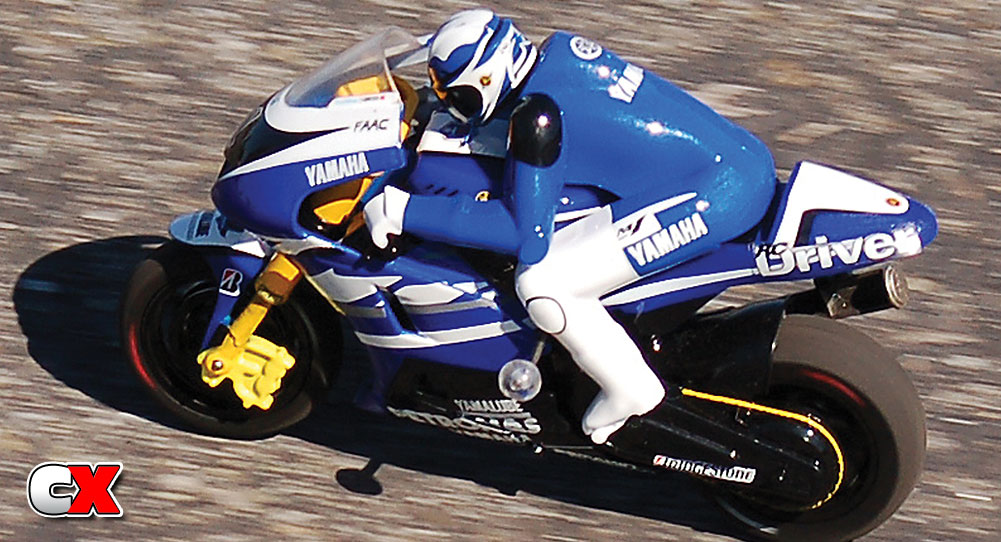
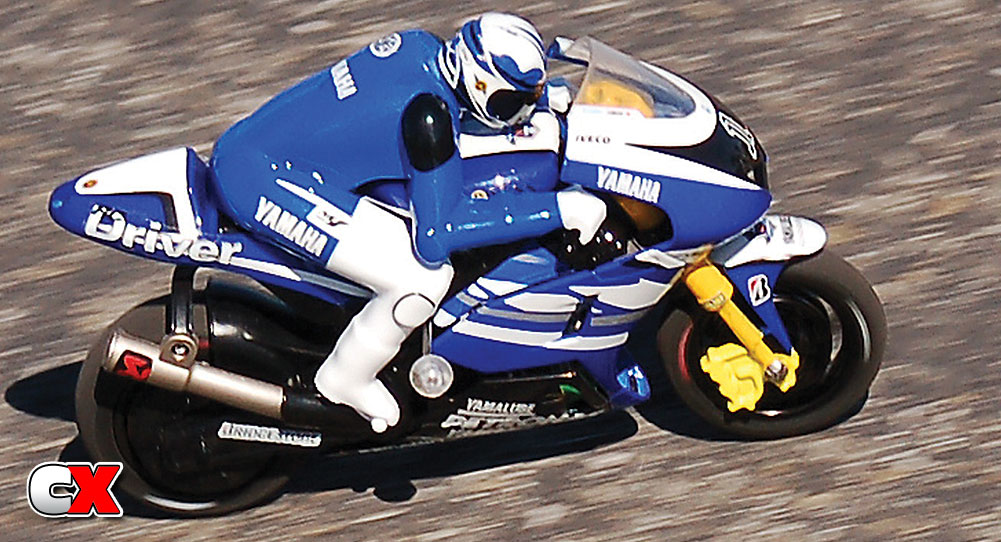
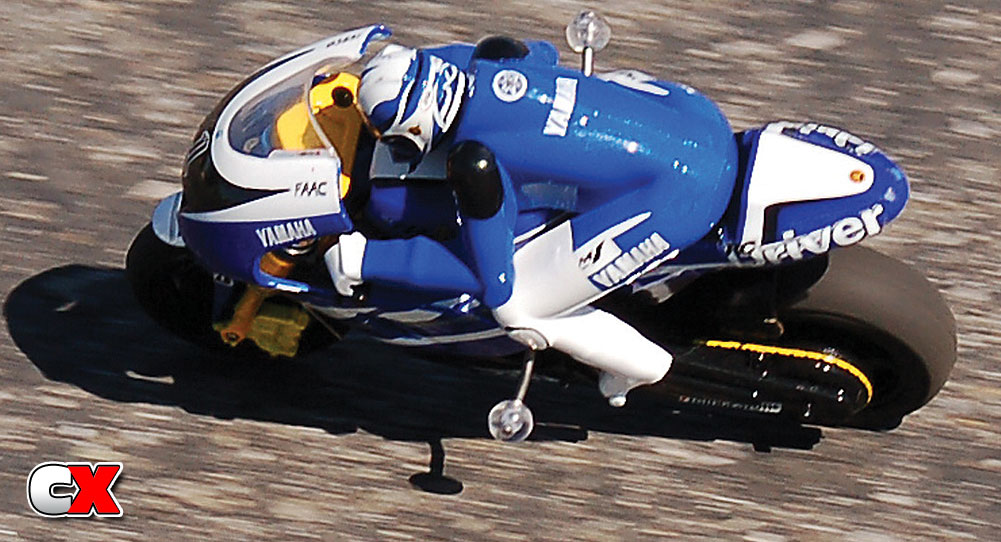
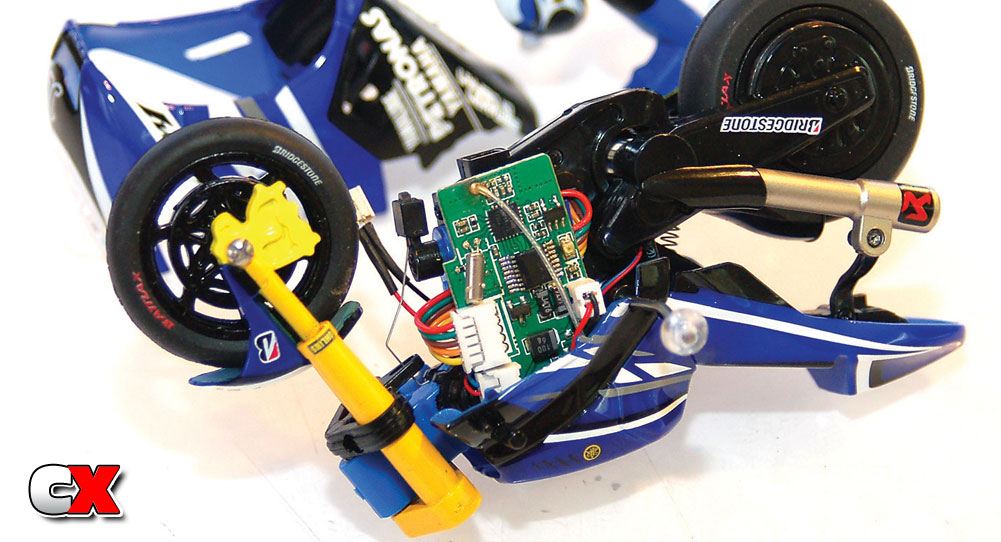
– Kyosho certainly captured the looks of the Moto GP, from the graphics on the cowling to the super slick racing tires. Even the rider is decked out in racing gear.
 – The Mini Z Moto Racer comes equipped with an ‘E-Gyro’; a flywheel that spins in the rear wheel to help keep the bike stable at low speeds. It works, and makes the bike very easy to drive.
– The new KT-19 2.4GHz transmitter is included with the Moto Racer. That means you could have a whole field of 40 of these little guys on your Mini Z track at one time! Now I just have to find 39 friends that want to run on my homemade Twin Ring Motegi track!
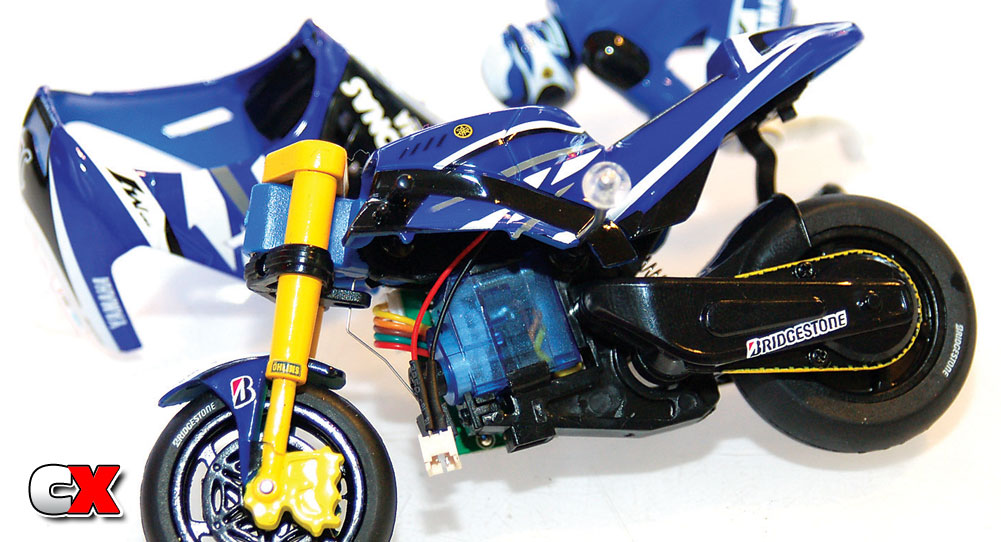
– The Mini Z Moto Racer is a bit simple when it comes to tuning adjustments (unless you decide to get really creative), but it does allow you to modify the bike’s caster to help smooth out the steering.
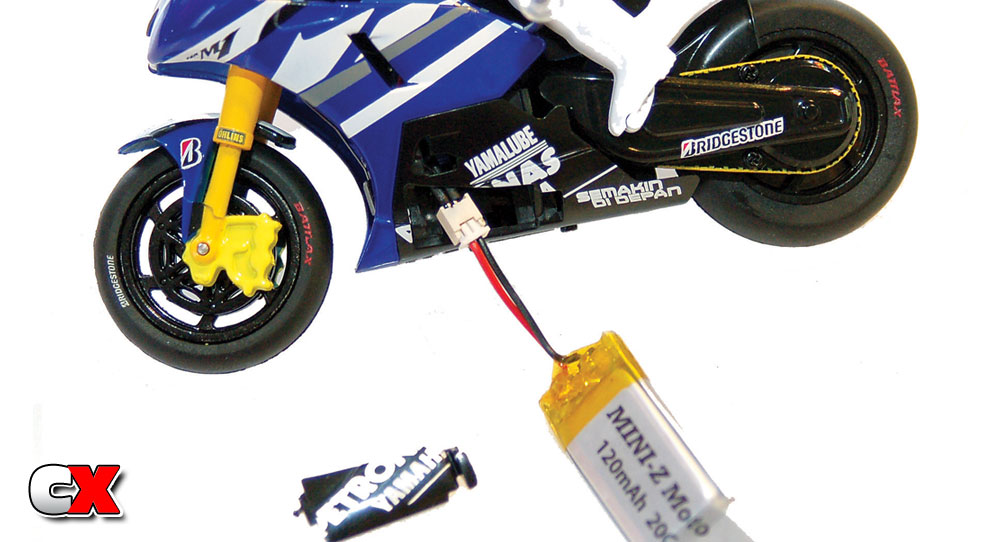
 – The 3.7v 120mAh LiPo battery fits into a little compartment in the side of the bikes fairing. Open the hatch, pull the pack out, drop a new one in and replace the hatch. Boom, you’re on the road again.
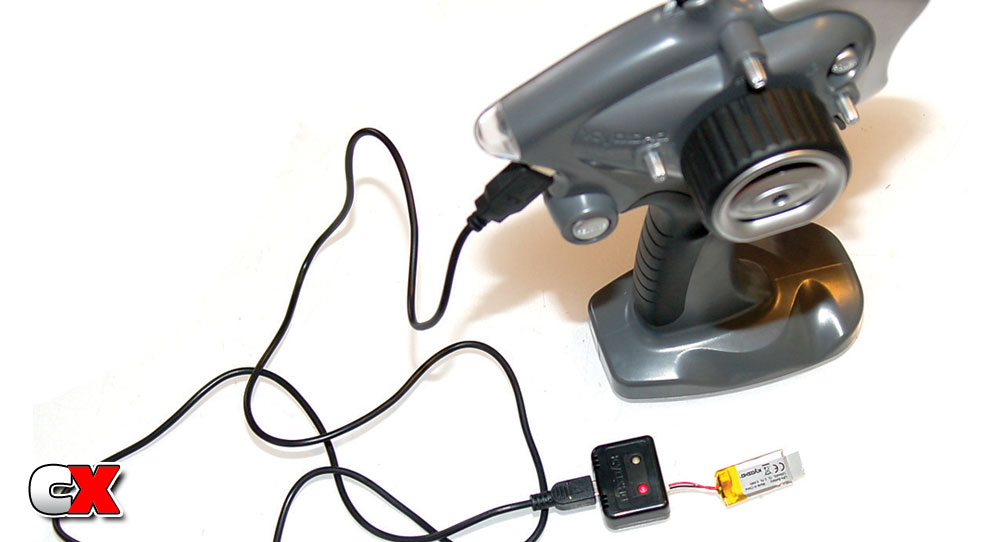
– The Moto Racer comes with a small, USB powered LiPo charger. One end plugs into the KT-19 transmitter, the other into your battery. You get a fully charged pack in anywhere from 20 to 60 minutes (depending on how discharged the LiPo pack is).
ITEMS NEEDED
+ Nothing – everything is included!
PROS
• Kyosho hit the mark with the killer motorcycle looks
• Comes equipped with a rear-wheel mounted gyro
• Includes the KT-19, 2.4GHz transmitter system
• A 3.7v 120mAh LiPo battery and USB powered LiPo charger included
• Front and rear coil spring suspension
• Includes everything except for AAA’s for the transmitter
CONS
• Not that you need to, but removing the bodywork is no easy task and requires and itty, bitty screwdriver

ON THE TRACK
To test the Mini Z Moto Racer, I headed over to my wife’s workplace. Sneaking in behind her, I wandered to the back of the building where the large conference room was, moved the chairs off to the side and set up a few cones I brought with me. I also grabbed a few phone books they had stacked in the corner to enlarge my track. With a fully charged pack, I flipped the switch on the Moto Racer and listened to the 10 seconds of intermittent beeps that confirms the radio check. A second or two after the final beep, the awesome sound of the E-Gyro spooling up fills the room, sounding like a jet getting ready for take-off. A quick flip of the steering and throttle and the Mini Z Moto Racer was ready to fly.
I set the Moto Racer down and gave it a little push. I drove it out in the open part of the conference room to get a feel for how it worked. Steering was good and it took a few seconds to get used to how it drove. Light throttle inputs was all that was needed to keep it upright and running, but once I mashed the throttle, I was pleasantly surprised by how fast the Moto Racer really was. I did a quick loop and then dropped into my makeshift track to do a few laps. The Moto Racer would lean through the sweeper on its way to the tight hairpin first corner. It’s pretty stable under braking and with a light steering input, the bike dropped over onto the lean-bars as it made its way around the hairpin. I rolled the throttle when exiting the corner and headed for turn two, a smaller radius sweeper. Exiting that sweeper, I shot down the short chute before piloting the chicane. This was probably the hardest part of the track as it takes some practice to get the chicane with any speed. A quick right hand sweeper led me into a left hand hairpin and down another short chute. A hard left fed into the final open chicane and back on to the straight.
The suspension works well on the carpet track and is soft enough to work well on slightly bumpy tracks too. As I mentioned before, there’s not a lot of tuning that can be done, but I thought I would test out the built in caster adjustment. This basically moves the front wheel away from or closer to the chassis. I made the quick adjustment and threw it back on the track. I did notice the steering go from nice and crisp to a bit more smoother, but the bike seemed to delay a tad in the chicane section. After a few laps it did seem easier to drive, but I did miss the snappy corner characteristics I had become accustomed to. This is one of those adjustments that I’m glad made it into the Moto Racer platform.
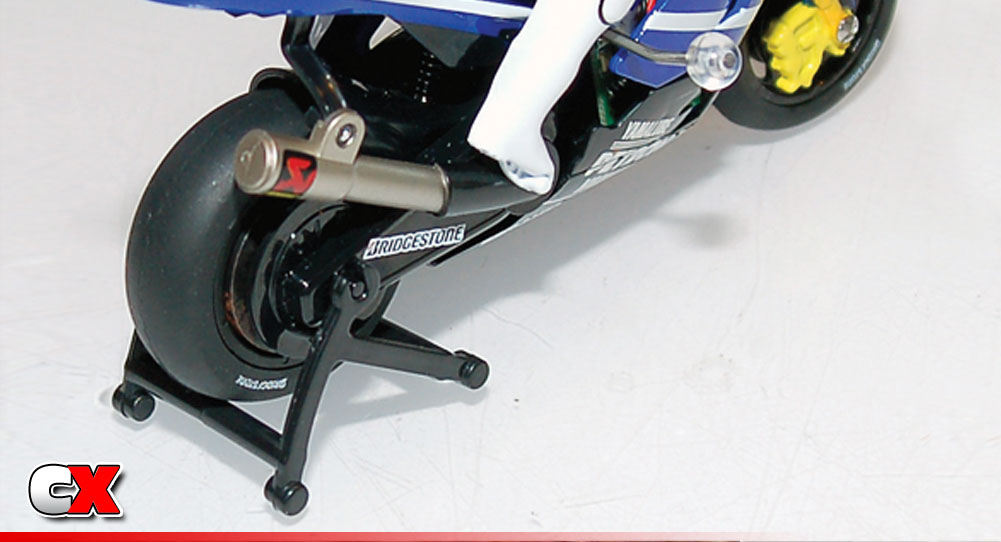
For the final run, I decided to create a track that was a bit more, ummm, Evil Knievely. I took a piece of cardboard and laid it down on top of one of the smaller phone books to create a little ramp. I made two stacks of phone books and connected them with a piece of cardboard that was about 3” wide. A final piece of cardboard ran up to the small podium platform. I started off by powering over my small cardboard ramp, landing up on top of stacked phone books and riding over the 3” piece of cardboard. It jumped off the stacked phonebooks, landed on the floor and powered up the podium ramp where I continued to keep the throttle pinned to jump off the other side. I’d like to tell you that I completed my Supercross track on the first try but I’d be lying to you. It took me about 8 tries to get it right, meaning I did a lot of Mini Z Moto Racer durability testing. Everything held up great except for a slightly bent lean-bar and a broken exhaust pipe holder. The lean-bar was easily bent back into place and the exhaust pipe holder just needed a dab of CA glue. I did abuse this bike a little so I was glad to see that these were the only things to ‘break’, but now that I have it fixed I’ll be keeping this motorcycle strictly on its two wheels!
THE LAST WORD
There are certain RC vehicles that I look forward to driving. Since I’ve driven quite a few different RC motorcycles, I was really looking forward to driving this bike, especially since it was equipped with a gyro. After the first full pack, I was feeling like a pro as I ripped around my makeshift track.
LINKS
Kyosho, www.kyoshoamerica.com, (949) 454-8854