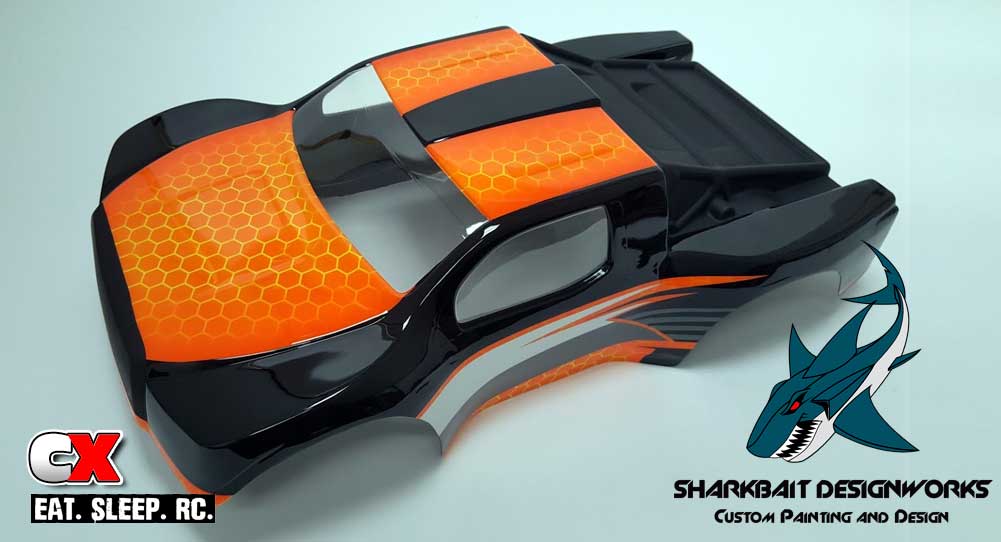
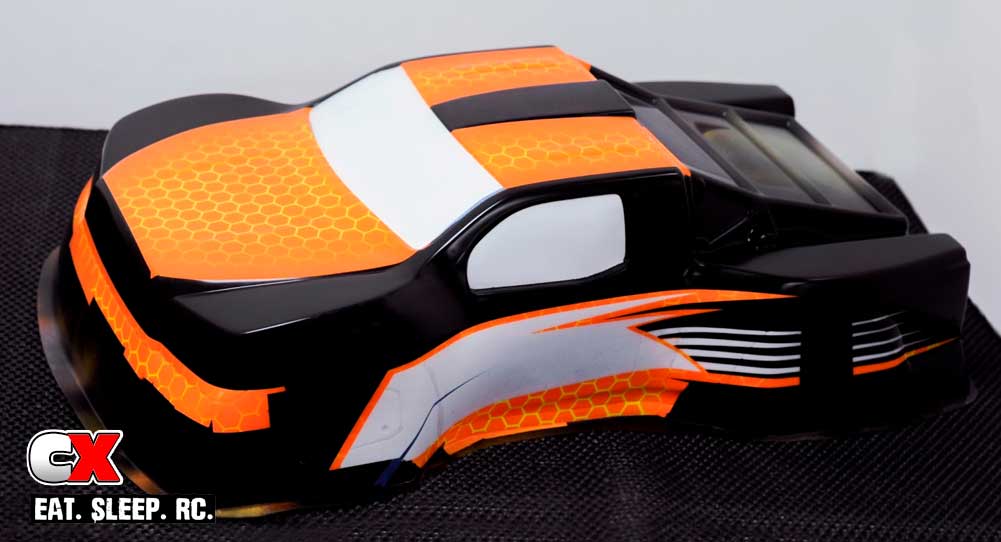
This month’s RC Painting Tutorial has us applying an intricate honeycomb design to our SC10 Short Course body. This is the same body we used with our August 2016 Eat. Sleep. RC. Giveaway, painted by the very talented Matt Skipple from Sharkbait Designworks. Matt takes us through the step-by-step procedure he uses to apply this effect, making it simple and easy to follow.
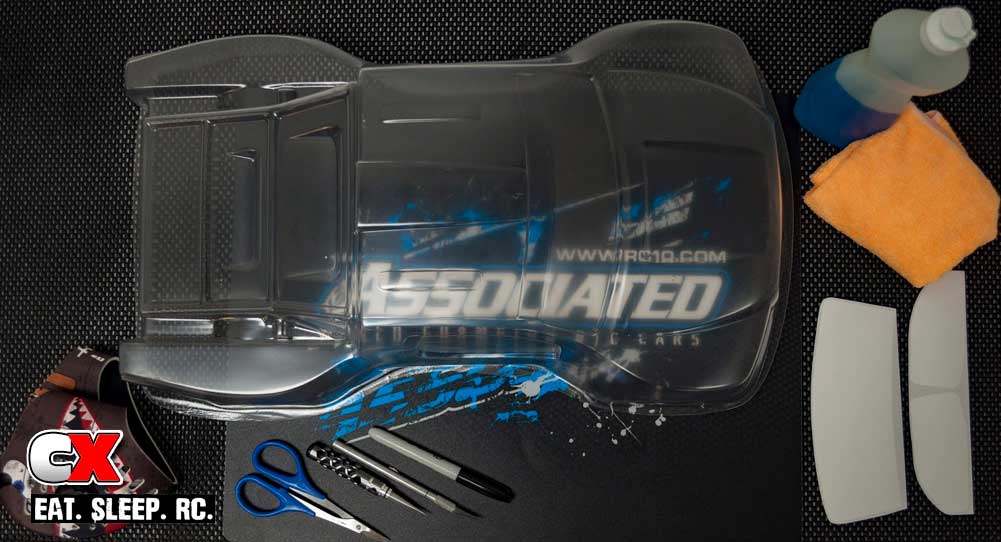
The first step is to gather a few items to prep the body prior to painting. These include non-scented/lotioned basic dish soap, a dry, lint-free cloth/micro fiber towel, Sharpies for drawing the paint scheme on the body, an Xacto knife for cutting the masks and a body reamer and body scissors for holes and trimming. He also HIGHLY recommends a paint mask to protect those lungs! Note that during the wash period, you should use warm water with the dish soap for best results.
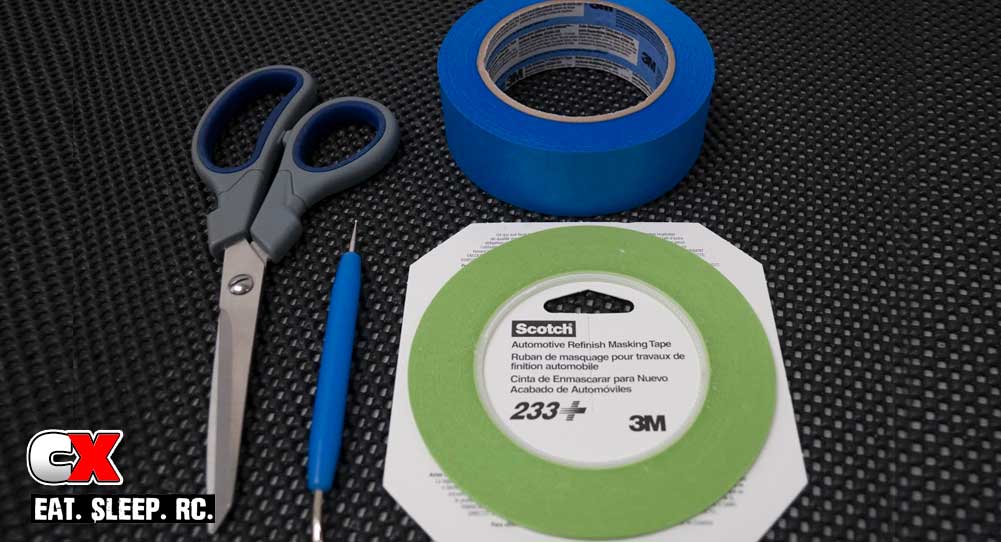
Here’s a few items he also suggests for making paint-life a little easier – a large pair of scissors, blue painter’s tape, fine-line masking tape and a specialty masking tool.
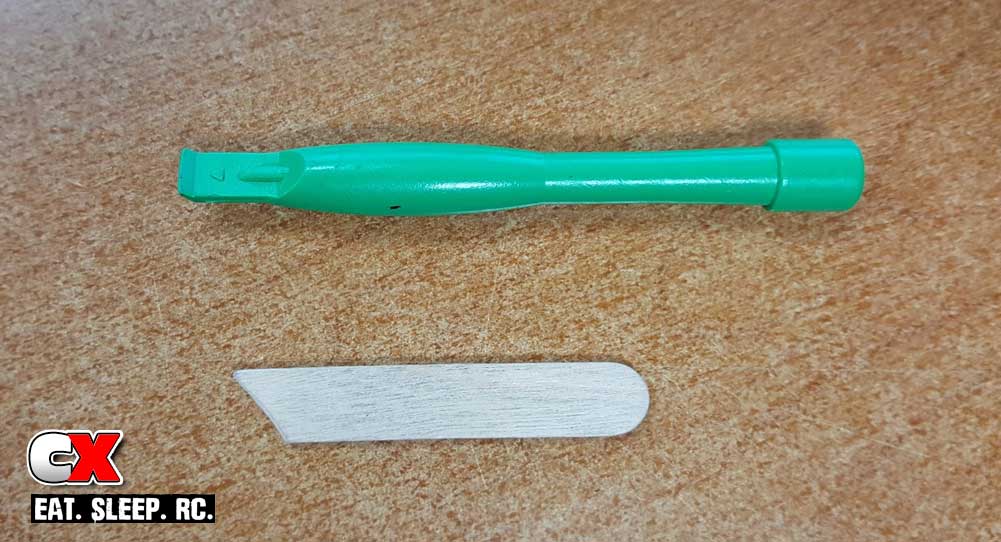
Finally, an advanced tool that he likes to use for scraping excess or bleeding paint is something like this plastic tool, cut popsicle stick or cut sanding board.
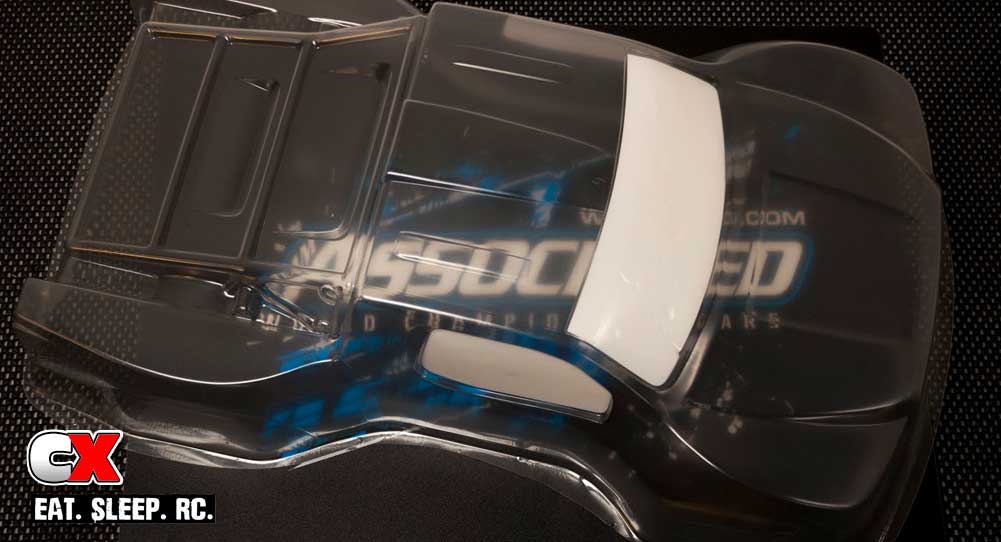
Wash the underside of the body really good, being sure to get in all the nooks and crannies. Once body is clean and has dried completely, install the window masks
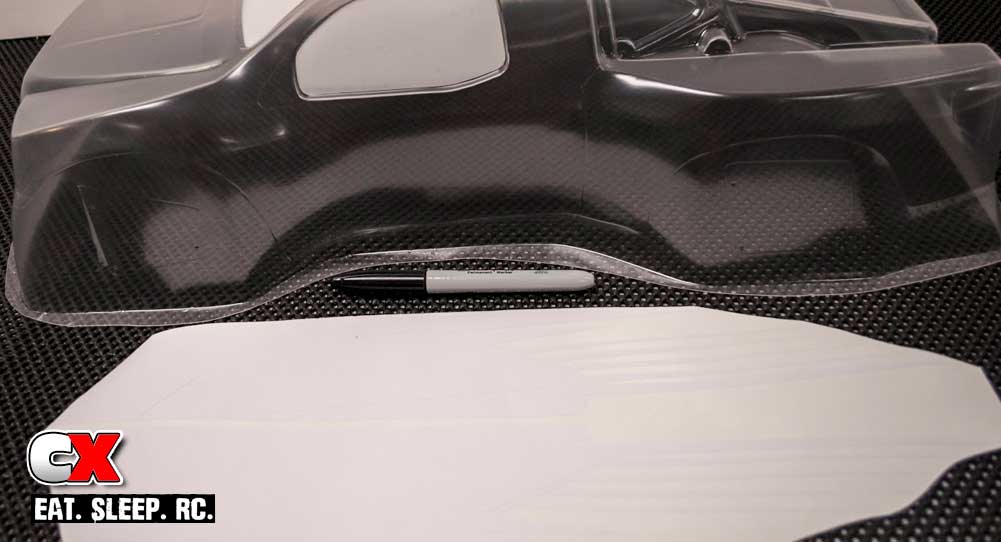
Install any pre-cut vinyl paint masks. If you don’t have masks, you can draw the design on the side using the black Sharpie.
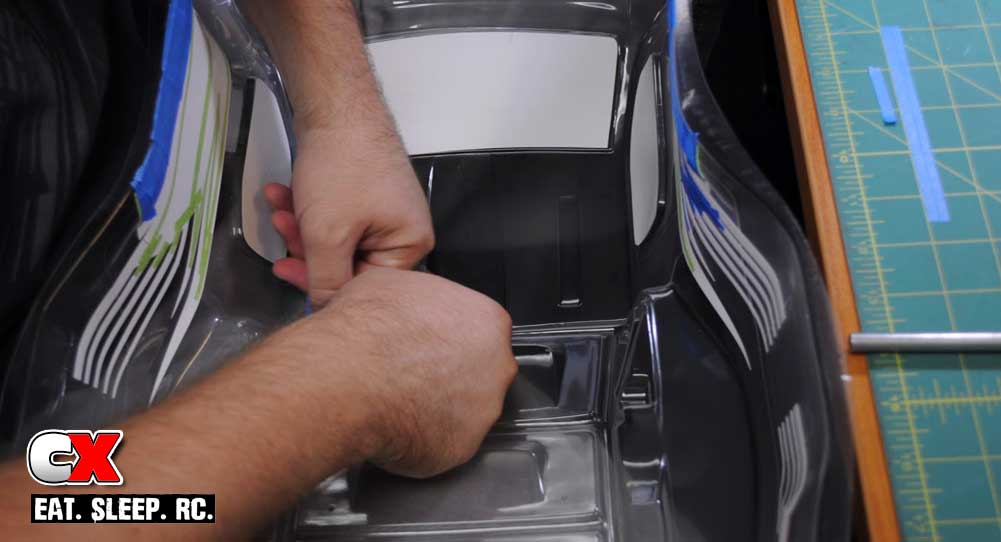
When taping off your paint design, you want to try and paint the darkest colors first. This will dictate how you need to mask off the body. Since the scheme includes black, this will be the first layer of paint put down.
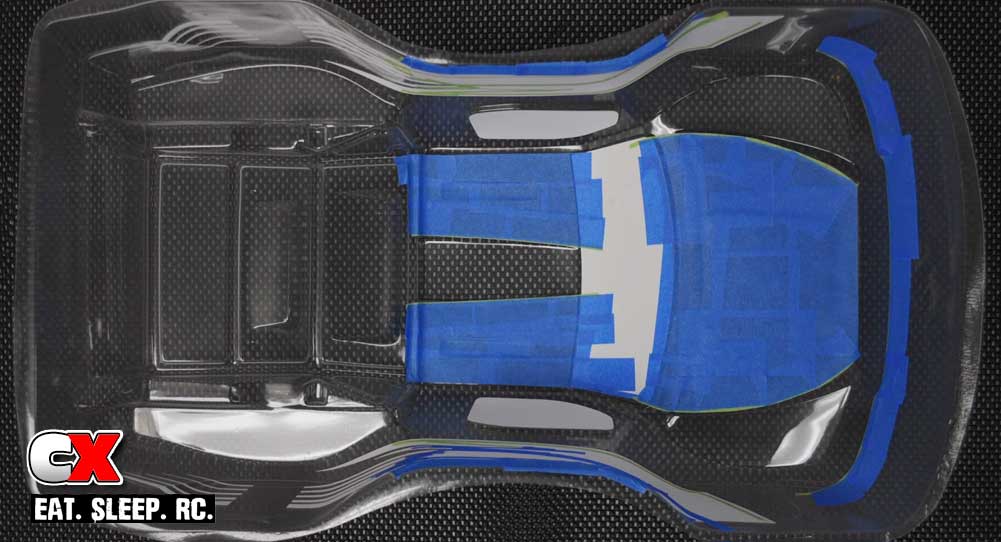
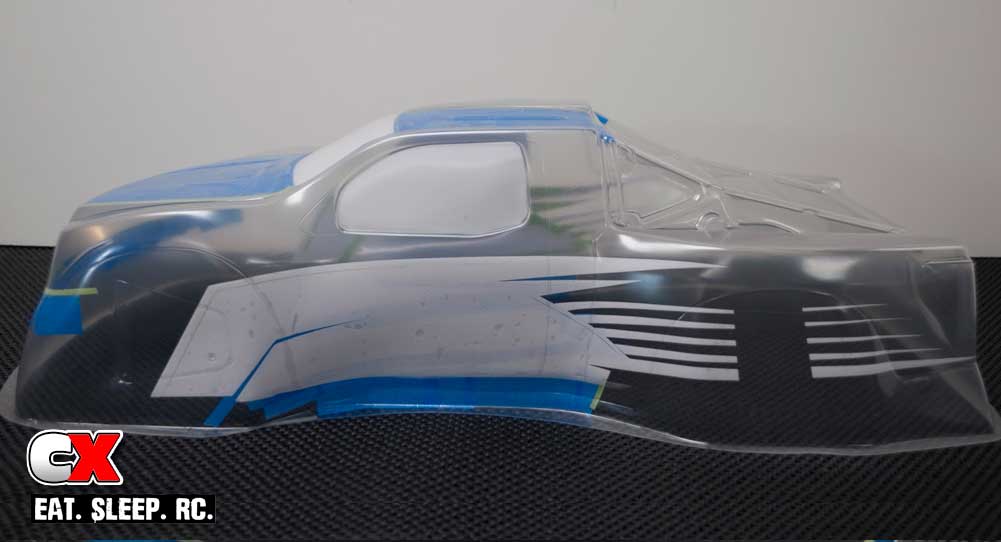
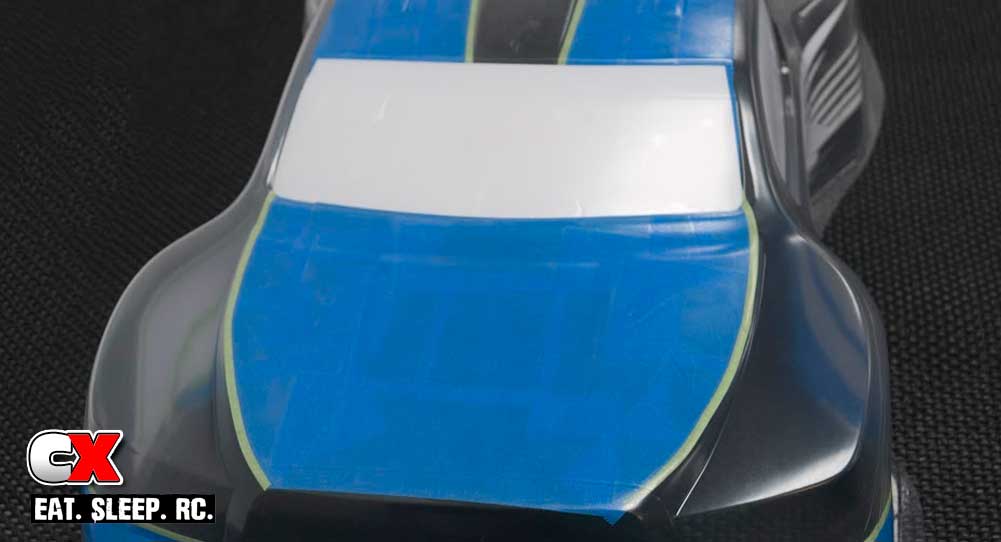
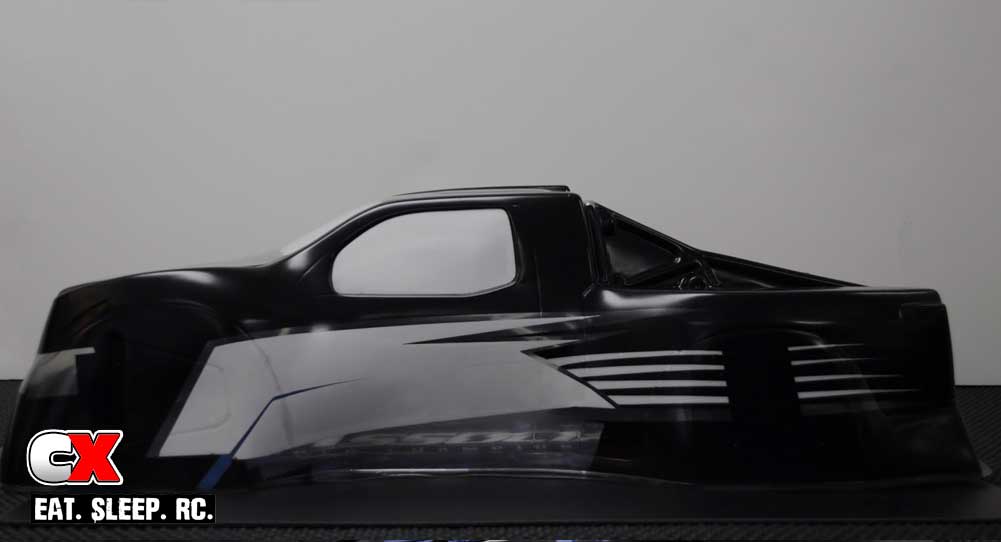
Spray down your black, using multiple layers of light coats and allowing each to dry completely in between. This will make sure the paint is spread evenly across the body without forming globs. Use a light to see if there are any spots you might have missed before we move on. You may note that the bed area was not completely covered – more on this at the end of the tutorial.
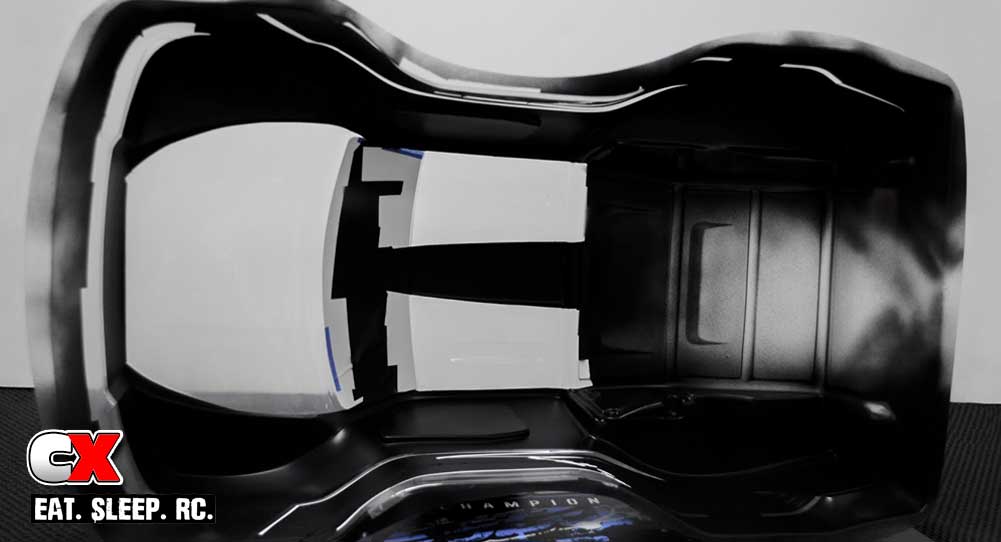
After the black has completely dried, remove the tape and vinyl for the next color. If you have any sections where paint may have bled through the taped-off sections, use the cut popsicle stick or plastic tool to scrape it away before moving to the next color.
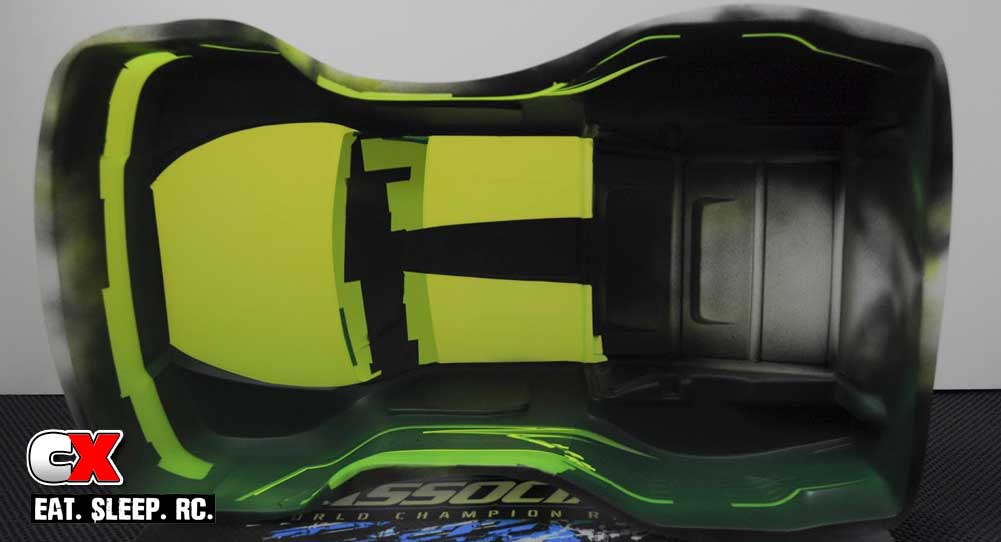
The second color used is fluorescent yellow. This will be used for the grid pattern. Use only one or two light coats here.
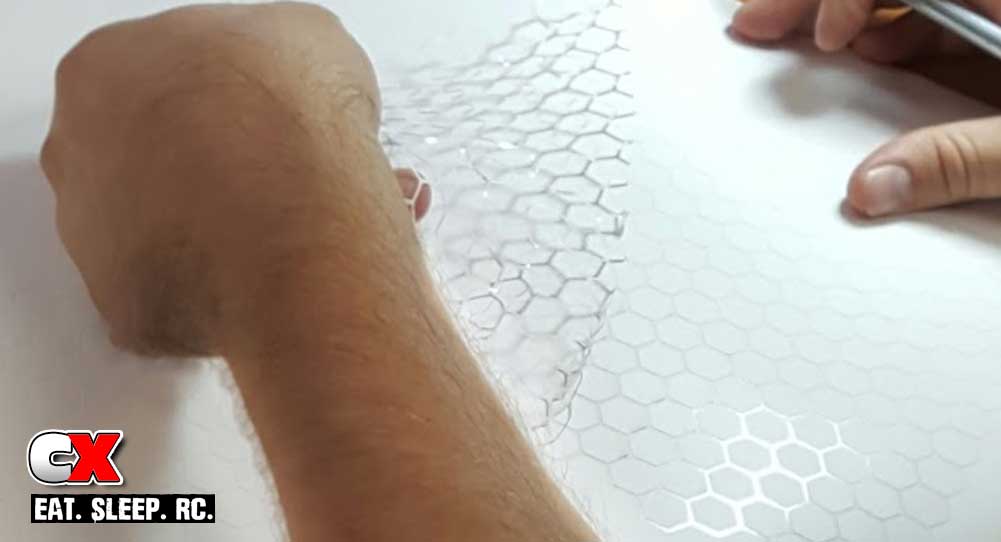
To create a cool honeycomb special effect, use some pre-cut hex vinyl. Once the fluorescent yellow is completely dry, place the hex pattern in all of the yellow sections. Since it is vinyl, it will adhere to the body and around some complex shapes.
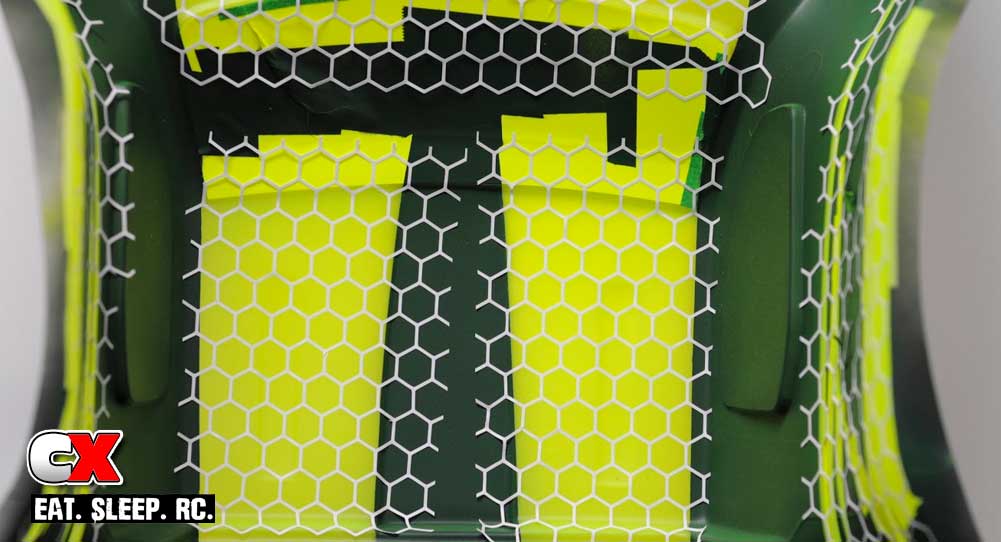
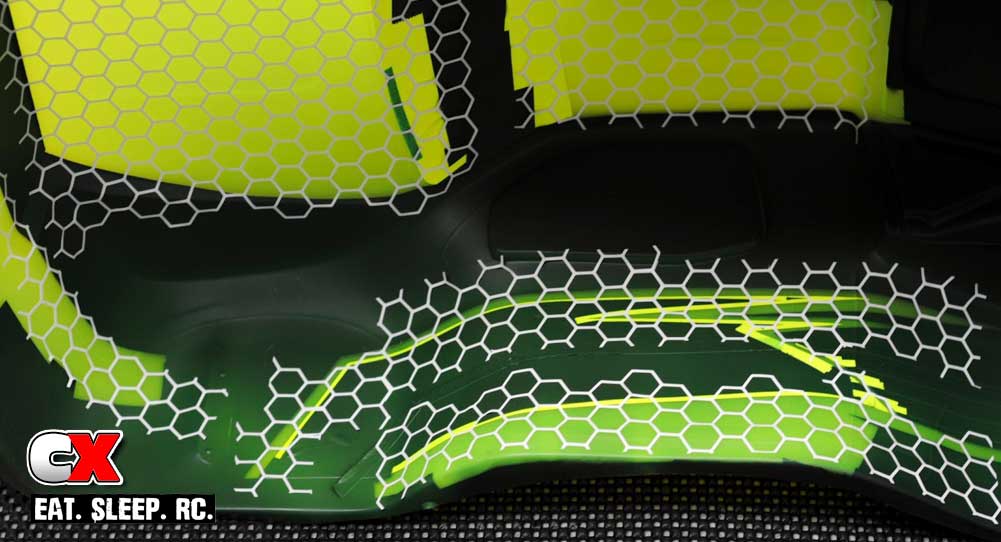
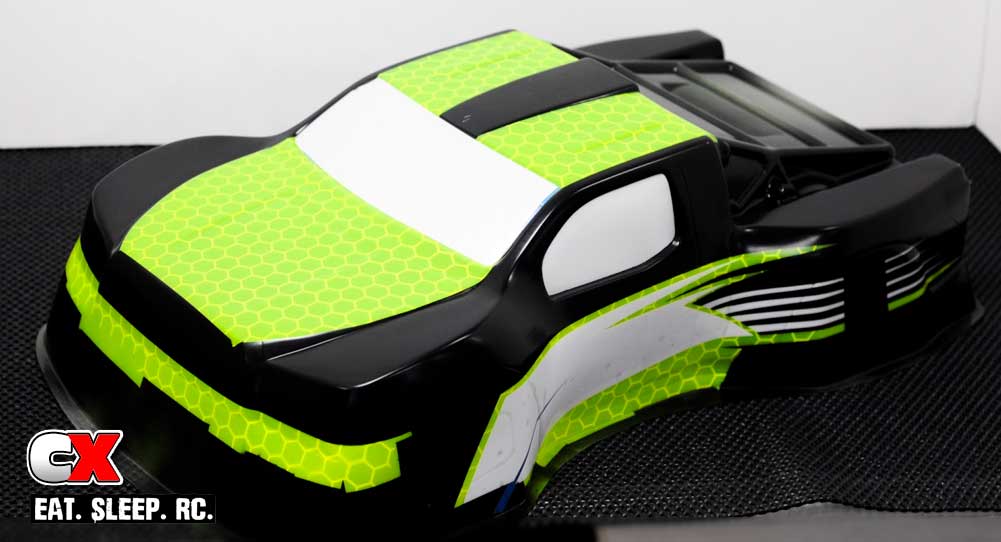
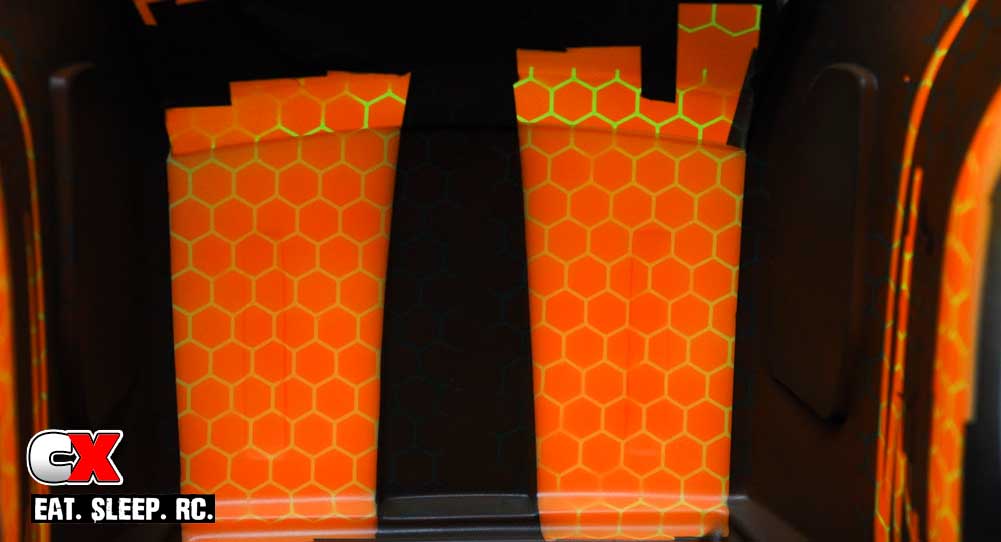
Once you’ve pressed all the honeycomb vinyl into place and are satisfied with the results, add a few light coats of fluorescent orange over all the yellow areas.
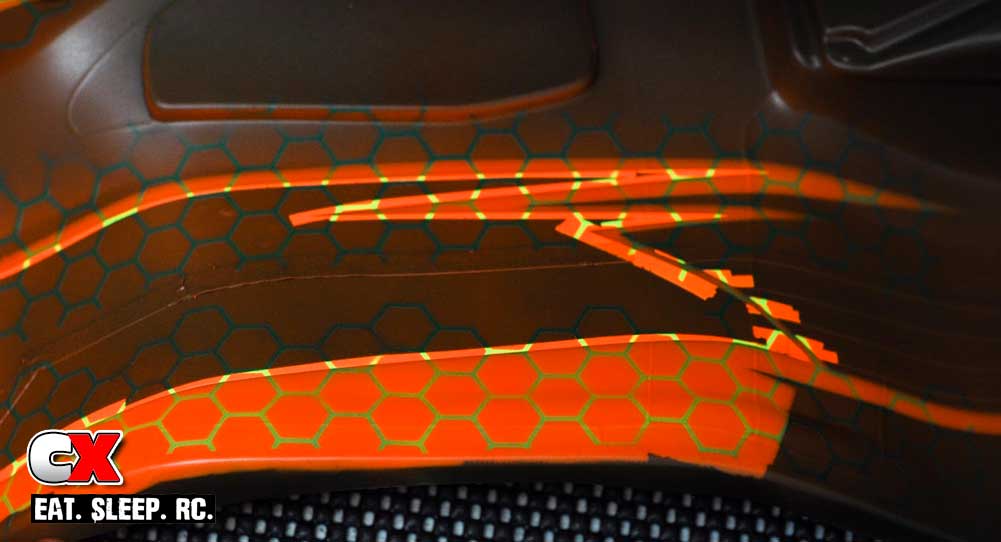
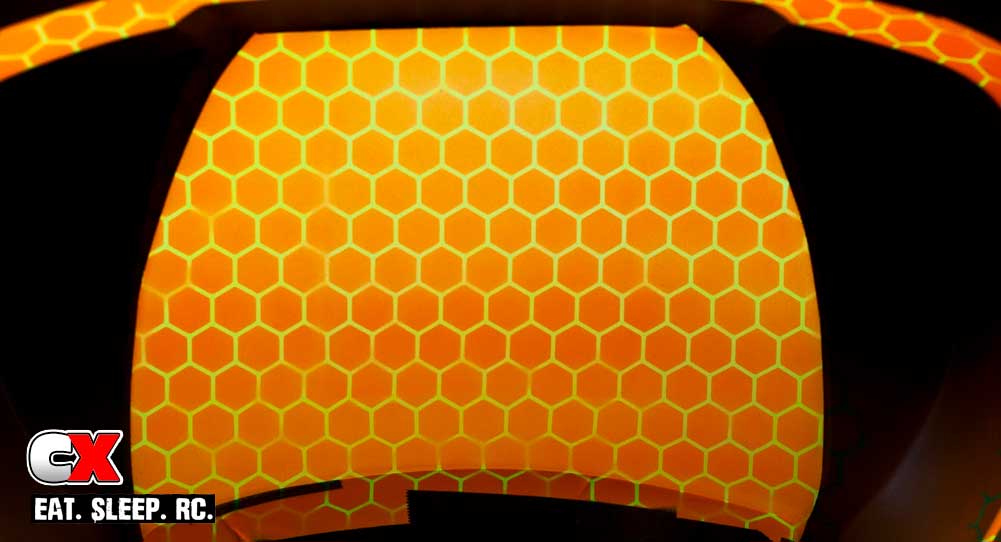
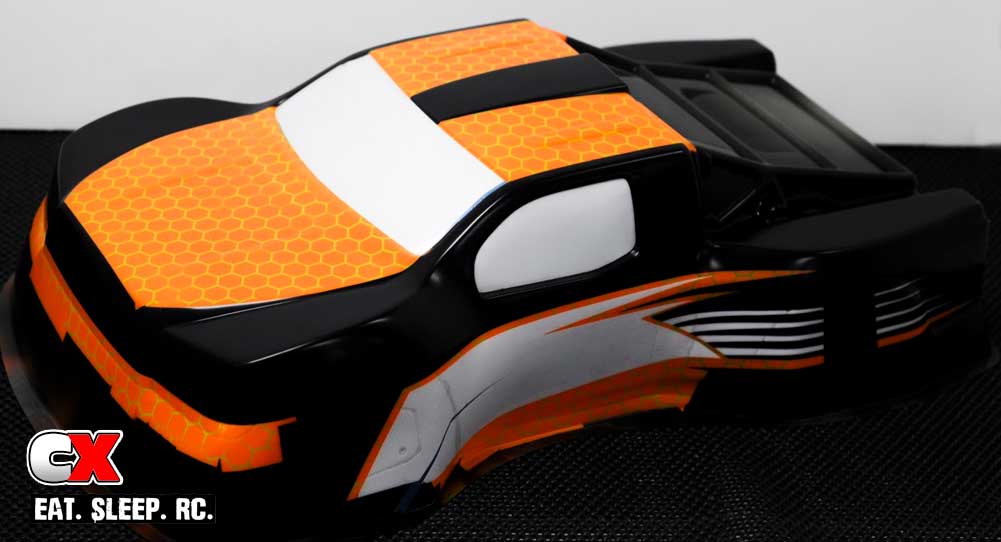
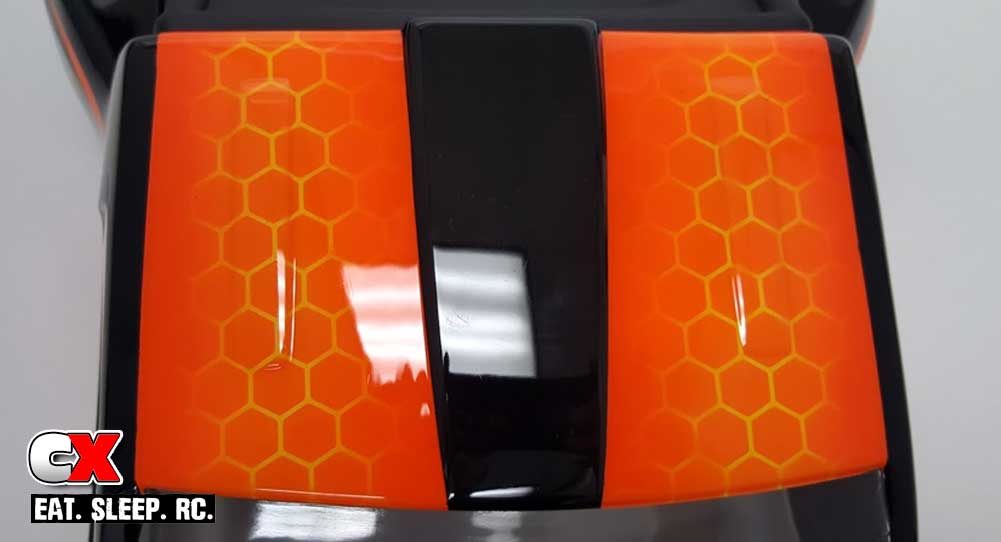
The final result will be this fluorescent yellow honeycomb pattern in the orange areas.
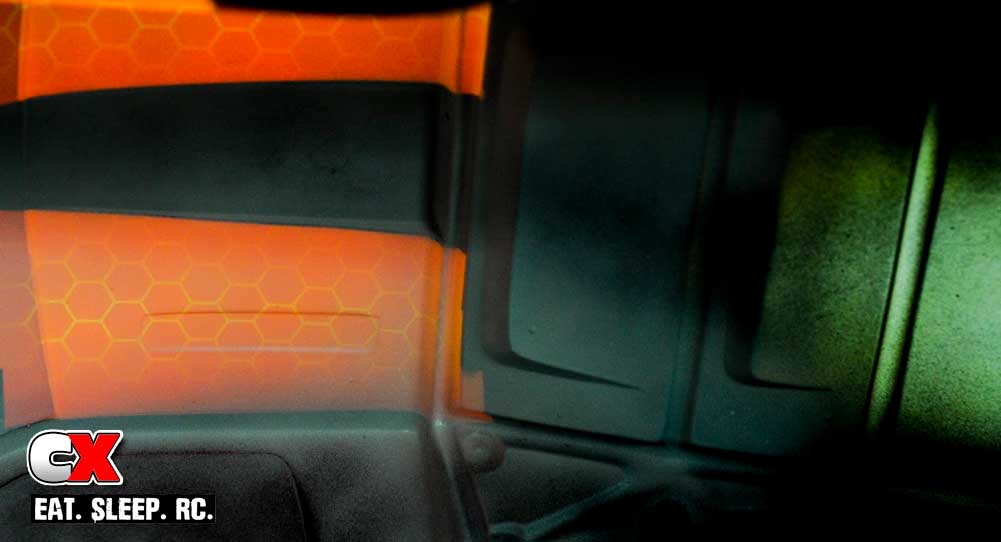
At this point, remove the honeycomb vinyl from all the areas on the truck. To add a little more depth, spray some more fluorescent orange around the edges to give a simple fade to the honeycomb areas.
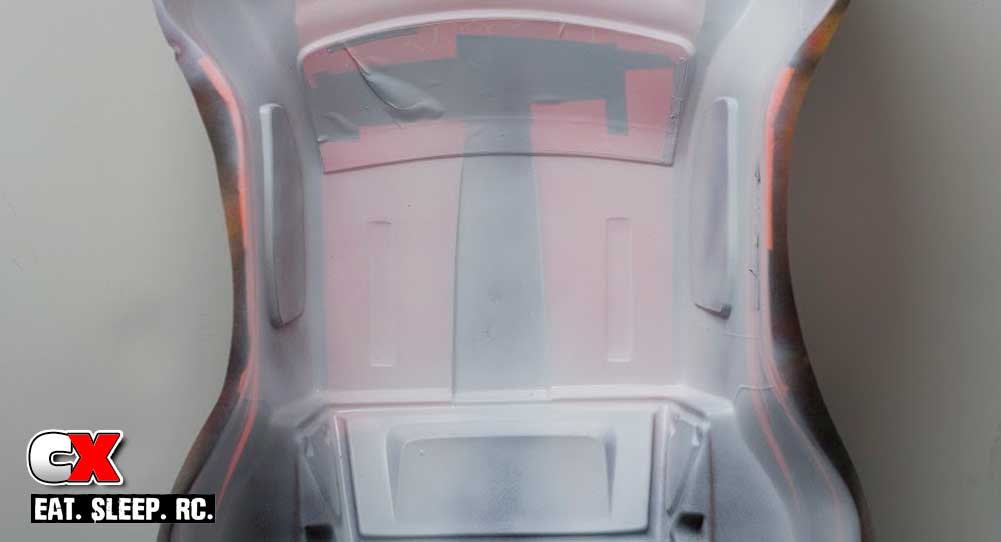
Once all of the orange fade is completely dry, back those areas with a good coat of white. The white, behind the fluorescent colors, will really make the design pop!
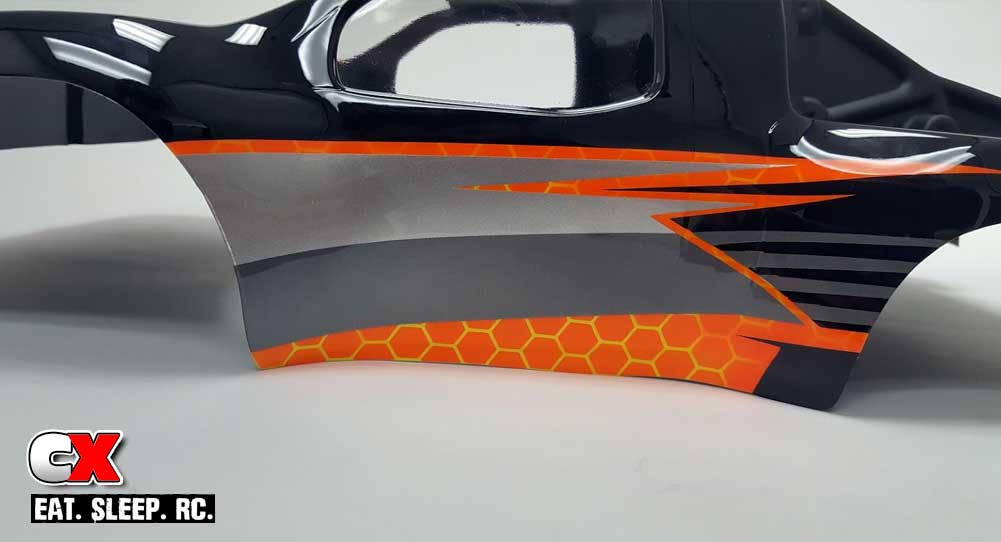
The next part of the design is the silver and gunmetal side panels. Remove the final vinyl layers and add the paint; nothing special here, just make sure each coat is dry before applying the next.
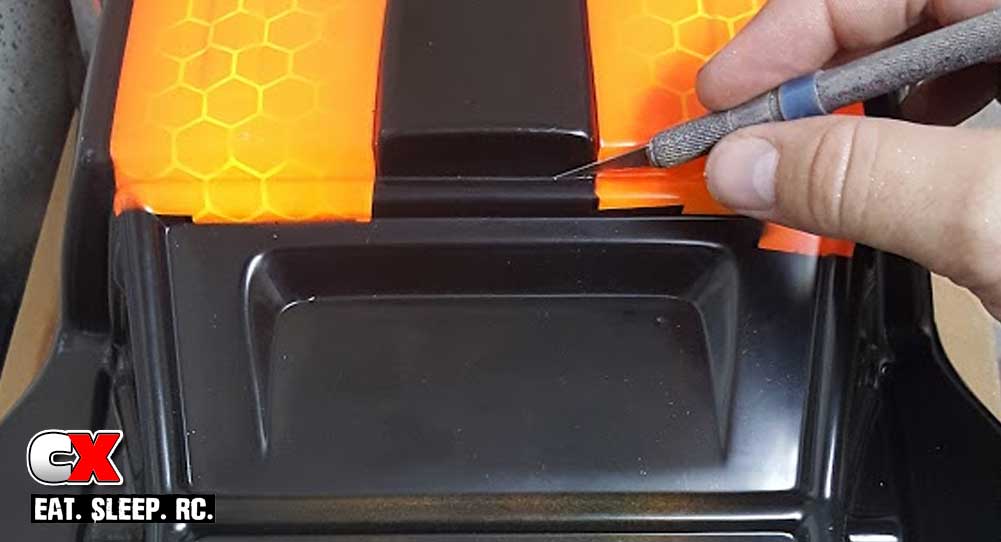
Remember when we said we weren’t going to paint the entire underside of the truck bed? Well, here’s a cool trick to add some flare to the outside of a truck body. Using a sharp Xacto knife, lightly score around the bed section of the truck from the outside of the body. Remove the overspray film (from just the bed section) and spray on a light coat of flat black paint. We recommend Rustoleum flat black – they have different colors so you can experiment when painting future bodies.
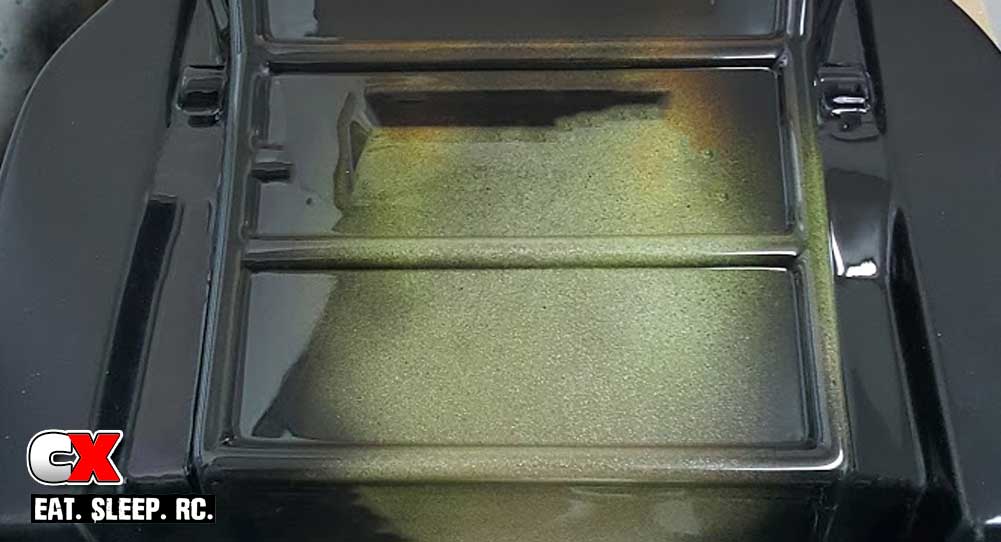
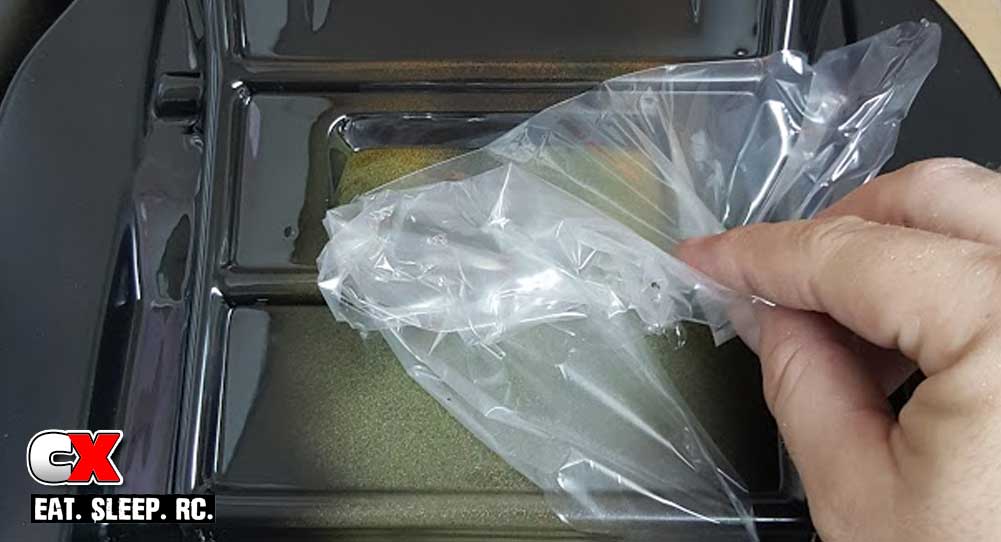
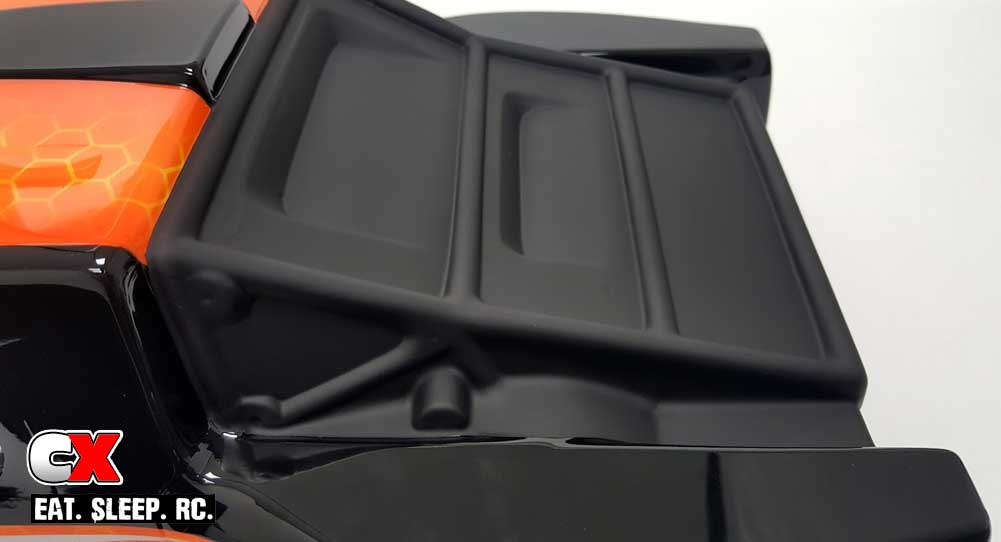
Looks pretty cool, right? The same procedure was used on the front grill as well.
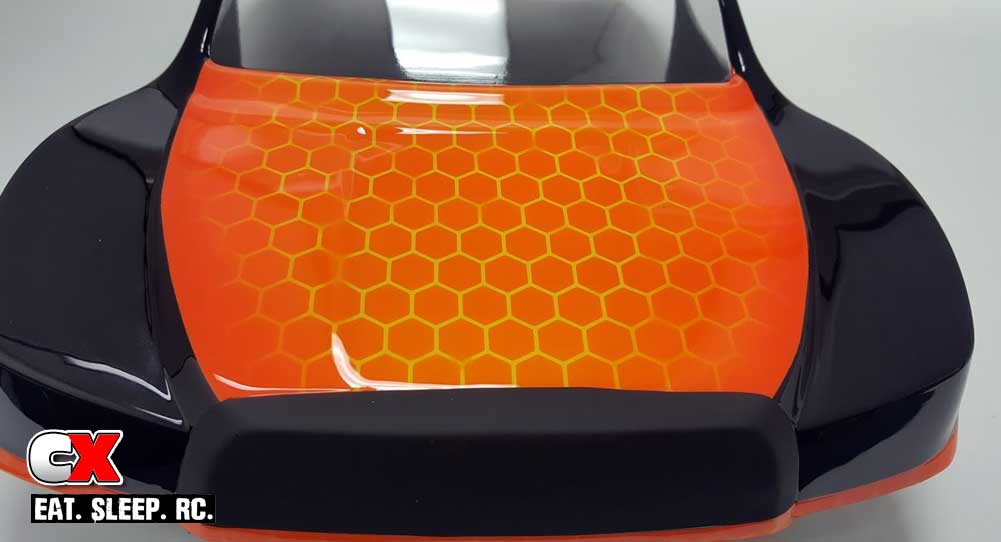
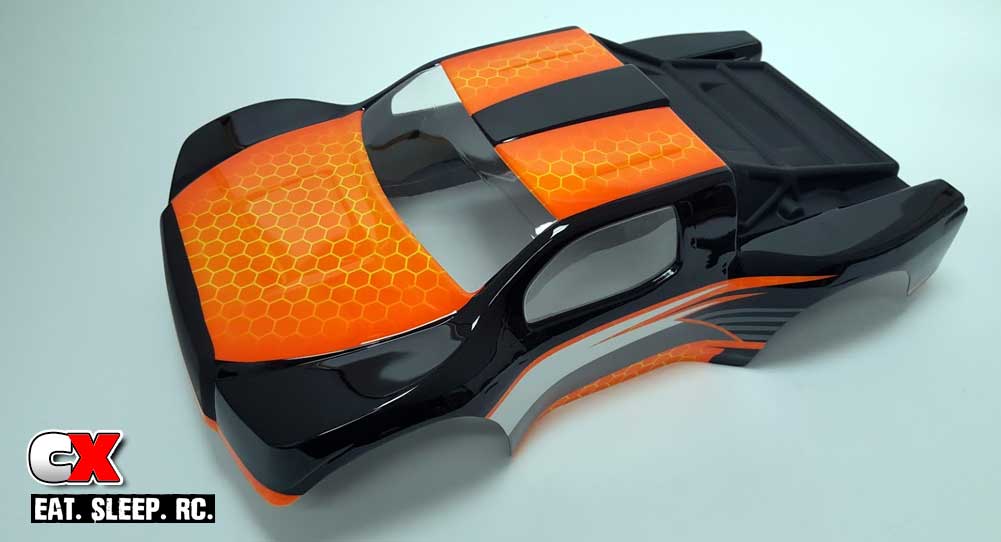
Once the bed section has completely dried, remove the remaining protective covering and window masks. Looks amazing, right? It’s time to apply some stickers and mount it on your Short Course truck!
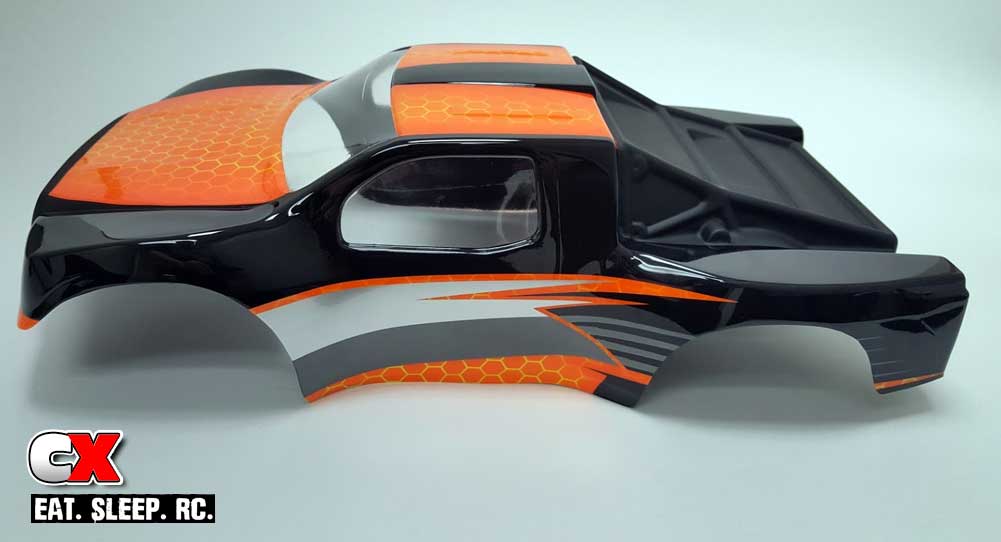
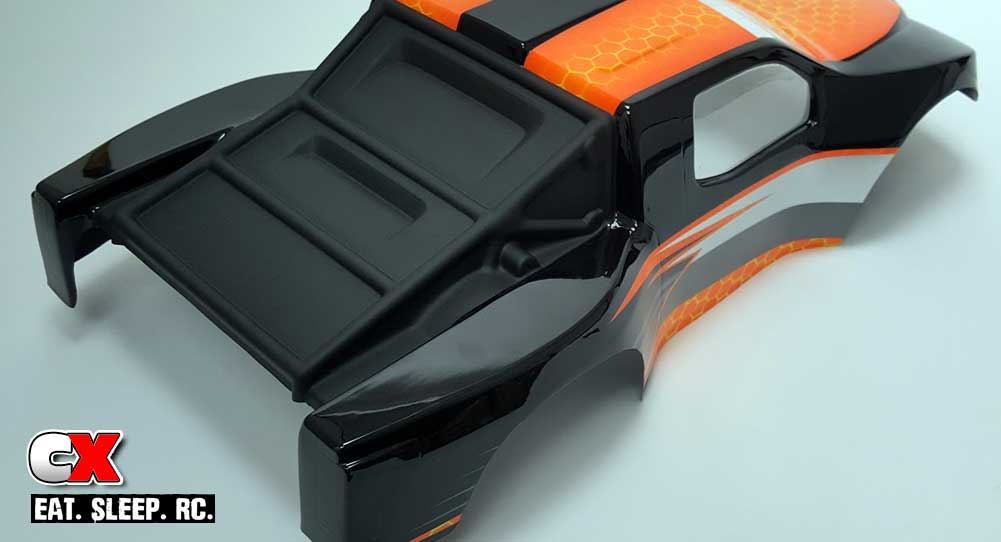
Easy enough, right? Well, maybe for Matt, but if you’re like me, a simple white paint job is a challenge – that’s why I like to hit up Sharkbait Designworks!
If you’re interested in getting a custom spritz on your ride, check out SBDW’s Facebook page: https://www.facebook.com/sharkbait.designworks/. They have a ton of their paint jobs on there for you to check out and the prices are very reasonable!
More painting tutorials will be coming soon – stay tuned!
 CompetitionX CompetitionX is the most up-to-date source for RC Car News, Reviews and Videos for Radio Control. We also have the most comprehensive Manual Database on the web.