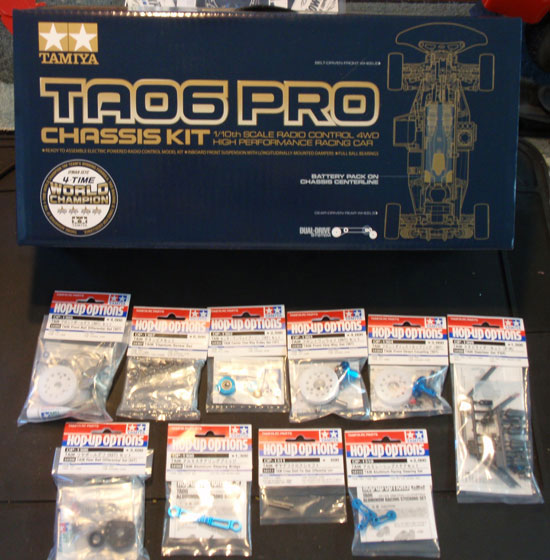
The Build – Part 3
For the third installment of the TA06 Pro Build we will be focusing on the front and rear suspension systems. The TA06 Pro uses the standard lower suspension arm/upper turnbuckle design. This is a proven design that also makes tuning and adjustment very easy.
Build Notes:
 You will be greasing up a few parts in this step. Have some towels ready to for clean up (uh, I’m not responsible if your parents/wife, significant other gets upset because you used their good set!).
 Build the rear suspension per the instructions. Tip: put a dab of the grease on the end of the suspension pins while installing the pivot balls. This prevents them from sliding off. Also, note the location of the ball ends in the arm…the holes are NOT in the same location on both sides of the arm.
I had a heck of a time getting the rear suspension block to drop into place. I had to loosen the rear gearbox/suspension block screws to allow enough space for it to snap into place. Once in place, remember to tighten the screws up again.
 Tamiya has included a full set of CVA’s with the TA06 Pro. THANK YOU!
I would advise waiting to lube up the CVAs until AFTER you are done assembling. The next step takes a bit of work and lubing up after will help keep your hands clean.
 While sliding the retainer clip on, keep in mind that the ‘hook’ part will need to drop into one of the extra holes in the CVA (see next step).
 This could be a little confusing the first time out but, once you’ve build one, the rest are easy.
 NOW you can apply the grease to the CVA. It doesn’t require much, just enough to keep things smooth.
 You will need to ream out the small hole that is used to capture the hinge pin. Take a hobby knife (BE CAREFUL!) and lightly poke through the plastic. It doesn’t need to be perfect as all of the excess plastic actually helps the set screw lock in place.
 Complete the rear suspension.
 The front suspension is similar to the rear. Again, take notice to the ball end location in the arm. The 4 holes are NOT in the same location on both sides of the arm.
 Assemble the steering block and caster block per the instructions. Don’t forget to install the small washer.
 Lining up the holes and the washer can be a little difficult if you have big hands. Take your time with this step.
 You will need to ream out the holes in the bottom of the caster blocks like you did with the rear hub carriers. Careful with that hobby knife!
 Complete the front suspension. The front suspension block is not as difficult to install as the rear. You shouldn’t need to loosen any screws.
 Part 4 – Assembling the shocks and installing the electronics.
Back to the Tamiya TA06 Pro Build List