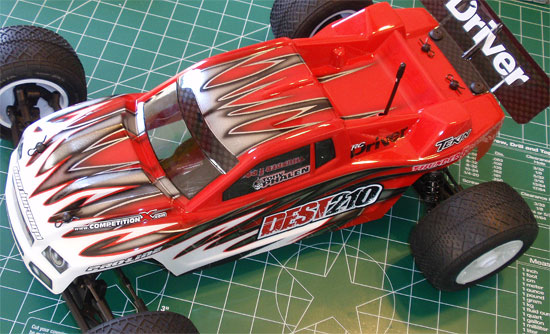
The Build – Part 1
The steering is the first thing we need to build on the FT SC10 4×4. Because it is buried DEEP in the chassis, you will need to have your servo for the first part of this build.
Build Notes: Since the instructions are step by step, I would suggest emptying the contents of each bag (as you get to that step) into a designated area so it is easier to find the parts you need. For example, the first part of the build uses Bag A. Empty that out to make it easier to find the parts. When it comes time for Bag B, do the same.
Some of the screws will thread into aluminum parts. Have some blue thread-locking compound handy to help prevent those screws from backing out while you run the truck.
Team Durango DEST210R Build – Step 1
Find the two Steering Bellcrank arms and insert one of the bearings as shown. Insert the small plastic shim down inside the arms and press the 2nd bearing into place. Make sure the plastic bushing is seated correctly before inserting the bearing.
Team Durango DEST210R Build – Step 2
Insert the 3x18mm screw through the Servo Bellcrank Support followed by a metal shim, the Servo Bellcrank Arm and then another metal shim. The first side will be easy; the second will take a little patience. The Servo Bellcrank Support is a little flexible, allowing you to flex it enough to get the screw to feed into the Servo Bellcrank Base.
Team Durango DEST210R Build – Step 3
Insert the ballend into the left Servo Bellcrank Arm.
Team Durango DEST210R Build – Step 4
Thread both ballends through the metal Servo Bellcrank Connecting Arm. It’s hard to see in the instructions (mine are quite dark) but the ballend goes through the center hole. Make sure you have it mounted in the same location on both sides.
Team Durango DEST210R Build – Step 5
Drop the ‘tophat’ spacer into place as shown…
Team Durango DEST210R Build – Step 6
…and screw into place with the 3x8mm screws. Don’t forget the washers. You’ll want to add a small dab of threadlocker here to keep the screws in place. DO NOT over tighten. There must be free movement in this assembly.
Team Durango DEST210R Build – Step 7
Take the Chassis Plug and attach it to the Chassis. The instructions call out the part as 320141-4, however that is not correct. The correct ‘tree’ number is 320121-4.
Team Durango DEST210R Build – Step 8
Now drop the Steering Bellcrank Assembly into place as shown. There are locating pins on the bottom of the Steering Bellcrank Base. Once you have it set into place, secure with the 3 3x6mm screws.
Tony Phalen -
As an avid RC enthusiast, Tony has been building, bashing and racing RC Cars for over 30 years. He has participated in every kind of surface racing events - 1/18 scale trucks, 1/10 scale TC, Rock Racers, Rally - if it had wheels, he's raced it! He's also worked on both sides of the industry fence; collaborating with many major manufacturers (as well as being a sponsored driver) to working for a high-profile industry magazine. During this time he has learned many tricks, tips and techniques and is sharing that knowledge on CompetitionX - the most informative RC website on the internet!

 Since the instructions are step by step, I would suggest emptying the contents of each bag (as you get to that step) into a designated area so it is easier to find the parts you need. For example, the first part of the build uses Bag A. Empty that out to make it easier to find the parts. When it comes time for Bag B, do the same.