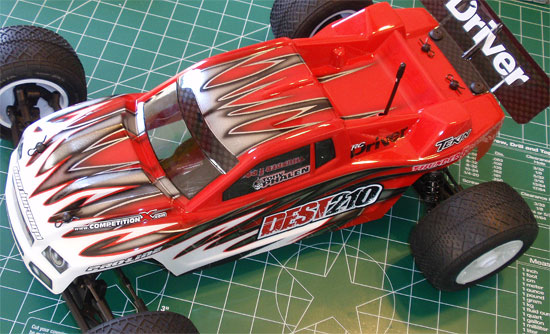
The Build – Part 5
The rear suspension of the DEST210R is as simple to assemble as the front.
Build Notes: You will need to use black grease to build the rear drive axles. Have some paper towels available to help with clean-up.
Pay close attention to the direction of the rear suspension arms. Building these backwards means building them twice.
Team Durango DEST210R Build – Step 36
Let’s start off by building the drive axles. Grab a dogbone and shoot some black grease into the open end. Take the coupler and slide it through the hole. Make sure the couple ‘pin’ hole is visable through the slot in the of the dog bone’s open end.
Team Durango DEST210R Build – Step 37
Put a liberal amount of black grease on the ‘ball’ of the drive axle and insert it into the axle. Line up the axle hole with the coupler hole and slide the pin in place. Set both axles aside.
Team Durango DEST210R Build – Step 38
Press the bearings into the rear hub carrier.
Team Durango DEST210R Build – Step 39
Insert the ball end into the hub carrier. Use hole #3 (see set up sheet for hole numbers). Don’t forget to insert the plastic spacer!
Team Durango DEST210R Build – Step 40
Slide the assembled axle through the hub carrier. Take the hex adapter and slide it onto the axle FIRST (note the direction). Line the hole in the axle up with the slot in the hex adapter and slide the pin into place. This is a pretty tight fit so the pin should stay in place.
Team Durango DEST210R Build – Step 41
The next step involves the rear toe in the 210R. The rear toe block already adds 3 degrees of rear toe this is, in essense, extra toe. I would suggest starting with the 0 or -.5 degree toe insert. Make sure you insert both in the same direction in the rear hubs.
Team Durango DEST210R Build – Step 42
Take your hub carrier assemblies and lay them out as shown. Now place the rear suspension arms out as shown, also. This step is to verify the correct arms are set for the correct side of the truck.
Team Durango DEST210R Build – Step 46
Drive the Droop Screw into the arm (from the bottom). To start, screw it all the way down. This will also help out when attaching the arms to the chassis.
Team Durango DEST210R Build – Step 43
Insert the 2.5x4mm screw into the Hinge Pin retaining hole on the outside of the arm. You can insert either screw first.
Team Durango DEST210R Build – Step 44
Slide your Hinge Pin through the arm boss, through a pair of the Wheelbase Spacers, through the Hub Carriers and through the final pari of Wheelbase Spacers. Yes, it’s a bit tricky but MUCH easier than the front assembly.
Team Durango DEST210R Build – Step 45
Insert the other 2.5x4mm screw to lock the Hinge Pins in place.
Team Durango DEST210R Build – Step 47
Choose the inner Arm Mount you wish to use and secure it to the Chassis.
Team Durango DEST210R Build – Step 48
Slide the inner Hinge Pin through the arm and cap each end with a Hinge Pin Ball. These are a very loose fit so a dab of grease will help keep them attached.
Team Durango DEST210R Build – Step 49
Slide the arms into place, followed by the rear toe block. Secure with the pair of 3x8mm screws.
Tony Phalen -
As an avid RC enthusiast, Tony has been building, bashing and racing RC Cars for over 30 years. He has participated in every kind of surface racing events - 1/18 scale trucks, 1/10 scale TC, Rock Racers, Rally - if it had wheels, he's raced it! He's also worked on both sides of the industry fence; collaborating with many major manufacturers (as well as being a sponsored driver) to working for a high-profile industry magazine. During this time he has learned many tricks, tips and techniques and is sharing that knowledge on CompetitionX - the most informative RC website on the internet!


 You will need to use black grease to build the rear drive axles. Have some paper towels available to help with clean-up.