The Build – Part 11
The final step in our Team C TM4 build is installing the wheels/tires and body.
Build Notes:
![]() You’ll be using CA glue to mount the tires to the wheels. CA glue can be nasty stuff if you treat it wrong, so please be careful not to glue your fingers together, or any other body parts.
You’ll be using CA glue to mount the tires to the wheels. CA glue can be nasty stuff if you treat it wrong, so please be careful not to glue your fingers together, or any other body parts.
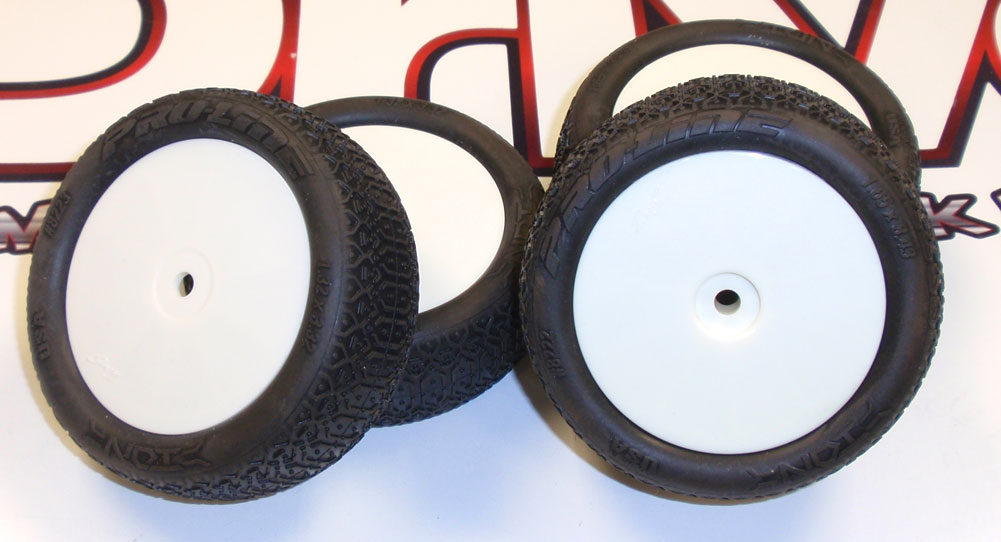
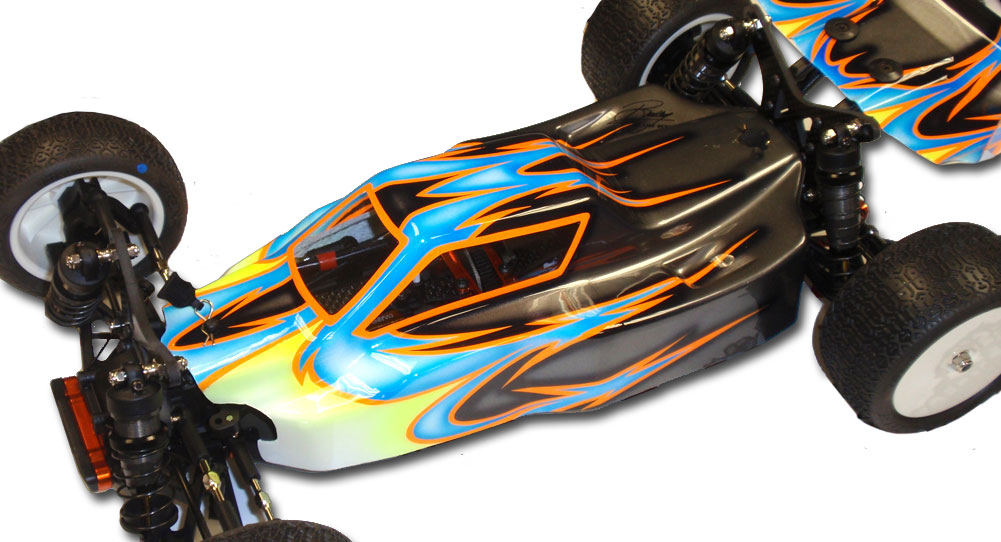
The TM4 doesn’t come with tires, allowing you to use whatever tires work best at your track. I’m mounting up some Proline IONs.

After the glue has dried, mount the skinny tires to the front, the wider ones to the rear. Schelle Racing has a cool wheel wrench that works great.
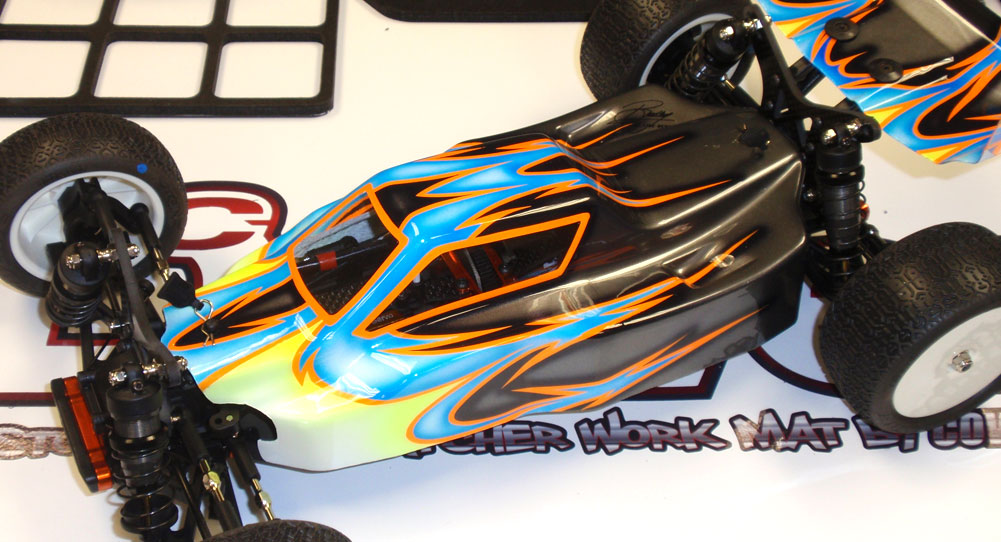
Paint, cut out and mount your TM4 body and wing. Secure the body with the pair of body clip (with handy pull tabs). Secure the wing with the M3x10 screws and washers.
I’d like to give a special shout out to Larry Genova at Kustom RC Graphics for his amazing paint job on the TM4. Check out his site; he does some amazing work!
There you go, a complete and ready to race 4WD buggy. Add some stickers and get out on the track!
Thanks for following along with the Team C TM4 build. You can see some of our other builds on the CompetitionX Build Blog Page.
 Team C TM4 Buggy Build – Part 1 – Main Chassis Prep
Team C TM4 Buggy Build – Part 2 – Differentials
Team C TM4 Buggy Build – Part 3 – Gearboxes
Team C TM4 Buggy Build – Part 4 – Center Clutch
Team C TM4 Buggy Build – Part 5 – Steering
Team C TM4 Buggy Build – Part 6 – Top Deck/Shock Towers
Team C TM4 Buggy Build – Part 7 – Front Suspension
Team C TM4 Buggy Build – Part 8 – Rear Suspension
Team C TM4 Buggy Build – Part 9 – Shocks
Team C TM4 Buggy Build – Part 10 – Electronics
Team C TM4 Buggy Build – Part 11 – Wheels, Tires, Body