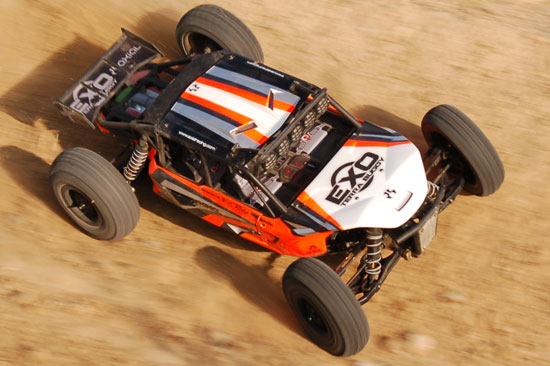
The Build – Part 6
Part 6 has you assembling and attaching the steering system to your Axial EXO Terra. The EXO comes equipped with a stout servo saver to help protect your servo.
Build Notes: Compressing the servo saver spring will help ‘settle’ it quickly. This collapsing of the spring also helps build the servo saver.
You will need to build two steering rods, however the final assembly of one will be backwards. See the step below for clarification.
A pair of washers are included with the EXO that are not in the manual. This is an appendum and should be found in your box prior to starting this step.
Axial EXO Terra Build - Step 57
Gently press the bearings into the bottom of the servo bellcrank arms as shown. Note the orientation of the right bellcrank. Insert the steering posts.
Axial EXO Terra Build - Step 58
Place a 2nd bearing over the steering post as shown and cap it with the steering post spacer.
Axial EXO Terra Build - Step 59
With a pair of large pliers, gently collapse the servo saver spring. DO NOT USE NEEDLENOSE OR ANY OTHER SORT OF SMALL PLIERS! Doing so may skew the spring out of its original position and cause it to not fit over the bellcrank post.
Axial EXO Terra Build - Step 60
While this is not a required step, it is something I’ve learned to do over the years to most of my offroad vehicles. Carefully coat the servo saver lip with black grease. This will help keep the servo saver lubed when out in the dust and dirt. Not doing so can cause the two plastic pieces to wear out prematurely or even eventually bind up. This is a preventative step that you’ll thank me for later!
Axial EXO Terra Build - Step 61
Assemble the servo saver. Note the direction of the plastic pieces. You may also have a little bit of black grease oozing out at this point. Just wipe it clean and you’ll be good to go.
Axial EXO Terra Build - Step 62
Attach the servo saver bellcrank to the steering rack. The screw and bearing feed through the bottom, then the ‘appendum’ spacer followed by the servo saver assembly.
Axial EXO Terra Build - Step 63
Attach the other bellcrank in the same fashion; screw and bearing through the bottom, followed by the ‘appendum’ spacer and bellcrank. At this point, swivel the steering assembly; it should move freely. If it doesn’t, loosen up the screws feeding through the rack SLIGHTLY and try again. You want free movement with the least amount of slop possible.
Axial EXO Terra Build - Step 64
Build 2 steering links as shown.
Axial EXO Terra Build - Step 65
Attach the steering link to the steering rack by feeding the screw through the bottom, through the link and secured with the locknut. Note the direction of the links. I assembled my EXO with the link in the middle hole.
Axial EXO Terra Build - Step 66
Secure the steering posts to the chassis as shown. A dab of loctite will help prevent these screws from backing out.
Tony Phalen -
As an avid RC enthusiast, Tony has been building, bashing and racing RC Cars for over 30 years. He has participated in every kind of surface racing events - 1/18 scale trucks, 1/10 scale TC, Rock Racers, Rally - if it had wheels, he's raced it! He's also worked on both sides of the industry fence; collaborating with many major manufacturers (as well as being a sponsored driver) to working for a high-profile industry magazine. During this time he has learned many tricks, tips and techniques and is sharing that knowledge on CompetitionX - the most informative RC website on the internet!


 Compressing the servo saver spring will help ‘settle’ it quickly. This collapsing of the spring also helps build the servo saver.