The Build – Part 9
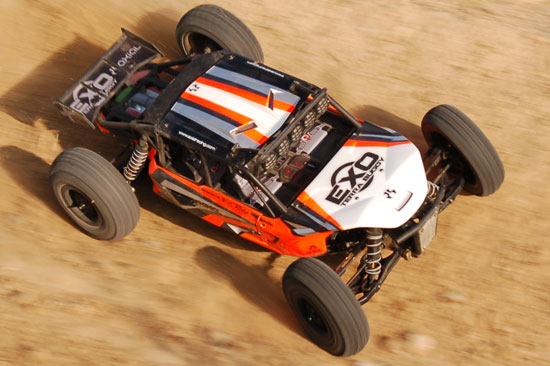
The cage of the EXO is probably the coolest part of this build. It’s rigid build helps protect the EXO’s innards from damage and, with the help of the body panels, also keeps dirt and debris out of the chassis.
Build Notes: The EXO’s cage ties directly into the chassis to form a very rigid platform. Do not tighten all the screws down until the entire cage is complete. This ensures the cage is ‘square’.
Axial EXO Terra Build - Step 99
Attach the front aluminum skid plate to the front bumper.
Axial EXO Terra Build - Step 100
Attach the front bumper to the upper bumper support.
Axial EXO Terra Build - Step 101
Attach the front bumper (and upper support) the the front bulkhead.
Axial EXO Terra Build - Step 103
Attach the crossbar to the left side of the cage.
Axial EXO Terra Build - Step 102
Attach the crossbrace to the cage’s front hood piece.
Axial EXO Terra Build - Step 104
Press the crossbar/chassis mount into the front hood assmebly…
Axial EXO Terra Build - Step 105
…and attach to the left side of the cage.
Axial EXO Terra Build - Step 106
Close up of the aluminum shock mount braces. Note the direction and the white colored boxes. These help designate which side of the chassis they mount to.
Axial EXO Terra Build - Step 107
Press fit the aluminum shock mount to the left side of the cage as shown.
Axial EXO Terra Build - Step 108
Screw in the rear crossbrace to the left side cage, through the aluminum shock mount.
Axial EXO Terra Build - Step 109
Attach the roll cage top to the left side of the cage. Note the direction of the top cage. Make sure it is facing the right direction.
Axial EXO Terra Build - Step 110
Attach the aluminum skid to the rear bumper.
Axial EXO Terra Build - Step 111
Attach the rear intermediate crossbrace/chassis mount to the left side of the chassis.
Axial EXO Terra Build - Step 112
Attach the rear crossbrace to the left side of the cage. Note the orientation of this brace.
Axial EXO Terra Build - Step 113
Attach the rear bumper/skid plate to the left side of the cage.
Axial EXO Terra Build - Step 114
Insert the body mount and secure with the long set screw.
Axial EXO Terra Build - Step 115
Press the other aluminum shock mount brace into place.
Axial EXO Terra Build - Step 116
Slide the left hand cage into place and secure.
Axial EXO Terra Build - Step 117
Bolt up the front and rear of the cage. Place the cage on a flat surface (to square it up) and tighten down all of the screws.
Tony Phalen -
As an avid RC enthusiast, Tony has been building, bashing and racing RC Cars for over 30 years. He has participated in every kind of surface racing events - 1/18 scale trucks, 1/10 scale TC, Rock Racers, Rally - if it had wheels, he's raced it! He's also worked on both sides of the industry fence; collaborating with many major manufacturers (as well as being a sponsored driver) to working for a high-profile industry magazine. During this time he has learned many tricks, tips and techniques and is sharing that knowledge on CompetitionX - the most informative RC website on the internet!


 The EXO’s cage ties directly into the chassis to form a very rigid platform. Do not tighten all the screws down until the entire cage is complete. This ensures the cage is ‘square’.