Taking Advantage of the High Voltage
Battery technology has changed leaps and bounds over the years; first there were the NiCds, then the NiMh packs and now LiPos. This advancement has taken the cells from weighty, low-power bricks to packs that are lightweight, have double the power and are only half the size! These ongoing modifications definitely keep charger manufacturers scrambling for the best (and safest) way to extract the most power. LRP’s new Pulsar Pro is one such charger, allowing the user to not only charge all the different types of cells at up to a 10A charge rate, but also giving the option to increase the terminal charge voltage to 4.40V per cell.
What does that mean? Well, we’ll get into that in a bit (as well as some other cool features), but let’s just say that this new charger is designed to take advantage of the newest ‘Outlaw’-style packs that provide more power and longer run times than standard LiPo cells. Time to crack open the box, hook up this new charger and see what it’s got to offer.
Specifics
Product: LRP Pulsar Pro Charger – Professional Battery Management
Part Number: 41421US
Cost: $131.49
Type: Charger/Discharger/Balancer
Input Voltage: AC/DC; AC 100-240v, DC 11-18v
Charge Rate: 0.1 – 10A
Battery Type: NiCd, NiMh, LiPo, LiFe, Lilo and PB Batteries
Cell Count: 1-15 NiCd/NiMh, 1-6 Lithium
Discharge Rate: .1 to 5A
Display: Front facing backlit 16×2 LCD screen
Additional Ports: Temperature Sensor Port, Micro USB Port, USB Port
What’s In The Box
The LRP Pulsar Pro comes in an attractive box with a heavy duty foam insert that keeps everything well protected. In the left compartment sits the Pulsar Pro; the right compartment contains the power wire, DC power clips and the charging plugs. A manual is also included with instructions and additional information to get you up and charging in no time. Unfortunately, no balance board is included.

The Charger
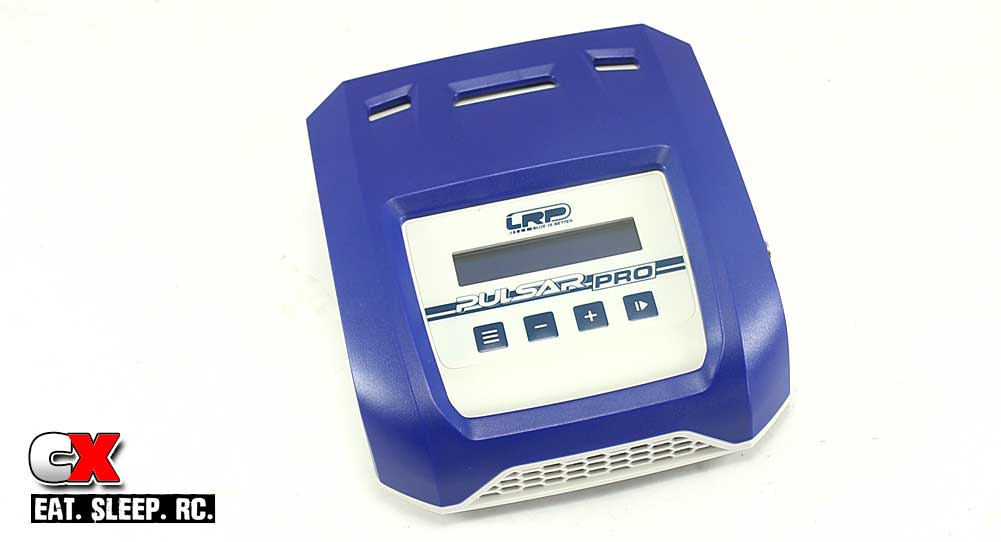
The LRP Pulsar Pro looks similar to previous models, but right away most will notice the new color scheme. Instead of the dark and ominous black and blue, this new unit now sports a brighter blue and white scheme. While I’m usually a fan of darker colors, this new color design actually makes it look a bit more classy, maybe, dare I say, more expensive? Anyway, it’s a good looking charger, so it’s time to take it out of the box and do a quick walkaround to see what the Pulsar Pro has to offer.

External
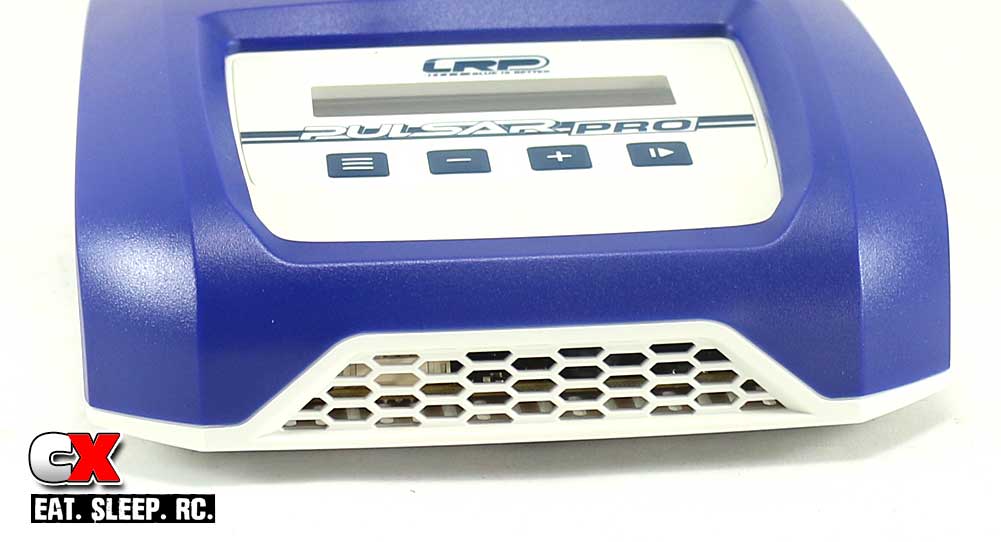
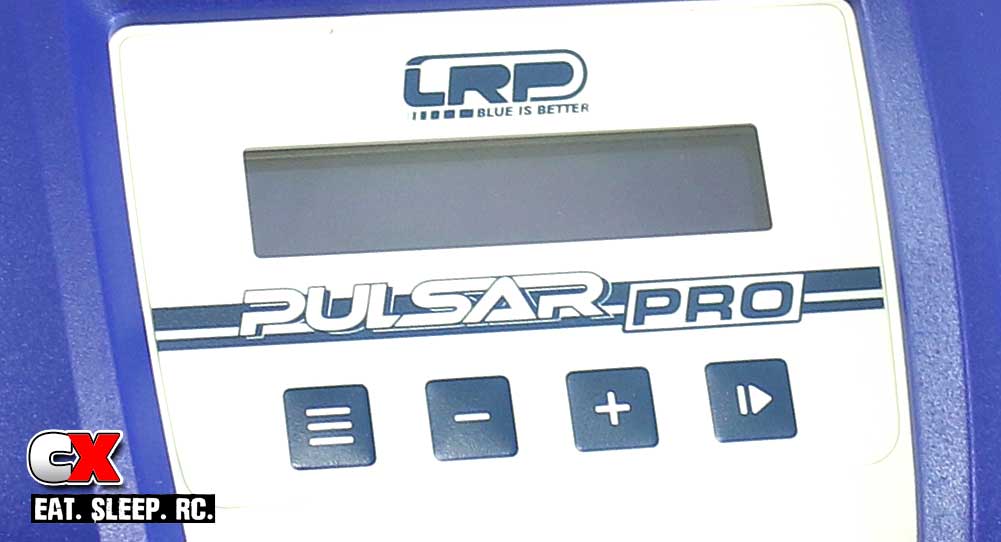
The case is a two-piece unit; the top being molded in blue, the bottom in white. A white insert on top houses the 16×2 backlit LCD screen and four push buttons. These are the buttons you’ll be using to control all of the functionality of the Pulsar Pro; we’ll touch on those in a bit.
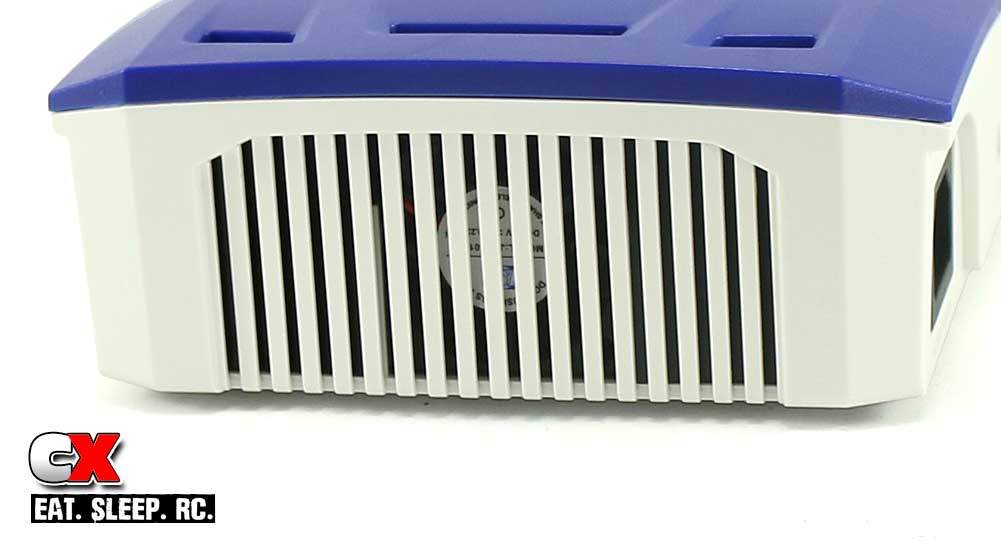
Just above the white insert are three cooling vents. These, in addition to the mesh grill on the front of the unit, help keep it cool during heavy charge use.

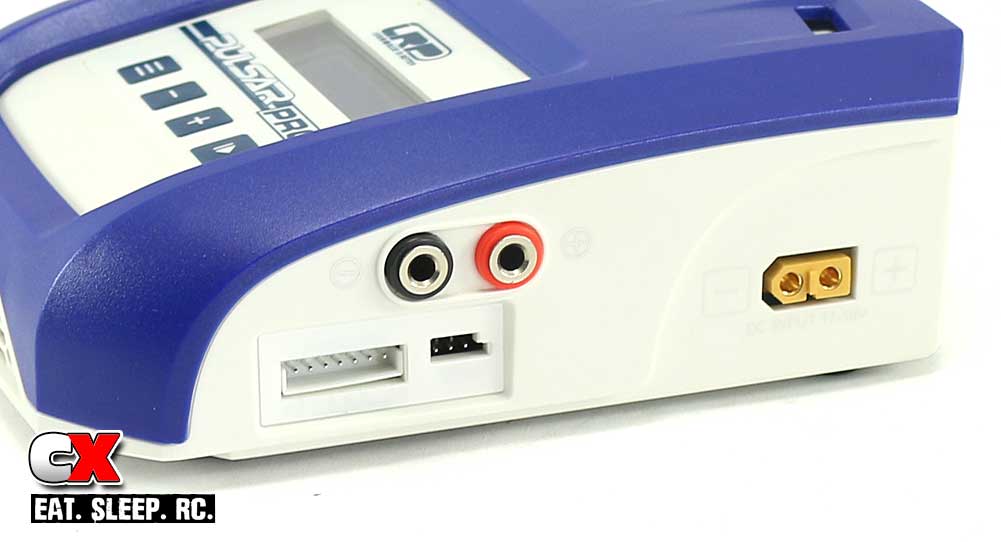
Turning the Pulsar Pro to the right, we see all the charging ports. There are the negative and positive banana plug ports, the 6-pin balance plug port and temperature port. The banana plug ports are colored black and red (for negative and positive) and also labeled with a – and + symbol. This makes it very easy to identify while also making it near impossible to hook up backwards (however, I’m sure it still happens). The 6-pin balance port and temperature port are also labeled, however the markings are a bit faint (at least on my unit) so take a couple extra seconds to make sure you plug the balance port plug in correctly.
In addition, this side of the charger also has the DC input plug, also labeled with a – and +. This particular plug is designed to only fit one way, so there’s no chance of hooking it up backwards.

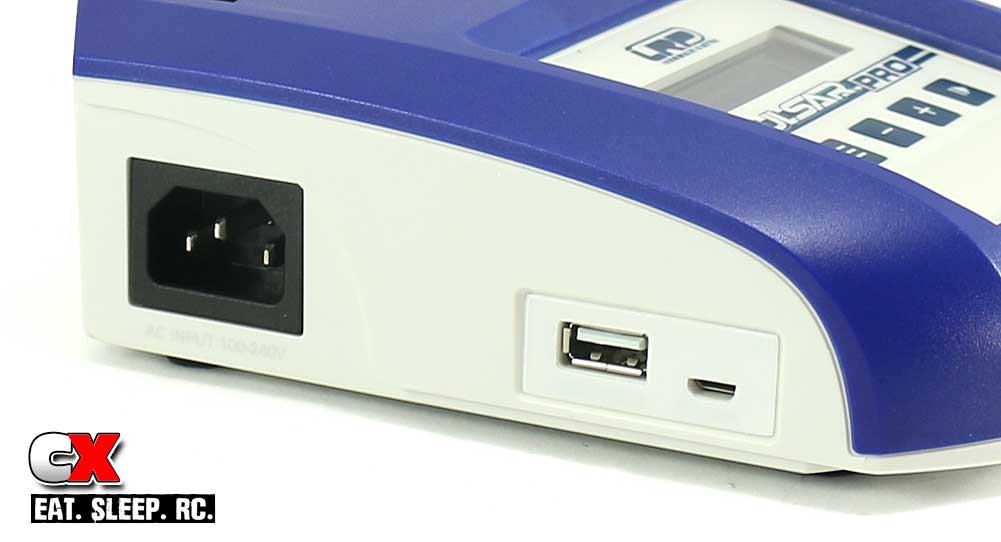
Moving to the right side of the Pulsar Pro, we have the AC input port, a 5v/2.1A USB port and a PC Link port. Since more and more people are using their portable devices in the pits (for looking up race results, watching auto racing or catching up on past episodes of Dancing with the Stars), this USB port is capable of keeping these devices completely charged. The PC Link port is used to keep all the software on the Pulsar Pro up to date.
The back of the Pulsar Pro is all about keeping the unit cool. It’s one big vent with a nice, large fan barely visible behind it. There should be no problems with overheating, just make sure you leave some room behind the charger for the hot air to escape.
The bottom of the unit has some vents as well and four large rubber feet to keep the charger from sliding around. This should also keep the surface you set it on protected from scratches.
Internal
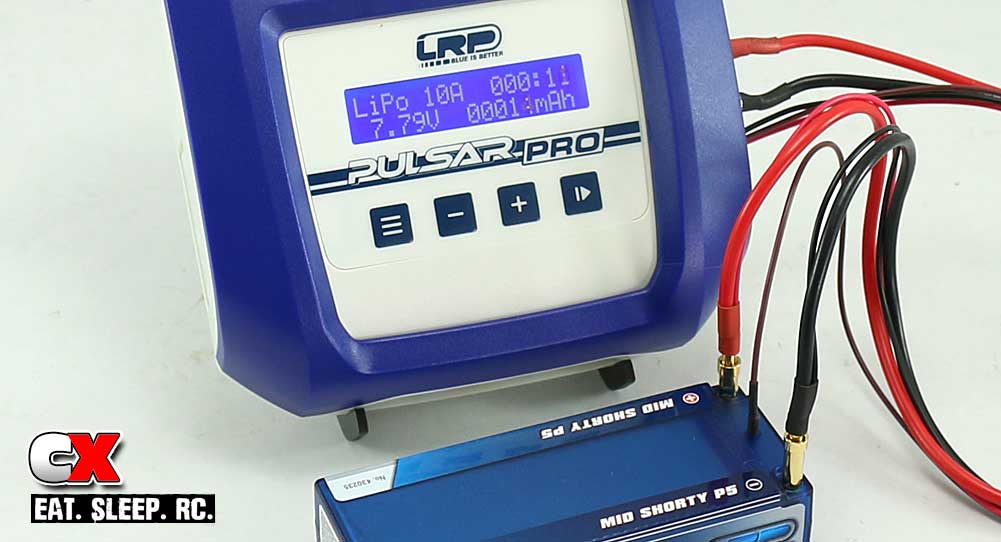
The LRP Pulsar Pro is only a single channel charger, meaning you can only charge one battery at a time. When you fire it up, you are greeted with the ‘home’ screen; a flashing P1 (for Profile 1), battery type, battery voltage and what mode the charger is in. In this case, those variables showed P1 (Profile 1), LiPo, 7.4v and Charge. The four function buttons below are as follows: Menu button, DEC (-), INC (+) and Start/Stop button.
The Menu button resembles the same button used to bring up the menu on websites while using a mobile device; 3 horizontal lines – perfect for all the millennials out there. It is used to, obviously, bring up the Menu, allowing you to cycle through Charge, Discharge, Balance and access the Settings. The DEC (-) and INC (+) buttons change the variables in each section and the Start/Stop button confirms your changes. The Start/Stop button also starts the Charging/Discharging/Balance function.

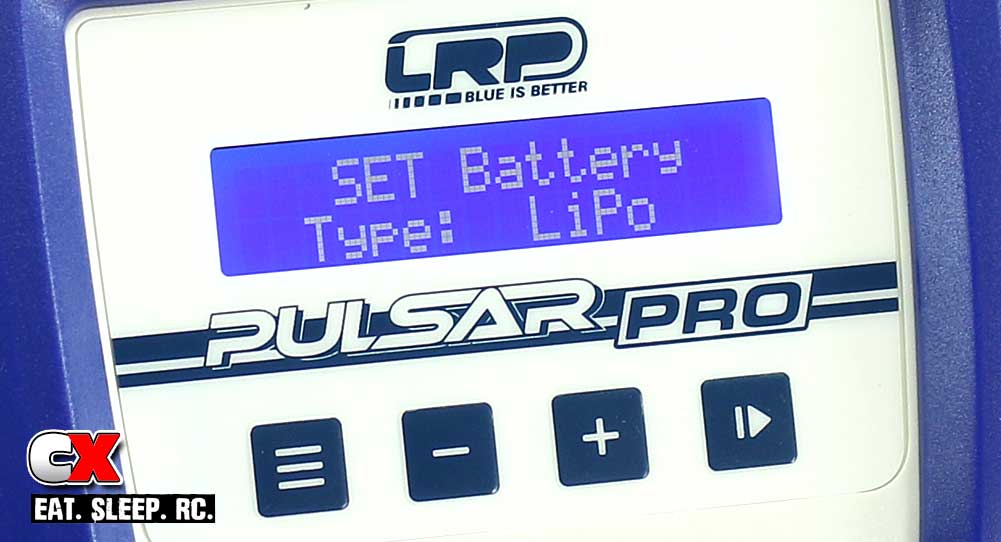
While the Charge, Discharge and Balance modes are pretty self-explanatory, let’s take a quick stroll through the Settings area. I pressed the menu button until I got to the Settings mode, then pressed the Start/Stop button to confirm. Let’s run down each sub-section (these are the settings used for Lithium batteries – NiCd or NiMh settings will differ):
• SET Battery – Type: This section lets you select the battery type you will be using; LiPo, Lilo, LiFe, NiCd, NiMh or Pb.
• SET Battery – Voltage: Allows you to set the Voltage of the pack, ie, 3.7V (1S), 7.4v (2S), 11.1V (3S), 14.8V (4S), 18.5V (5S), 22.2V (6S). This will vary depending on the type of battery pack you are charging.
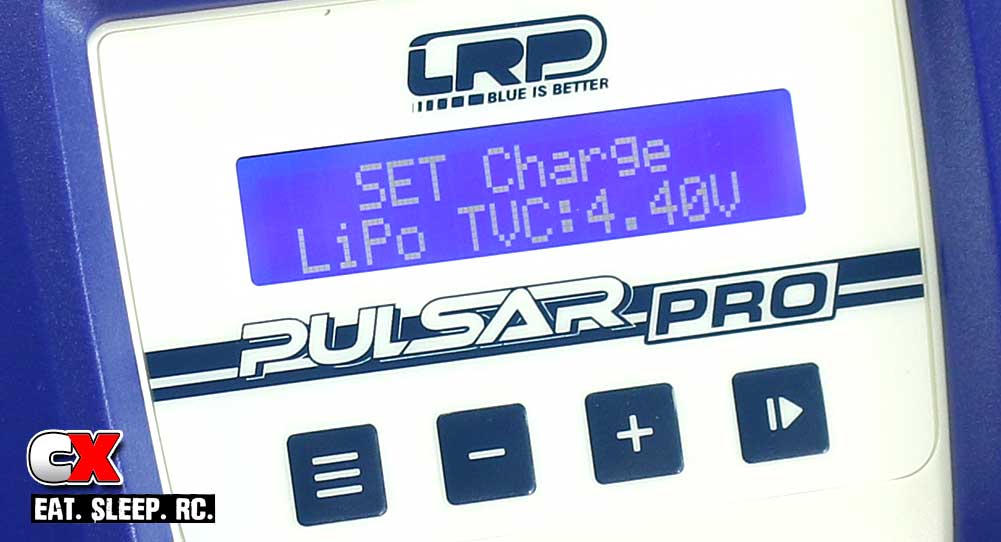
• SET Charge – LiPo TVC: This function allows you to change the TVC, or Total Voltage per Cell. This is where the Pulsar Pro takes advantage of the new ‘Outlaw’-style packs that have a nominal voltage of 4.35v/cell (instead of the standard 4.20v/cell).
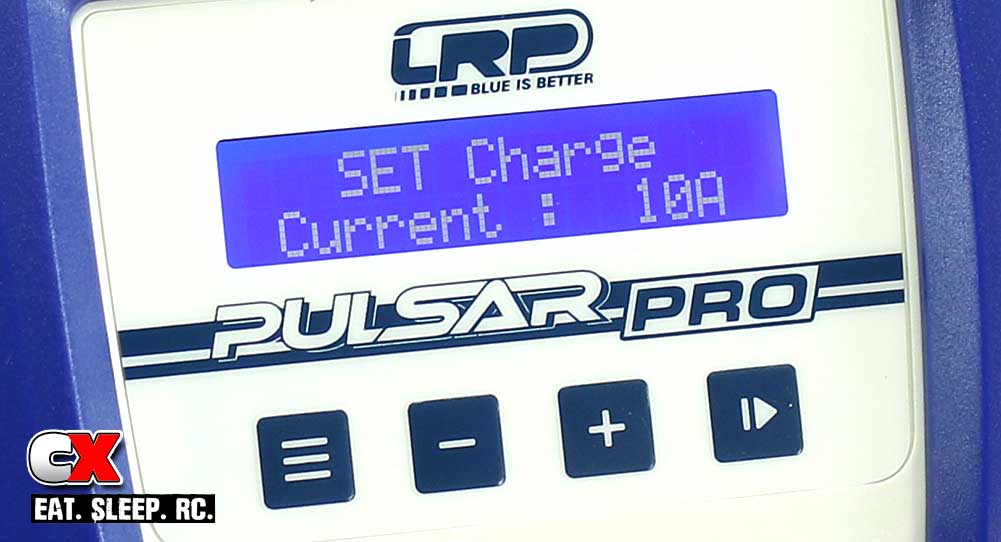
• Set Charge – Current: Allows you to change the charge current from 0.1 – 10A in .1 increments.
• SET Discharge – Current: Allows you to change the discharge current from 0.1 – 5A in .1 increments.
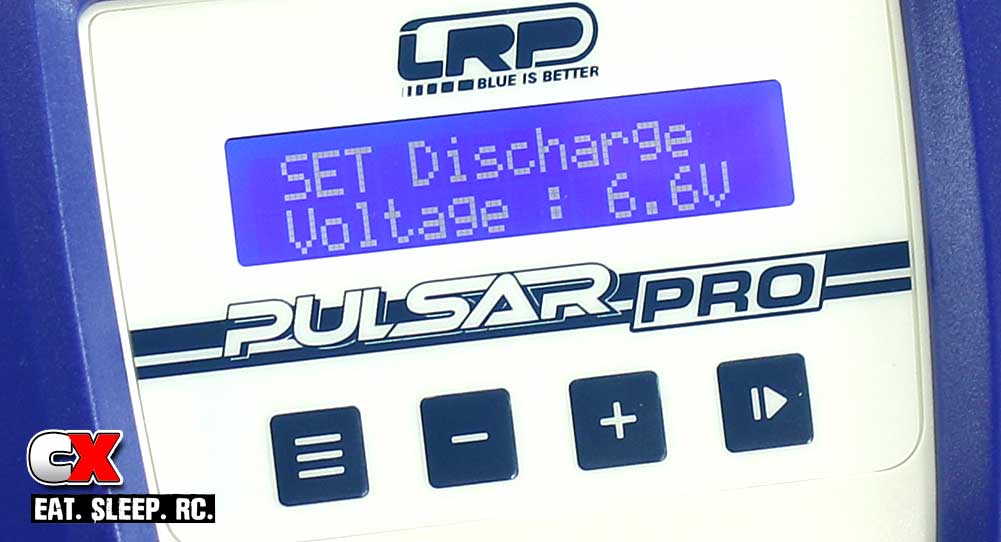
• SET Discharge – Voltage: Allows you to change the cut-off voltage on the pack. This number will vary depending on the battery type and number of cells.
• Temperature Cut-off: Used as a secondary safety function, you can set the temperature you’d like the charger to stop at should the battery hit that number. That is, if you decide to purchase a temperature sensor (sold separately).

There is also, what I would consider, a secret menu area. I flipped through all of the Menu settings looking for an area to control the buzzers and beeps, but didn’t find them. I let it go, figuring those weren’t adjustable features, and started to flip through the Profiles to see if they came pre-programmed with charging data. P1 (the home screen) was for 1S (3.7V LiPo), P2 for 2S (7.4v), P3 for 3S (11.1V), P4 for 4S (14.8V) and P5 for 5S (18.5V) – these are all re-programmable, by the way. One more click of the INC (+) button gave me a Menu System Set, so I clicked the Start/Stop button to confirm the selection. AH HA! This is where you can set all of the actual system settings such as Safety Timer, Keep Beep, Buzzer, see the system temps (external and internal) and change the language. Should you need to, you can also reset the charger using the Load Factory Settings screen.
One thing I noticed was the exclusion of an actual Storage Mode. However, with 5 Profiles, you can easily program one of them with storage settings and just cycle over to that profile when you need to charge-store your packs.
Additional Features
In addition to all the normal charging functions, the LRP Pulsar Pro also has a couple other features that you won’t notice until the unit is actually charging.
First off, there’s the ability to increase or decrease the charger current on the fly. While the Pulsar Pro is doing it’s thing, simply hit the DEC (-) or INC (+) to decrease or increase the charge rate. This won’t interrupt the charging process, but just note you won’t be able to go below 0.1A or above 10A.
Another cool feature is the Data View function. While the Pulsar Pro is charging, press the Menu button to view additional information about what’s going on with the charge. After a few seconds, the unit will automatically flip back to the original charging screen.
One of the best safety features, however, is the new charge confirmation screen. Since charging standard LiPos using a higher TVC setting can be bad (or charging LiPos in a NiMh setting), LRP has included a warning message that scrolls across that screen that you must confirm before the charger will continue. This gives you a second chance to make any changes prior to charging. I think it’s a great idea. Here’s a short video of it:

Performance
To test the performance of this charger, I brought out my pair of LRP Outlaw 4900mAh shorty LiPo packs that I use in my Team Associated B5M. I’ve run this set up quite a bit but, up until now, could only charge these packs as if they were 7.4v packs. I was really excited to see how they would react once I changed the TVC to 4.35v per cell to take advantage of the additional voltage.
Since I have more 7.4v LiPos than anything else, I configured P1 (Profile 1) to charge using the standard charging specs; LiPo battery type, 7.4v, TVC set at 4.20v per cell and a charge rate of 10A. I fired up the pack and let it charge, taking about 25 minutes to top off (last time I used them I had them in Storage mode). I installed this pack and clipped off quite a few laps at my home track, OCRC Raceway. The track was in great condition with lots of traction which usually puts quite a strain on the packs and causes a major voltage surge out of every corner.
Most of the jumps were pretty easy, the only ones giving me a slight issue were jumps right after a tight turn – there were a few times where the back tires would clip the top of the landing and buck the back of the buggy up just a bit. I ran three times using this pack charged with this profile; I wanted to make sure that I gave this set up a fair chance with regards to track and lap times.

The second battery was charged using P2 (Profile 2), set up to take advantage of the higher voltage settings; LiPo battery type, 7.4v, TVC set at 4.35v per cell and a charge rate of 10A. This, as well, took roughly 25-30 minutes – again, these packs have been in Storage mode so your times may vary. Once done, I dropped the HV pack into the buggy and did my test runs (three runs as well with Profile 2). The first run was slightly better than the standard charging mode, however during runs #2 and run #3 the pack started to come alive and there was definitely a difference in power. Clearing the jumps with the tight lines I was taking was much easier, and the buggy felt like it had much more torque coming out of the corners. Run times were roughly the same with lap times where getting quicker and quicker. Temperature readings between the two batteries were close too, only differing by a few degrees.
Conclusion
While these higher-voltage cells aren’t deemed legal for sanctioned racing (yet), there are still those that want to win the backyard worlds or set the fastest laps on practice day. These cells aren’t going away, so it’s nice to see a reputable charger company embracing them and adding the ability to reap the full performance of these packs. Not to mention, I’m a huge fan of the additional warning message to help safeguard against incorrect charger settings. In my opinion, this new message should find it’s way into all chargers – not everyone is a seasoned racer that knows what they’re doing (heck, even those seasoned guys make mistakes). I would like to have seen a balance board included (as well as an actual Storage Mode setting), but that’s about the only thing I can criticize this charger for. LRP has done a great job at incorporating their fantastic Pulsar charger with the new HV features for the latest batch of ‘Outlaw’ battery packs. The menu system is intuitive and the functionality on point. I even like the new coloring. Great for the new hobbyist all the way up to the Pro level.
Features – 8.8
Menu System – 9.5
Fit and Finish – 10
Value – 8.8
Price – 9.3
Connect
LRP, www.lrp-america.com