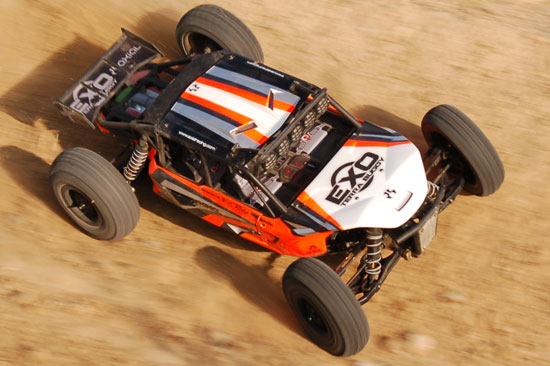
The Build – Part 7
Part 7 has you attaching the front and rear assembled clips to your EXO chassis. This is a fairly straightforward step.
Build Notes: Have some thread lock handy for the screws that thread into aluminum parts.
Axial EXO Terra Build - Step 67
Start this step by inserting the front dogbone into the center diff cup. Line up the front diff cup to the dogbone and insert, holding the front clip to the chassis plate. Insert the two rear-most screws through the chassis to hold the front clip into place (screw in about 1/2 way at this point). Slide the bumper mount into place and thread the other two screws into the gearbox. Tighten them down.
Axial EXO Terra Build - Step 68
Attach the steering link to the steering block by inserting the screw through the top and down through the steering arm. Secure with the locknut. Complete both sides. Note the orientation of the steering link eyelet.
Axial EXO Terra Build - Step 69
Attach the front chassis brace. Make sure the brace is seated completely before tightening down. A small dab of loctite is required on the screws that feed into the steering posts.
Axial EXO Terra Build - Step 70
The rear clip attaches much the same as the front. Start by inserting the dogbone into the center diff cup. Line up and insert the dogbone into the rear diff cup and hold the rear clip against the chassis. Secure with the two screws nearest the front of the chassis. Tighten about 1/2 way for now.
Axial EXO Terra Build - Step 71
Slide the bumper mount into place, then feed the two screws through the plastic rear chassis guard, through the chassis and into the rear gearbox. Tighten all 4 screws down.
Axial EXO Terra Build - Step 72
Line up and attach the rear chassis brace. Make sure it is completely seated before tightening.
Tony Phalen -
As an avid RC enthusiast, Tony has been building, bashing and racing RC Cars for over 30 years. He has participated in every kind of surface racing events - 1/18 scale trucks, 1/10 scale TC, Rock Racers, Rally - if it had wheels, he's raced it! He's also worked on both sides of the industry fence; collaborating with many major manufacturers (as well as being a sponsored driver) to working for a high-profile industry magazine. During this time he has learned many tricks, tips and techniques and is sharing that knowledge on CompetitionX - the most informative RC website on the internet!


 Have some thread lock handy for the screws that thread into aluminum parts.