Wednesday , 17 April 2024

Team Associated RC8.2 Build – Part 7 – Center Differential

Team Associated RC8.2 Build

The Build – Part 7
The center differential assembly is a pretty straightforward step. Since we already built the center diff, it’s must a matter of assembling the mount and attaching it to the chassis.

Build Notes:
This is a pretty simple step, but pay close attention to the direction of some of the plastic parts. Correct orientation is important.
Team Associated RC8.2 Build Step 91
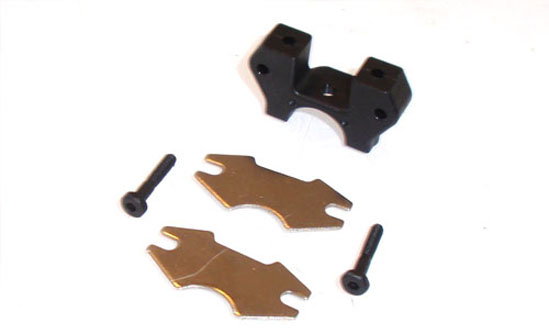
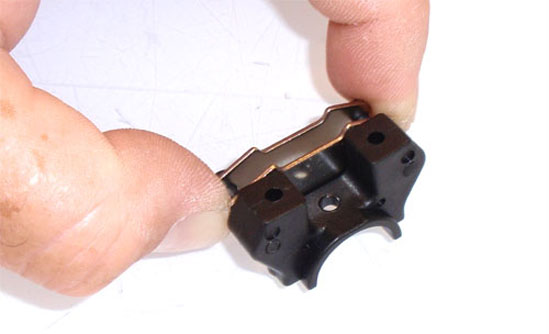
Attach the brake pads to the plastic mount. Check both sides of the stamped pads. You will notice the edges are rounded on one side and slightly sharp on the other. Assemble so the rounded side is FACING the brake disc. Build two of these assemblies.

Team Associated RC8.2 Build Step 92
The instructions call for a 4.5mm gap between the pads. This is a good place to start, but I ended up tightening it up to about 4.3mm.

Team Associated RC8.2 Build Step 93
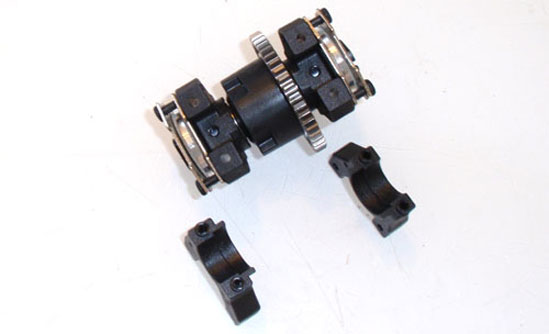
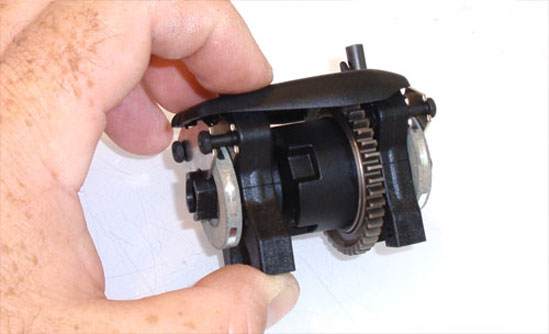
Slide the pads onto your built center diff (pay attention to the keyed outdrives) and install the upper and lower bulkhead halves. Note the direction of the bearing flanges on the bulkheads.

Team Associated RC8.2 Build Step 94
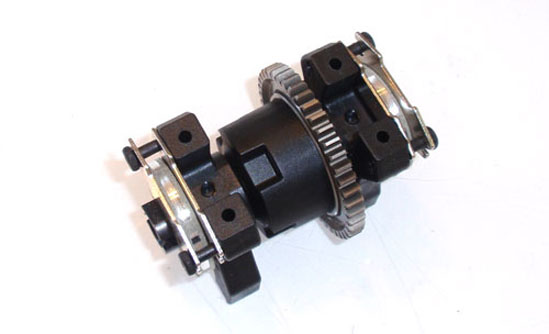
Your completed setup should look like this.

Team Associated RC8.2 Build Step 95
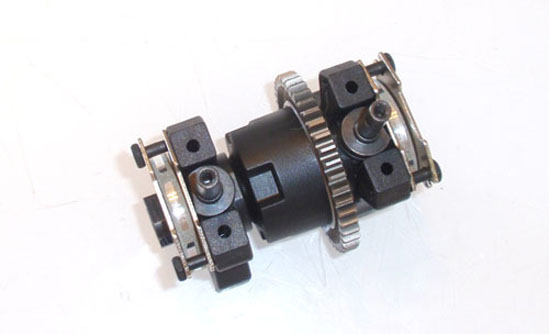
Set the brake cams into place, noting the location of the flat spot. It should be facing the brake pads.

Team Associated RC8.2 Build Step 96
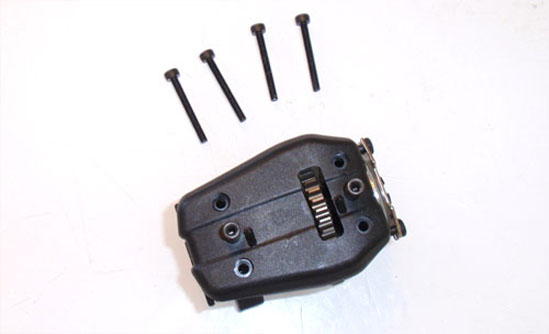
Slide the center diff top plate over the brake cams and screw into place. Do not fully tighten the screws yet, we will do that in a following step.

Team Associated RC8.2 Build Step 97
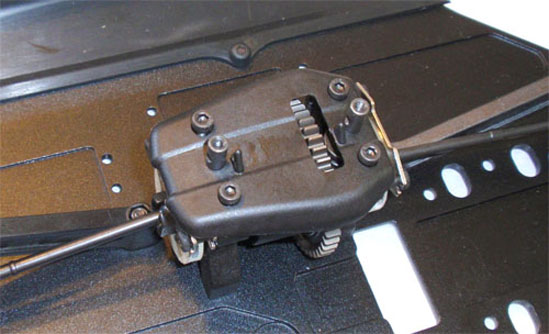
Your completed assmebly. Make sure the diff spins freely and the brakes are not bound up.

Team Associated RC8.2 Build Step 98
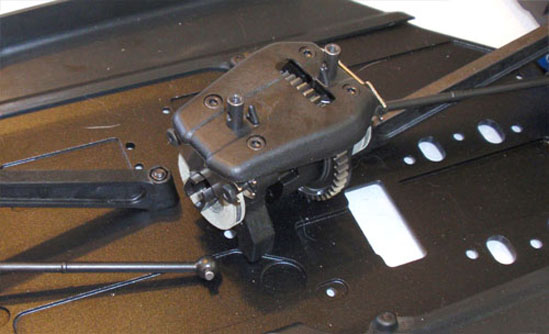
Set the center diff assembly onto the chassis, key the dogbones into the outdrives and swivel into position. Note the direction of the assembly.

Team Associated RC8.2 Build Step 99
Insert and tighten the 4x12mm screws. Now tighten the top plate screws. No need to gorilla these screws; tighten until snug.

Part 8 – Assembling your shocks.
Back to the Team Associated RC8.2 Build List

About Tony Phalen

Tony Phalen - As an avid RC enthusiast, Tony has been building, bashing and racing RC Cars for over 30 years. He has participated in every kind of surface racing events - 1/18 scale trucks, 1/10 scale TC, Rock Racers, Rally - if it had wheels, he's raced it! He's also worked on both sides of the industry fence; collaborating with many major manufacturers (as well as being a sponsored driver) to working for a high-profile industry magazine. During this time he has learned many tricks, tips and techniques and is sharing that knowledge on CompetitionX - the most informative RC website on the internet!

Check Also

Tamiya Citroen DS Clear Body Set | CompetitionX

Tamiya Citroen DS Clear Body Set | CompetitionX

Tamiya has added a clear version of their Citroen DS lid to their aftermarket body …