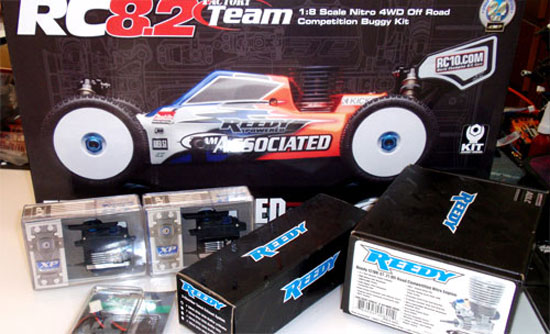
The Build – Part 10
The throttle linkage can be a bit tricky on nitro powered vehicles. Once set, however, you should not have to adjust it again. The RC8.2 also features an adjustable brake bias. When set correctly, this can be a helpful tuning aid.
Build Notes: Take your time with the linkage. This controls the throttle position and must be as precise as possible.
Team Associated RC8.2 Build Step 139
Insert the screws through the appropriate holes in the throttle servo horn. Note the location of the screws in the horn and the parts that will be attached to them.
Team Associated RC8.2 Build Step 140
Your completed throttle servo horn.
Team Associated RC8.2 Build Step 141
The actual throttle rods. Note the difference in lengths. The one on the left is for the throttle, the two on the right are for the front and rear brakes.
Team Associated RC8.2 Build Step 142
Insert the long brake rods into the thumbscrews as shown and lock into place with the setscrews. A dab of loctite is a good idea here. Now screw the brakes rods into the brake bias block as shown.
Team Associated RC8.2 Build Step 143
Build the throttle linkage as shown…
Team Associated RC8.2 Build Step 144
…and screw into the throttle pivot block. Secure with the third thumbscrew and setscrew. Don’t forget the loctite on the setscrew.
Team Associated RC8.2 Build Step 145
Make sure the throttle servo is centered and attach the throttle horn to the throttle servo.
Team Associated RC8.2 Build Step 146
Slide the brake levers into the brake cams and secure with the setscrew. A dab of loctite on the setscrew is recommended.
Team Associated RC8.2 Build Step 147
Slide the brake rods through the brake levers and attach the radio tray to the RC8.2 chassis using the six 3x12mm screws. Loosen the setscrew and adjust the brake levers until the brake rods are parallel with each other.
Team Associated RC8.2 Build Step 148
Attach the steering link to the servo saver as shown.
Team Associated RC8.2 Build Step 149
Slide the brake washer, silicone spring and collar onto the brake rod and secure with the setscrew. Yes, more loctite!
Team Associated RC8.2 Build Step 150
Adjust the collars on the brake rods as shown. You want there to be a minimal amount of space between the neutral point and the brakes engaging.
Tony Phalen -
As an avid RC enthusiast, Tony has been building, bashing and racing RC Cars for over 30 years. He has participated in every kind of surface racing events - 1/18 scale trucks, 1/10 scale TC, Rock Racers, Rally - if it had wheels, he's raced it! He's also worked on both sides of the industry fence; collaborating with many major manufacturers (as well as being a sponsored driver) to working for a high-profile industry magazine. During this time he has learned many tricks, tips and techniques and is sharing that knowledge on CompetitionX - the most informative RC website on the internet!

 Take your time with the linkage. This controls the throttle position and must be as precise as possible.