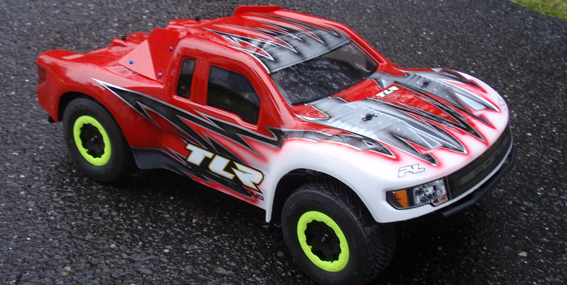
The Build – Part 3
The front suspension is up next, which includes turnbuckles, suspension arms, the shock tower and front bumper.
Build Notes: You’ll be building turnbuckles in this step…never any fun. Have a few rags around to hold the ballcups or, if you have some, grab your ballcup holding tool.
TLR 22SCT Build – Step 17
Part 3 of our TLR 22SCT build begins with the steering blocks. Start by installing the ball end into the block (note orientation), followed by the two bearings and crush washer. Make sure the crush washer is seated correctly between the two bearings or the bearings won’t sit flush.
TLR 22SCT Build – Step 18
Slide the axle through the steering block, insert the roll pin and slide the wheel hex into place. It’s a pretty tight fit so there is no worry about the pin falling out.
TLR 22SCT Build – Step 19
Losi provides 3 different sizes of washers for upcoming steps. As you can see, there are 2 thick washers (2mm), 2 thinner washer (1mm) and 4 thinnest washers (.5mm). For the next step we’ll want to use the 2 2mm washers. Keep the others, however, for tuning the front steering block height.
TLR 22SCT Build – Step 20
Screw a ball stud into the caster block, then mate the caster block and steering block as shown. Lock the two together with the shouldered screws. Don’t forget to add the 2mm shim above the caster block.
TLR 22SCT Build – Step 21
Take a front suspension arm and attach your caster block/steering block assembly to it. The washer shown is a small, metal ‘ringed’ washer. Note the orientation of the front suspension arm, also noting that it will have a slight ‘kick-up’.
TLR 22SCT Build – Step 22
Take both front suspension arm assemblies and attach them to your chassis assembly as shown. The pins will push into place…
TLR 22SCT Build – Step 23
…however you’ll need to lock them in place with the supplied setscrew. Tighten lightly until you feel it ‘drop’ into the cutout in the suspension pin. Do not overtighten.
TLR 22SCT Build – Step 24
Build 2 camber turnbuckles as shown. The length of 91.2 is a good starting point.
TLR 22SCT Build – Step 25
Make sure you have both turnbuckles ‘facing’ the same direction and snap them into place. You can tell which direction they are facing by the little ‘line’ cut into them just off-center of the adjustment square.
TLR 22SCT Build – Step 26
Build 2 steering turnbuckles as shown. The length of 91.75 is a good starting point.
TLR 22SCT Build – Step 27
As in Build Step 25, make sure they are facing the same direction (as well as the same direction of the camber turnbuckles) and snap them into place as shown.
TLR 22SCT Build – Step 28
Build the front shock tower. Note the orientation of the tower and the shock mounts.
TLR 22SCT Build – Step 29
Attach the tower to the chassis assembly.
TLR 22SCT Build – Step 30
Flip the 22SCT over and install the front skid plate. It’s best to key the skid plate to the chassis first, then screw it into place.
TLR 22SCT Build – Step 31
Attach the front bumper brace.
TLR 22SCT Build – Step 32
To complete the front bumper, we’ll need to use 3 different length screws; a long (16mm), a medium (12mm) and a short length (10mm).
TLR 22SCT Build – Step 33
Place the front bumper into place and secure with the 16mm and 10mm screws (the 10mm towards the back).
TLR 22SCT Build – Step 34
Here is a secondary shot of the bumper attachment. The front holes are empty, the middle holes are where the 16mm screws go and the back holes are for the 10mm screws.
TLR 22SCT Build – Step 35
Finally, attach the upper part of the front bumper with the 12mm screws.
Tony Phalen -
As an avid RC enthusiast, Tony has been building, bashing and racing RC Cars for over 30 years. He has participated in every kind of surface racing events - 1/18 scale trucks, 1/10 scale TC, Rock Racers, Rally - if it had wheels, he's raced it! He's also worked on both sides of the industry fence; collaborating with many major manufacturers (as well as being a sponsored driver) to working for a high-profile industry magazine. During this time he has learned many tricks, tips and techniques and is sharing that knowledge on CompetitionX - the most informative RC website on the internet!

 You’ll be building turnbuckles in this step…never any fun. Have a few rags around to hold the ballcups or, if you have some, grab your ballcup holding tool.