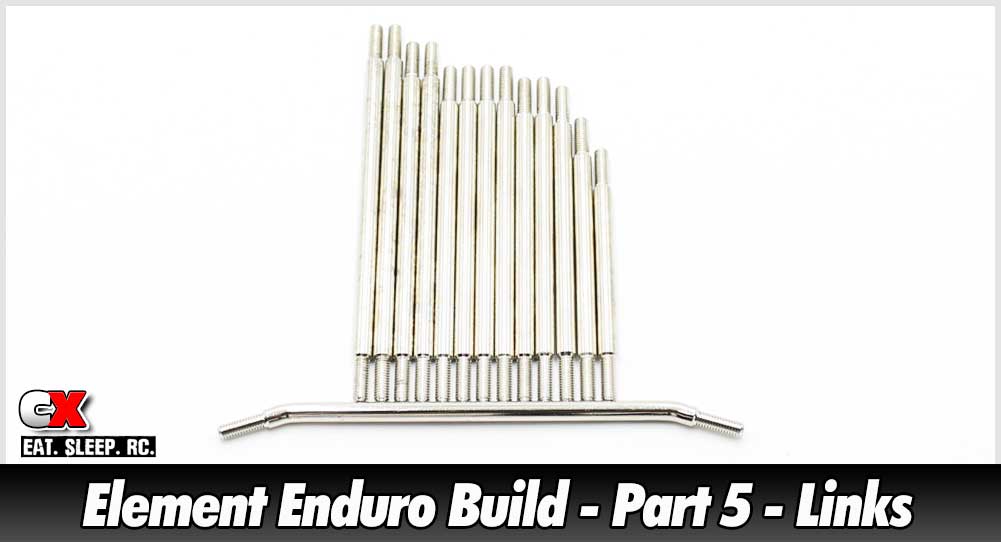
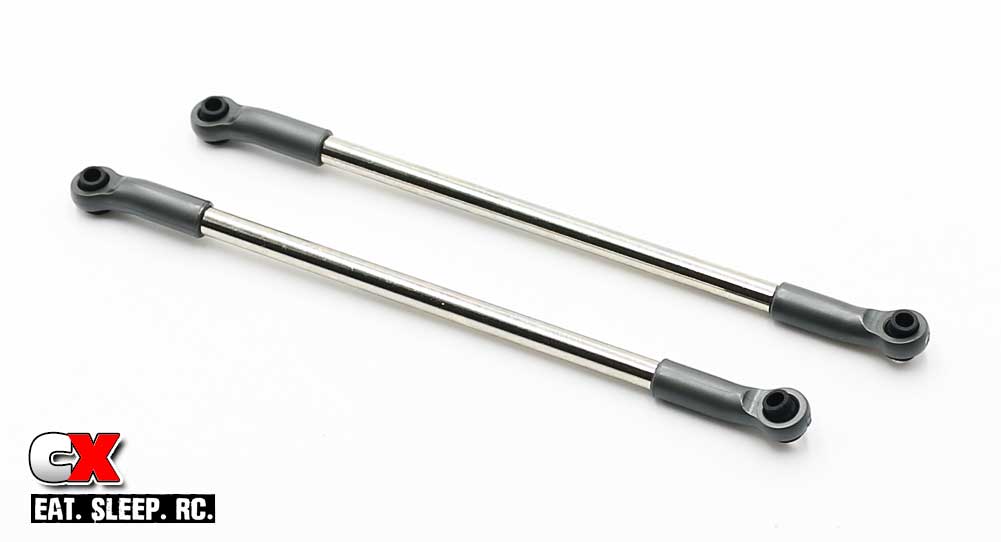
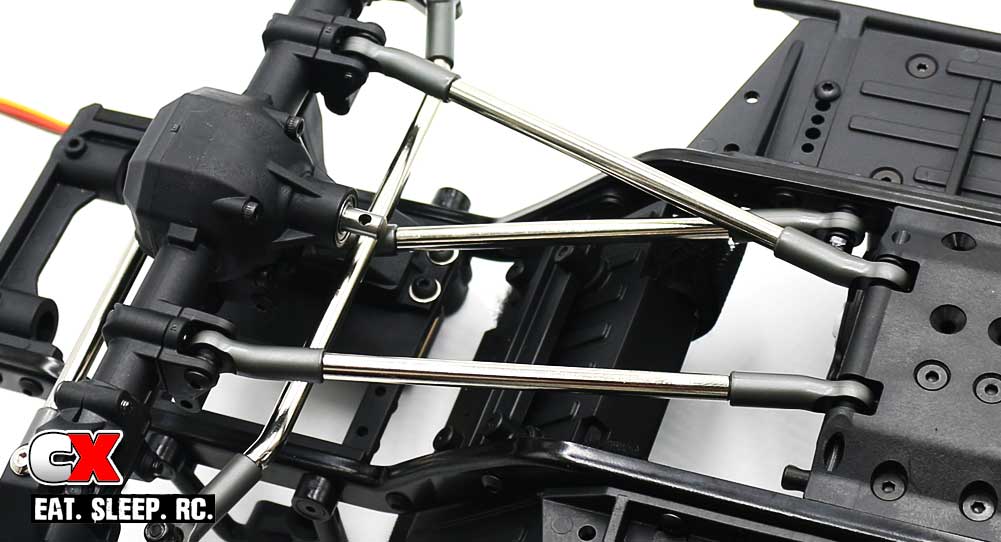
The Enduro comes with some pretty serious, chrome-plated steel links under it. Element RC also includes different lengths for you to adjust the wheelbase; simply build using the correct lengths for 11.8″, 12.0″ or 12.3″ options.
 Due to the tolerances in the plastic, building the links can be a bit tedious. The manual suggests black grease on the threads to make assembly easier, but I often use Chapstick for this procedure. Everyone has Chapstick.
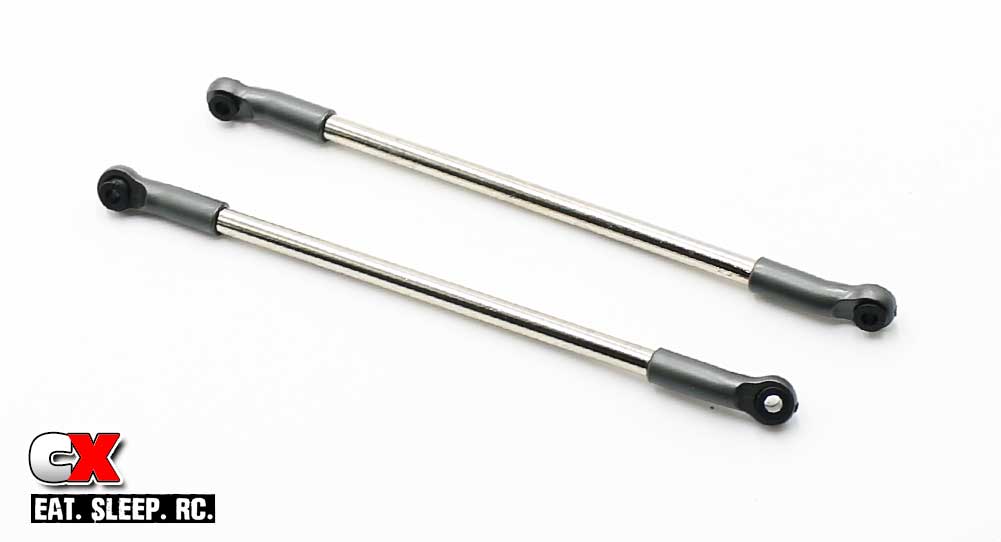
The links are not marked in any way, so it’s best to have a pair of calipers handy to measure them. There is a visual notation in Step 1 below that denotes the lengths; you can use this as a form of measurement if you don’t have calipers handy.
The plastic pivot balls that are popped into the rod ends are directional. Pay close attention to the orientation of the flange; in most cases, you’ll want the flange to be against the surface the link is being attached to.
As a note, you’ll be building all of the links using the curved plastic rod ends.
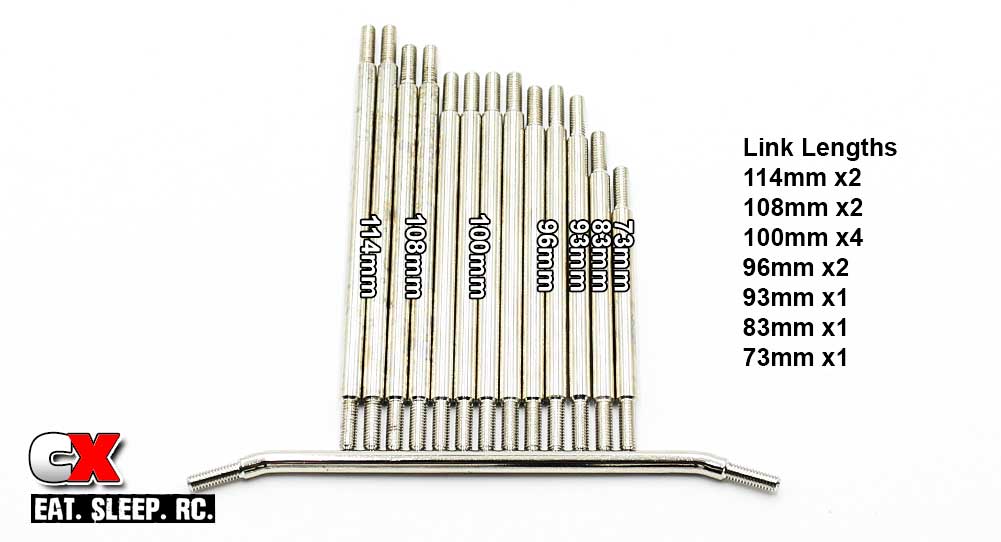
Before you build, lay out the links to get acquainted with what is available. You won’t be using all of them in the build; some are optional rear links to adjust the wheelbase to your desired build length.
The kit comes with the following links:
114mm x2 Rear Lower Links
108mm x2 12.3 Rear Upper Links
100mm x4 12.0 Front Lower Links, Rear Upper Links
96mm x2 11.8 Rear Upper Links
93mm x1 Front Axle Link
83mm x1 Panhard Link
73mm x1 Steering Link
Curved Steering Link x1
We’ll specify which ones go where during the build. You may proceed.
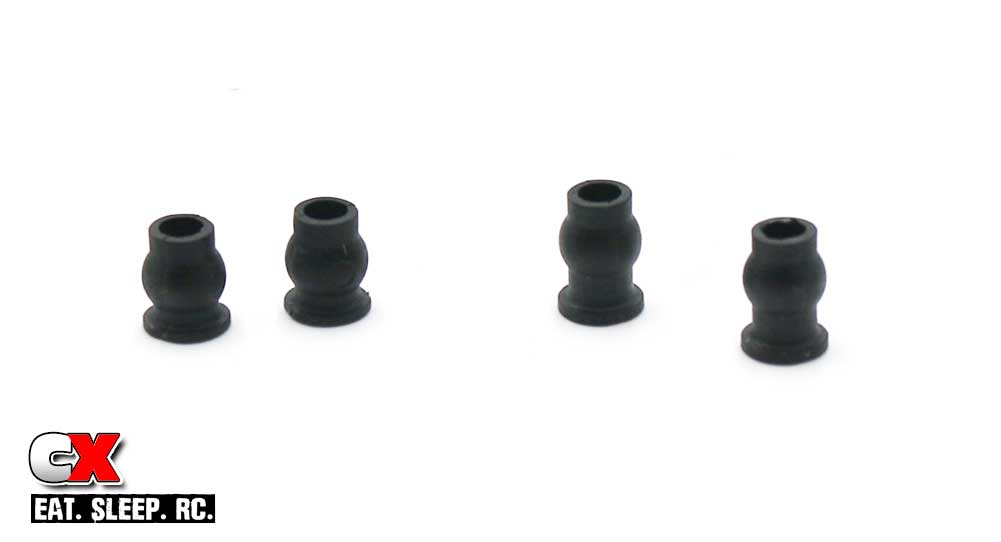
Something to also note are the different length pivot balls that come on the plastic tree. There are short ones and long ones; we’ll be using ONLY the short ones on all the links. The long ones will be for the shocks in a later step.
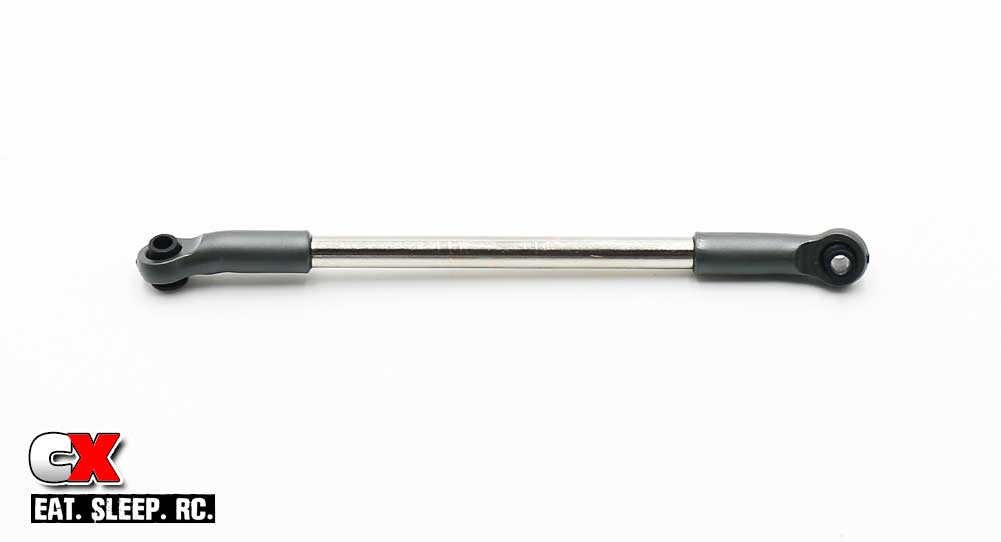
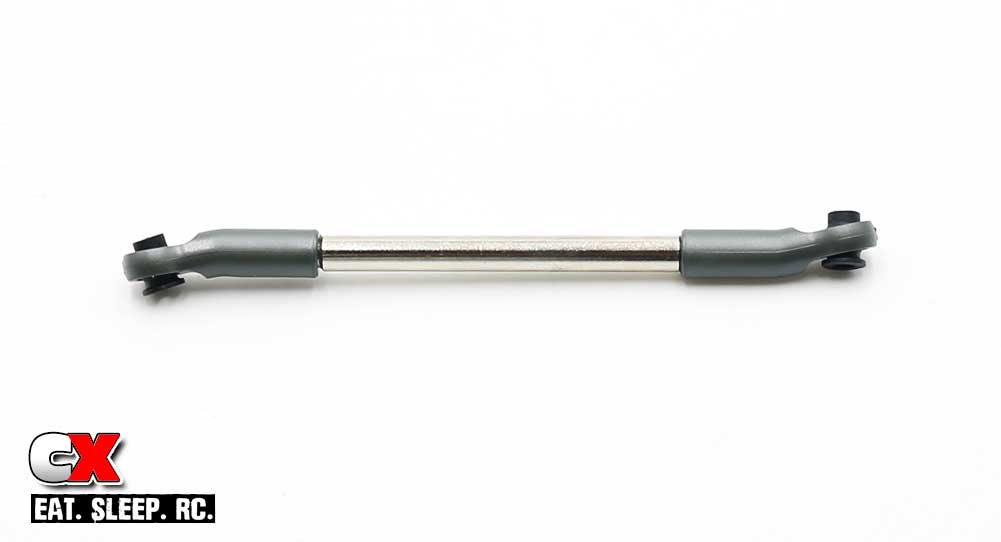
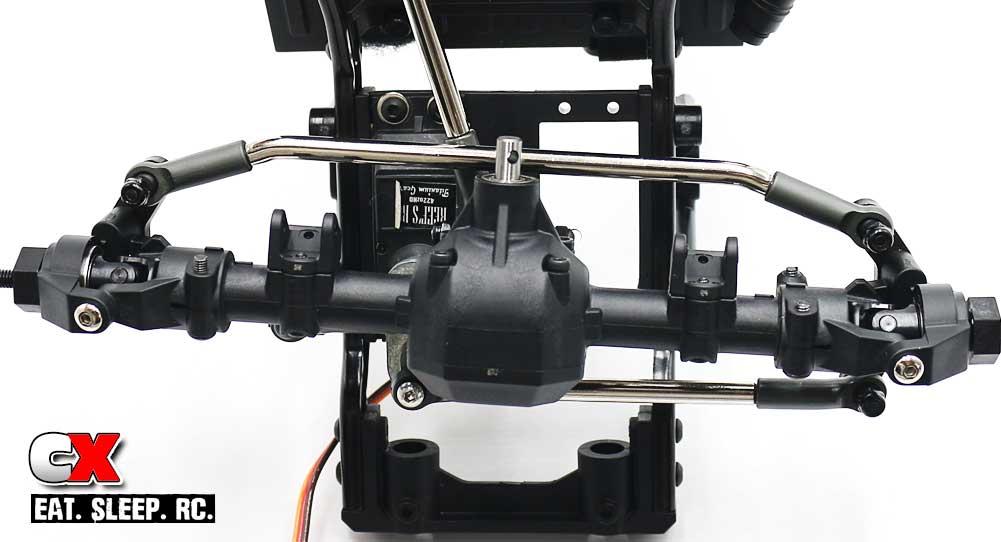
The first link we will build is the panhard rod. Grab the 83mm rod and screw on a pair of curved rod ends. Once assembled to 112.5mm, pop the pivot balls into the rod ends. Note the orientation of the pivot ball flange.
Attach the panhard link, connecting it from the panhard chassis mount to the axle.
The next link we’ll build is the steering link. Grab the 73mm rod and, once built to the 102.2mm length, pop the pivot balls into the rod ends.
Attach the steering link from the servo to the right servo plate.

Now, grab the 93mm rod and assemble the front upper chassis link. Build to 122mm and pop the pivot balls into place.
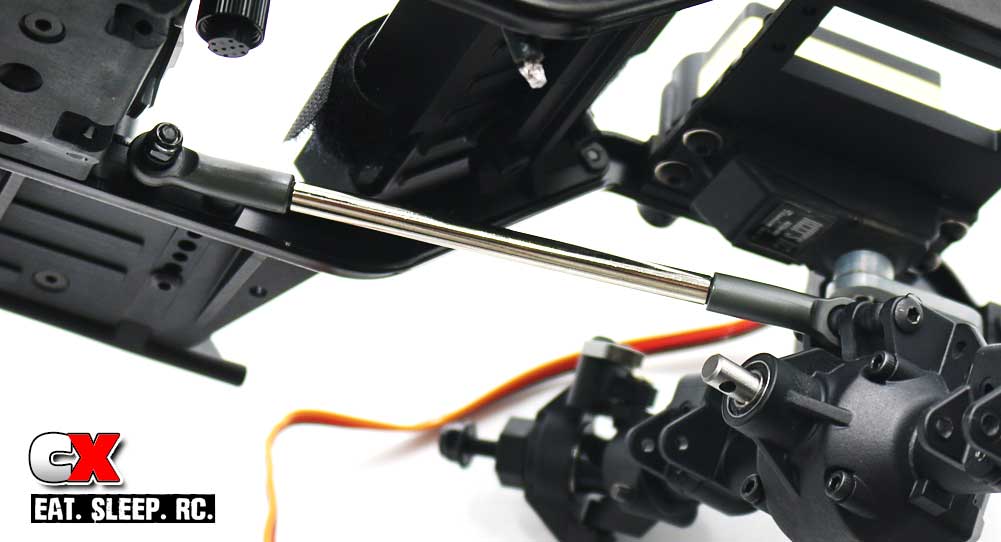
Attach the front link. Since we’re using a panhard rod, we won’t be installing a second upper link. However, to keep the 3x28mm screw from collapsing the axle mount, we need to install a stand-alone short pivot ball. Don’t forget this step!
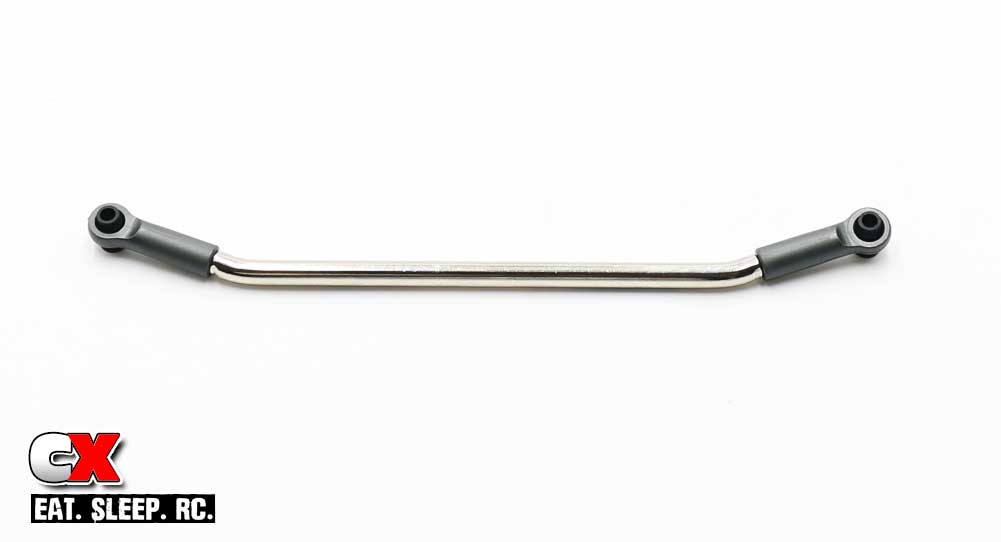
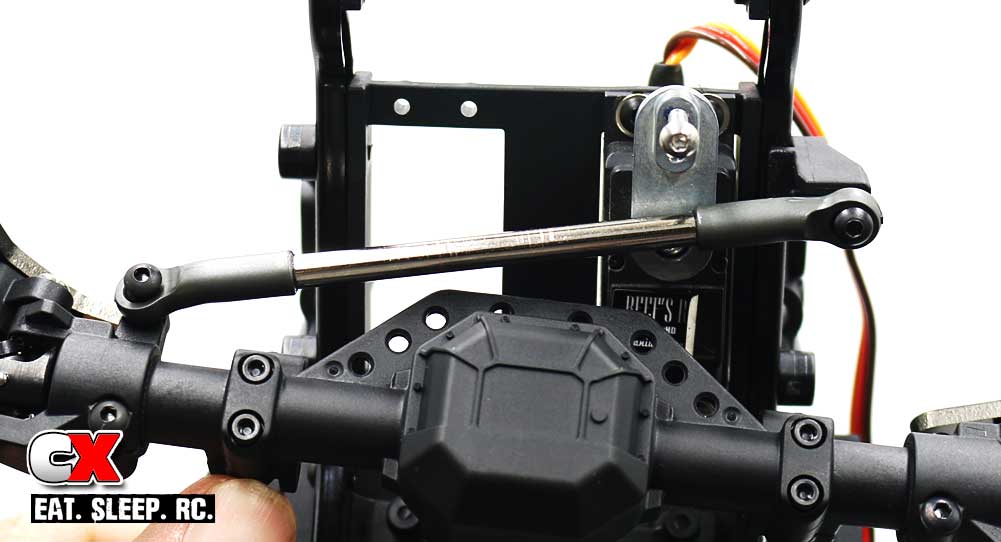
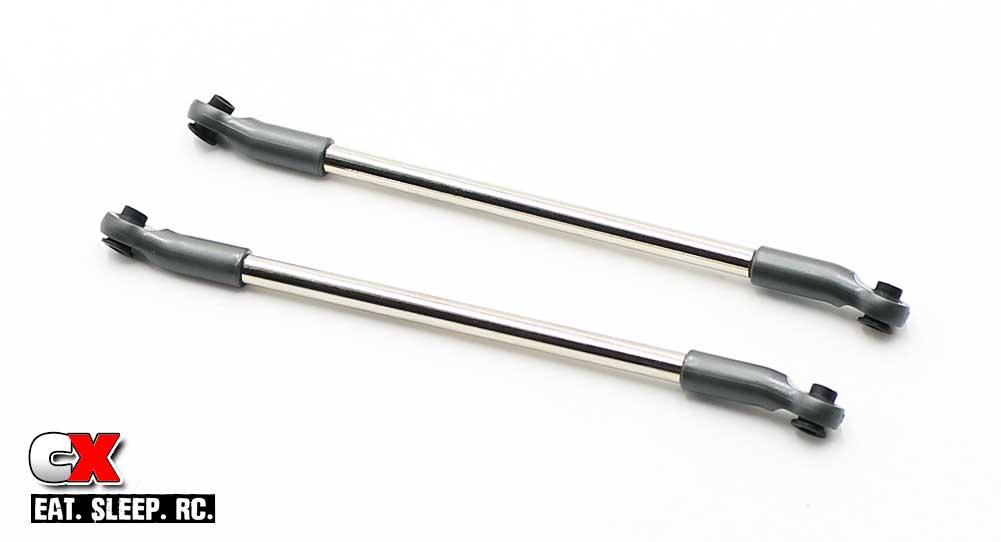
Grab your curved steering rod and add the two STRAIGHT rod ends to a length of 154.5mm. Pop a pair of pivot balls into place.
Attach the steering rod to the steering plates BEHIND the axle. Yes, well done with this BTA option!
Here’s where you’ll need to decide on what wheelbase you want to build to. Your options are:
11.8″ (299.7mm) – use the 96mm rods
12.0″ (304.8mm) – use the 100mm rods
12.3″ (312.4mm) – use the 108mm rods
Once you’ve decided on your length, build you links with the curved rod ends and pop the pivot balls into place.
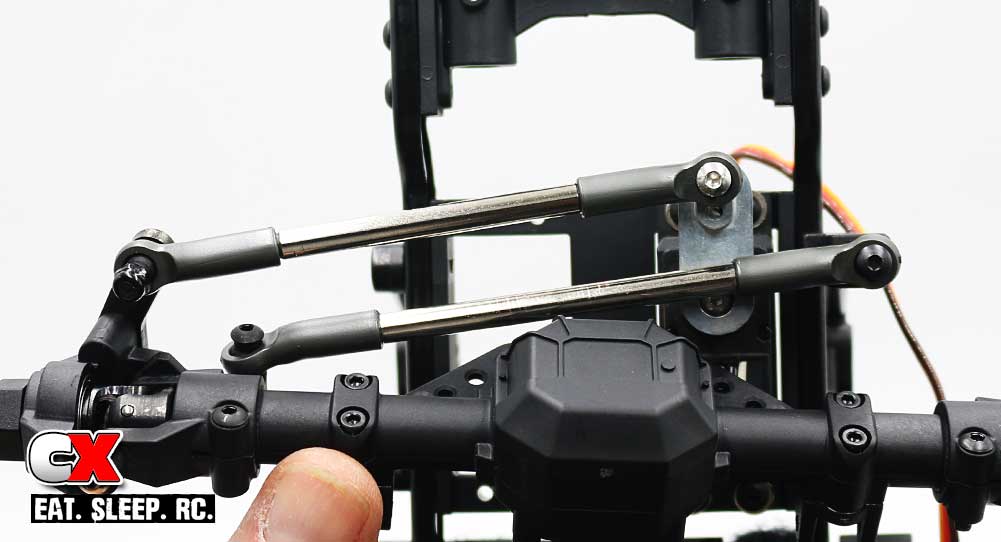
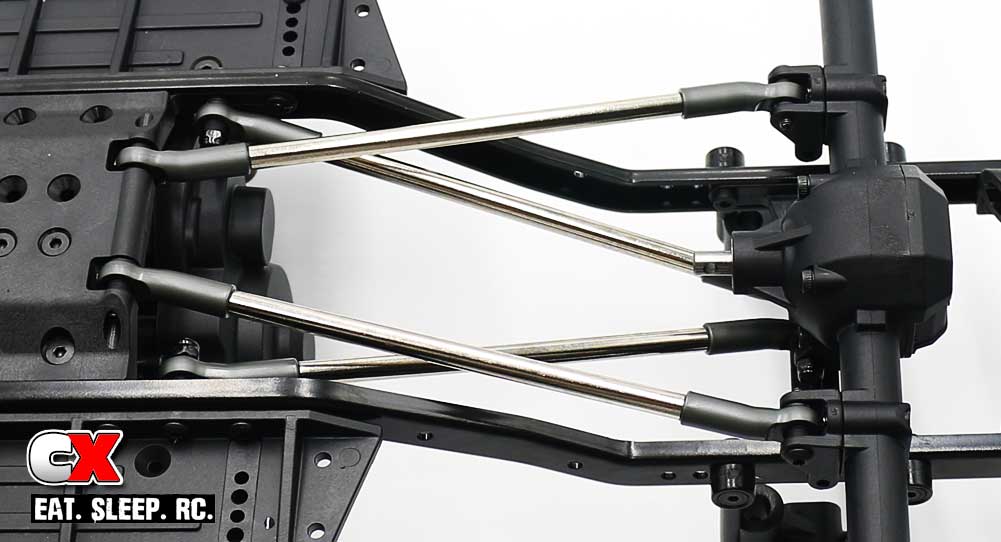
Once built, attach the rear upper links in the same fashion as you did the front upper link.
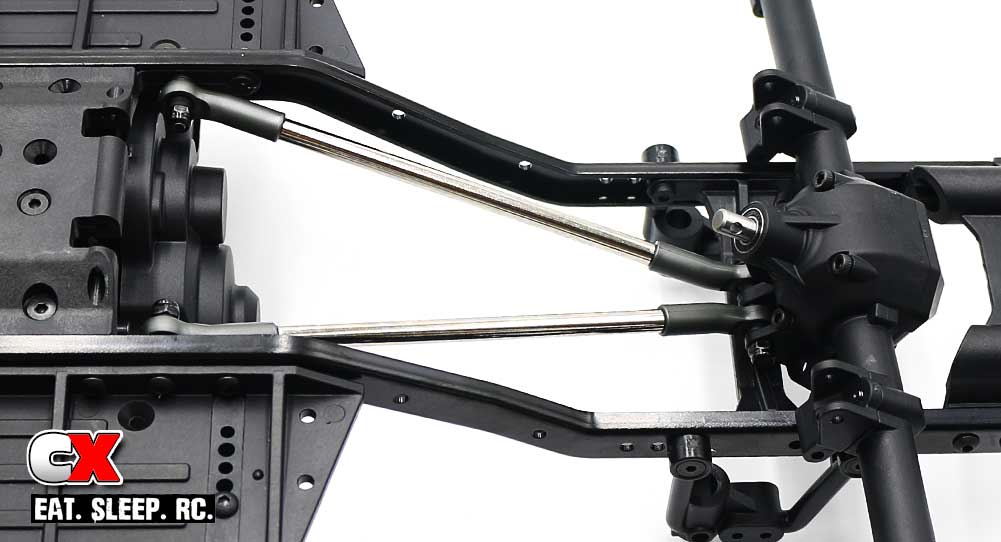
Grab a pair of the 100mm rods and build your front lower links. Complete length should be 129.5mm. Pop the pivot ball ends into place.
Attach the front lower links. I would suggest only screwing the 3x16mm set screw in until it’s flush with the hole.
Finally, take the 114mm rods and build a pair of rear lower links. Build to 143mm, then pop the pivot ball ends into place.
Attach your assembled rear lower links. Again, I would suggest only screwing the 3x16mm set screw in until it’s flush with the hole.
Wah-lah! Give the truck a little twist to make sure everything flexes smoothly. If there’s any notchy feeling, you may have built something incorrectly. Otherwise, you’re good to go! Let’s get to Part 6 – the Drive Shafts!
Element RC Enduro Trail Truck Build – Opening Page
Element RC Enduro Trail Truck Build – Part 1 – Pre-Build
Element RC Enduro Trail Truck Build – Part 2 – Chassis
Element RC Enduro Trail Truck Build – Part 3 – Transmission
Element RC Enduro Trail Truck Build – Part 4 – Axles
Element RC Enduro Trail Truck Build – Part 5 – Links
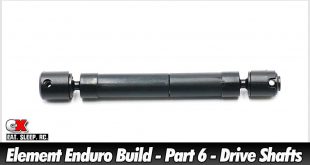
Element RC Enduro Trail Truck Build – Part 6 – Drive Shafts
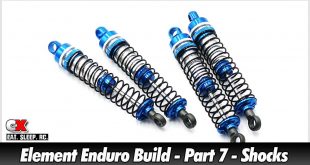
Element RC Enduro Trail Truck Build – Part 7 – Shocks
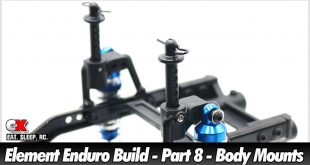
Element RC Enduro Trail Truck Build – Part 8 – Body Mounts