The Build – Part 3
The front gearbox is a pretty easy build. It will require you to attach the front shock tower, install the differential and build the center drive axle.
Build Notes: There is a bag labeled DD. This has the shock tower, arm mount and lightweight input cup. You’ll need this bag throughout the step so open this bag first.
You’ll be using a healthy dose of grease on the center drive axle. Have a clean-up rag handy for this step.
Team Associated RC8.2 Build Step 23
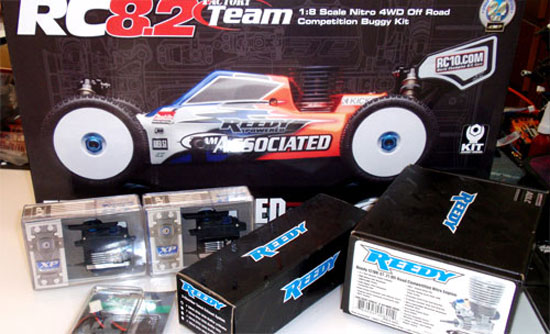
Here are the option parts included with the RC8.2. You’ll get a thick, aluminum front shock tower, blue aluminum arm mount and a lightweight input cup.
Team Associated RC8.2 Build Step 24
You’ll need to get this rubber boot over the ‘ball’ end of the center drive axle. Start by putting a little grease on the pins and ball section. Slide the boot over the ball, forcing the drive pin through the small boot hole first, then pull the boot over the ball (and 2nd pin). The boots are pretty pliable so don’t worry too much about ripping it.
Team Associated RC8.2 Build Step 25
Grease up the drive bones u-joint coupler and slide through the open end of the drive axle. Attach the input cup and insert the pin. Feel free to be a little liberal with the grease here.
Team Associated RC8.2 Build Step 26
Slide the o-ring over the input cup and set into place. Pull the boot up and over the o-ring. the o-ring will fit into a groove in the boot.
Team Associated RC8.2 Build Step 27
Insert the two bearings into the gearbox and slide the diff pinion gear through. Attached the assembled drive axle onto the diff pinion gear. Line up the hole in the input cup with the flat spot on the input gear and insert the 5x4mm set screw. Don’t forget to add some loctite to the set screw.
Team Associated RC8.2 Build Step 28
Attach the arm mount to the bulkhead.
Team Associated RC8.2 Build Step 29
Stand the bulkhead up on it’s flat end and insert 4 M3 locknuts into place. If they don’t stay put, you can add a dab of grease to help keep them in place.
Team Associated RC8.2 Build Step 30
Screw the shock tower into place. Note the direction of the tower; the machined side will face the open end of the bulkhead.
Team Associated RC8.2 Build Step 31
Grab your front differential (you did mark them so you’ll know which one is the front, didn’t you?) and slide one diff shim over the outdrives on each side. In the picture, the left shim is already installed.
Team Associated RC8.2 Build Step 32
Insert the differential into the bulkhead. Two things to watch out for here; 1) the direction of the diff and 2) the diff shims. Follow the picture so that the diff gear is to the left. Also note the shims. They need to be INSIDE the lip of the bulkhead.
Team Associated RC8.2 Build Step 33
Attach the front of the bulkhead. Don’t forget the bulkhead spacer.
Team Associated RC8.2 Build Step 34
Attach the upper shock standoffs. The middle hole is a good starting position. Don’t forget to use a dab of loctite on the screws.
Tony Phalen -
As an avid RC enthusiast, Tony has been building, bashing and racing RC Cars for over 30 years. He has participated in every kind of surface racing events - 1/18 scale trucks, 1/10 scale TC, Rock Racers, Rally - if it had wheels, he's raced it! He's also worked on both sides of the industry fence; collaborating with many major manufacturers (as well as being a sponsored driver) to working for a high-profile industry magazine. During this time he has learned many tricks, tips and techniques and is sharing that knowledge on CompetitionX - the most informative RC website on the internet!

 There is a bag labeled DD. This has the shock tower, arm mount and lightweight input cup. You’ll need this bag throughout the step so open this bag first.