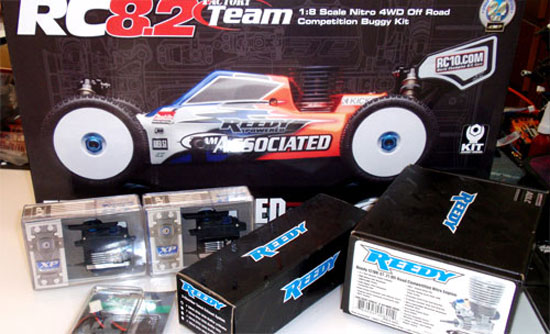
The Build – Part 4
The front suspension is pretty simple. You will want to make sure that all the moving parts move freely and aren’t bound up.
Build Notes: This step will require quite a few of the parts to be direction-specific. Pay close attention to the manual and my build notes so you don’t attach any parts backwards.
The front suspension arms need a little tender loving to make sure you have full droop in the front end. Check the step below to fix this problem.
Team Associated RC8.2 Build Step 35
Open up Bag EE. This bag includes the FT parts for this step, including the aluminum steering knuckles, aluminum A-arm mount, lightweight aluminum stub axles and anti-roll bar.
Team Associated RC8.2 Build Step 36
Build the CVA’s per the instructions. Don’t forget to liberally lube the u-joint area.
Team Associated RC8.2 Build Step 37
Both CVAs/steering knuckles assemblies. When building, pay special attention to the direction of the knuckles.
Team Associated RC8.2 Build Step 38
Attach the knuckle to the caster block. NOTE: Pay EXTRA attention to the heights of the bushings and lengths of the screws. Short bushing/screw on top, long bushing screw on the bottom. Also note that the bushings key into the aluminum block. DO NOT FORCE!Team Associated RC8.2 Build Step 39
Your left and right assembled steering blocks.
Team Associated RC8.2 Build Step 40
Remove the suspension arms from the parts trees. Remove any flashing that is still attached.
Team Associated RC8.2 Build Step 40.5Team Tip: There is a slight interference issue with the suspension arm at the droop screw location. To make sure you have full droop, carefully slice off a little bit of the plastic as shown in the picture. Updated arms from AE are on the way.
Team Associated RC8.2 Build Step 41
Pop the anti-roll bar pivot balls into the plastic link.
Team Associated RC8.2 Build Step 42
Insert the droop screws into the suspension arms. I have blown up the screws so you can see which ones are the droop screws. They are different than any other screw in the kit.
Team Associated RC8.2 Build Step 43
Attach the steering blocks to the arms. Note the orientation of the arms and steering blocks.
Team Associated RC8.2 Build Step 44
Thanks once again, Team Associated, for building the upper turnbuckles. This saves alot of time and finger agony!
Team Associated RC8.2 Build Step 45
Attach the upper turnbuckles to the steering blocks. Don’t forget the chrome spacers. Again, not the orientation of the upper turnbuckle.
Team Associated RC8.2 Build Step 46
The aluminum A block. Push the hinge pin bushings into place. Make sure the direction of the bushings is the same on both sides.
Team Associated RC8.2 Build Step 47
Slide the hinge pins through arms and bulkhead. Attach the A-arm mount into place.
Team Associated RC8.2 Build Step 48
Close up of the A-arm mount in place.
Team Associated RC8.2 Build Step 49
Screw the set screws into the anti-roll bar mount. Screw them in until they’re flush. We’ll adjust later.
Team Associated RC8.2 Build Step 50
Attach the anti-roll bar and slide it through the pivot balls in the anti-roll bar link. Lock it into place with the set screws. Don’t forget your loctite.
Team Associated RC8.2 Build Step 51
Attach the anti-roll bar mount. Tighten the set screws until the anti-roll bar stops moving, then back them off slightly. You want as little movement as possible.
Team Associated RC8.2 Build Step 52
Next is to attach the front bulkhead to the chassis. Put a little black grease on the chassis as shown and set the gasket into place. The grease just keeps the gasket from moving.
Team Associated RC8.2 Build Step 53
Set the front bulkhead onto the chassis. slide the front bumper into place and lock everything down with the four screws. A quick tip it so cut the plastic at the holes so that the front bumper can be removed by loosening the front 2 screws instead of removing them.
Team Associated RC8.2 Build Step 54
Attach the upper turnbuckles to the shock tower. Makes sure the plastic cap is firmly pressed into place.
Team Associated RC8.2 Build Step 55
Attach the link to the steering block.
Tony Phalen -
As an avid RC enthusiast, Tony has been building, bashing and racing RC Cars for over 30 years. He has participated in every kind of surface racing events - 1/18 scale trucks, 1/10 scale TC, Rock Racers, Rally - if it had wheels, he's raced it! He's also worked on both sides of the industry fence; collaborating with many major manufacturers (as well as being a sponsored driver) to working for a high-profile industry magazine. During this time he has learned many tricks, tips and techniques and is sharing that knowledge on CompetitionX - the most informative RC website on the internet!

 This step will require quite a few of the parts to be direction-specific. Pay close attention to the manual and my build notes so you don’t attach any parts backwards.