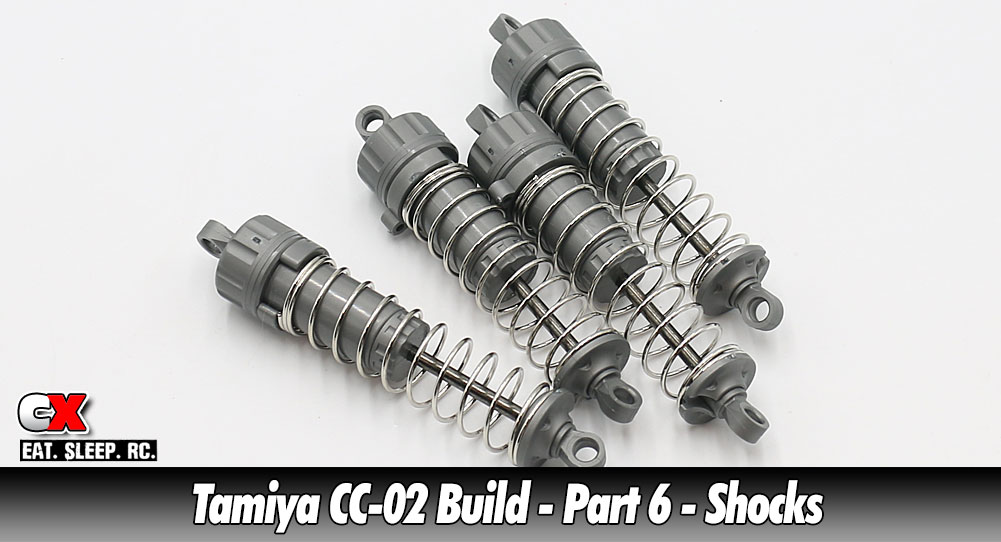
The shocks on the Tamiya CC-02 are pretty basic – plastic bodies with ride height clips, internal bladder, dual o-ring lower cartridge and a one-piece piston/shock shaft plunger. While not amazing, they’ll certainly get the job done.
 With any shock build. you’re going to want to have a shock stand (to hold the shocks) and plenty of paper towels (to clean up any mess).
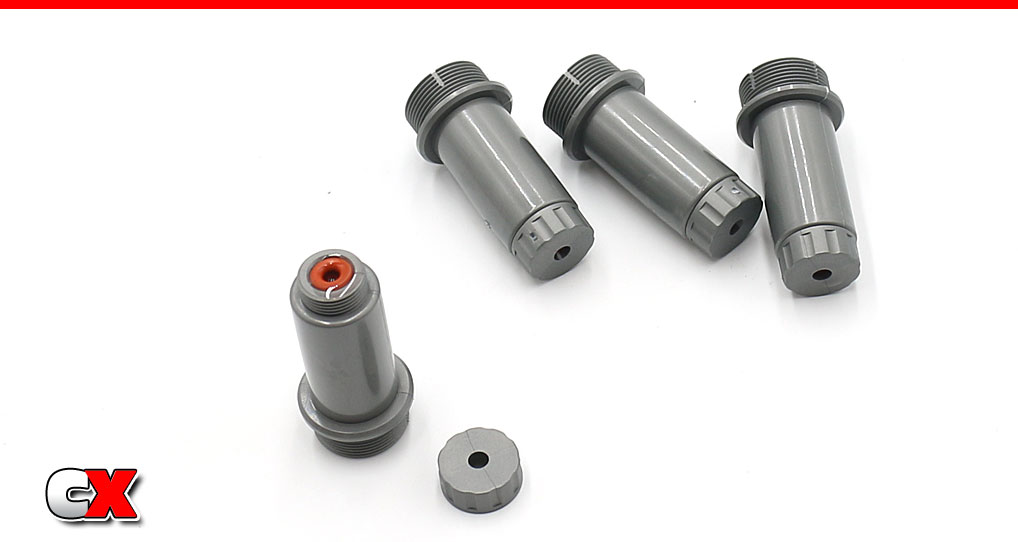
The first step is to press a pair of red o-rings into the bottom cartridge area. I added a drop of 20wt oil (that’s what I’ll be using in the shocks). Build 4.
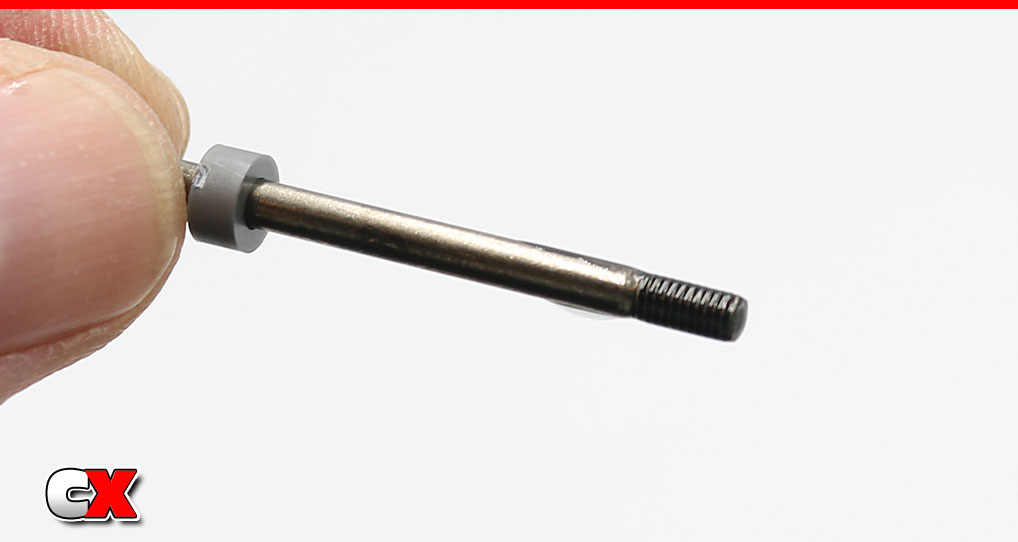
Add the X11 spacer to the shaft, then place of drop of oil on the threads of the shock shaft.
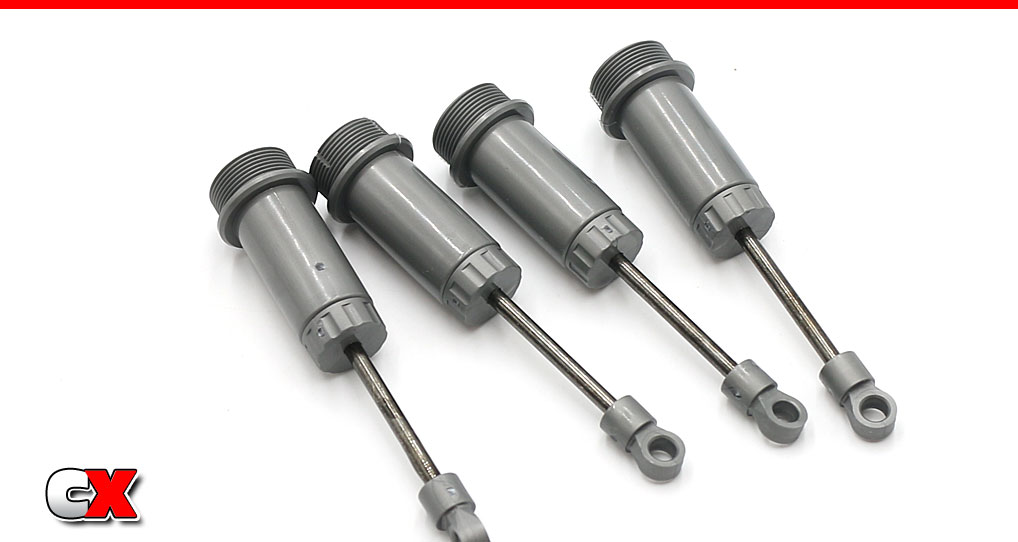
Slide the shaft through the body and cartridge and, once through, add the short shock rod end. Plunge the shaft a few times to spread the oil onto the internal o-rings.
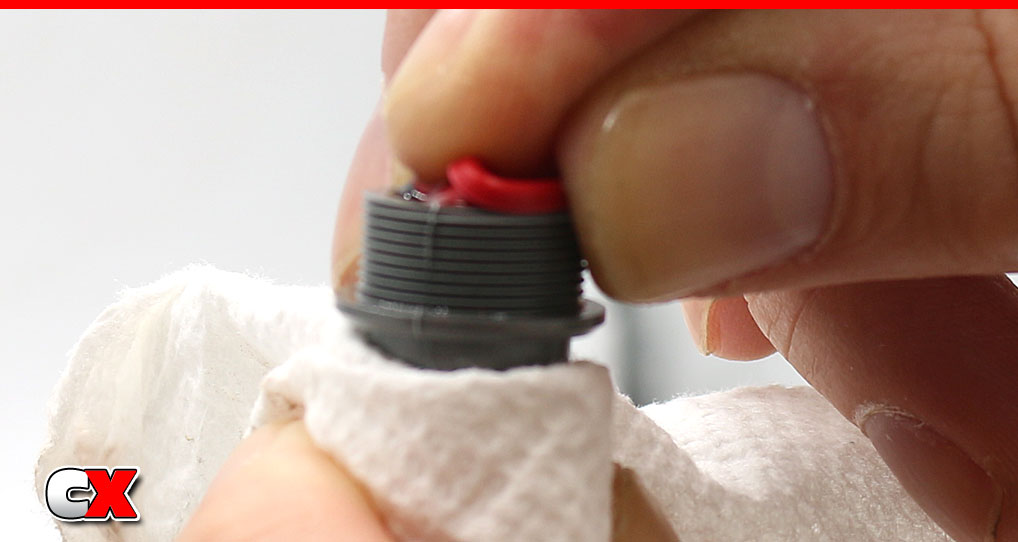
Fill the shocks with oil and plunge the shaft a few times (slowly) to release any bubbles from under the piston. Place in your shock stand and move on to the next shock. Build 4.
Once completed, move back to the first shock and check to see if the bubbles have fully dispersed. If they have, add a little more oil and then install the red bladders. Place the bladder on the shock and ‘roll’ it into place. This will force any excess oil out of the shock. Screw the shock cap on and use your paper towels to clean any excess oil off the shocks. Build 4.
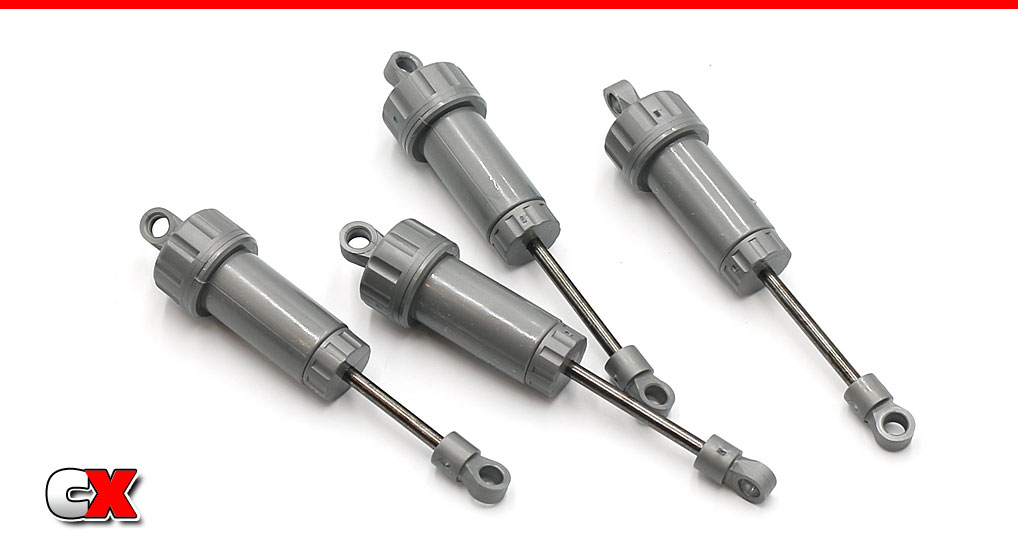
Semi-completed shocks, all cleaned up.
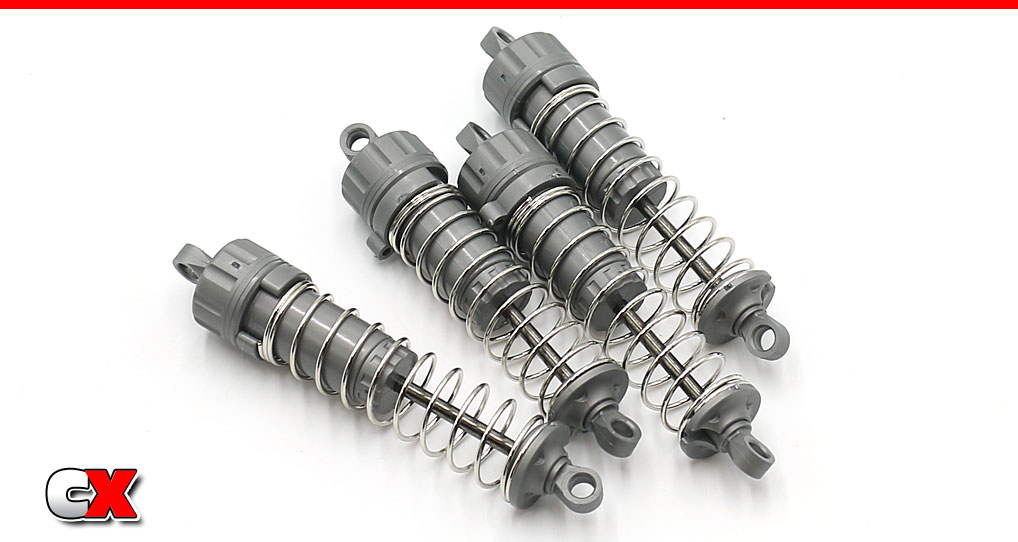
Add the X7 ride height spacer, the spring and the lower spring retainer to all 4 shocks.
Wah-lah – pretty little shocks, all in a row.
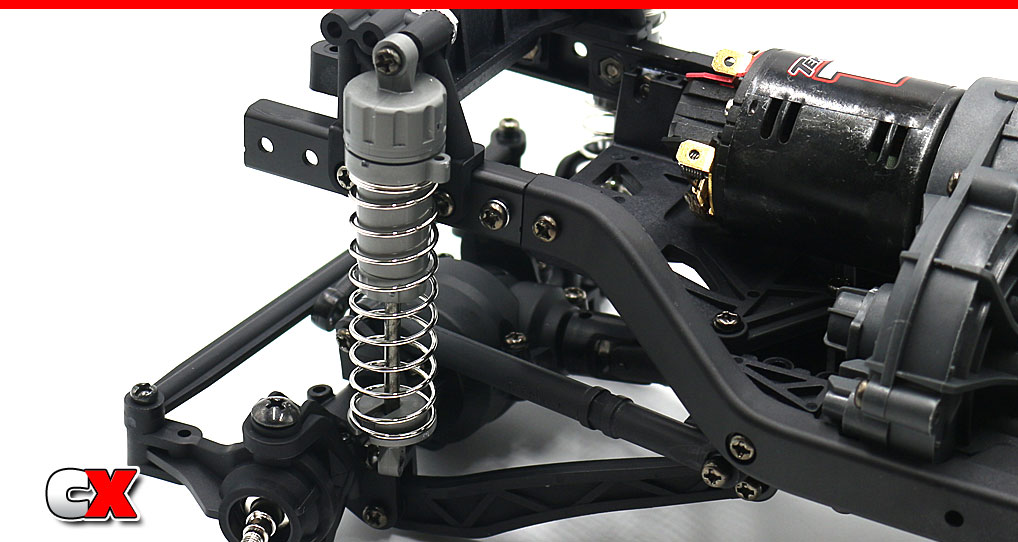
On the front, attach the shock to the rear-most shock hole with the 3x20mm screw, 3x6mm spacer and 3mm flange nut. Do not overtighten – just nice and snug.
Pop the lower part of the shock onto the 5mm ball connector on the axle.
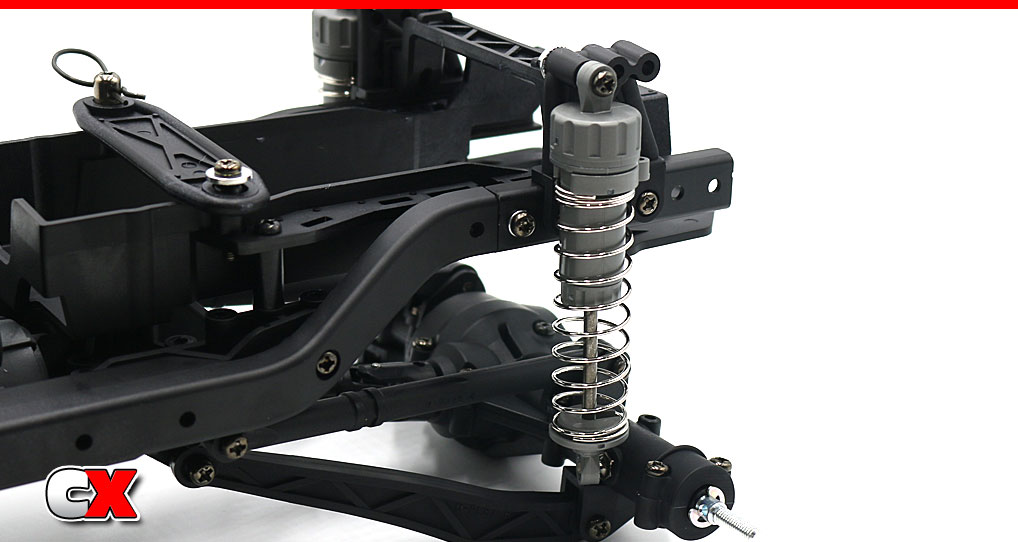
On the rear, attach the shock to the front-most shock hole with the 3x20mm screw, 3x6mm spacer and 3mm flange nut. Do not overtighten – just nice and snug.
Pop the lower part of the shock onto the 5mm ball connector on the axle.
Great job on the shocks. Work the suspension a little to make sure there is no binding.
Set your CC-02 aside, grab your running gear and let’s head to Part 7 – the Electronics.
Tamiya CC-02 Trail Truck Build – Opening Page
Tamiya CC-02 Trail Truck Build – Part 1 – Transmission
Tamiya CC-02 Trail Truck Build – Part 2 – Chassis
Tamiya CC-02 Trail Truck Build – Part 3 – Driveshafts
Tamiya CC-02 Trail Truck Build – Part 4 – Front Axle
Tamiya CC-02 Trail Truck Build – Part 5 – Rear Axle
Tamiya CC-02 Trail Truck Build – Part 6 – Shocks
Tamiya CC-02 Trail Truck Build – Part 7 – Electronics
Tamiya CC-02 Trail Truck Build – Part 8 – Final Steps
 CompetitionX CompetitionX is the most up-to-date source for RC Car News, Reviews and Videos for Radio Control. We also have the most comprehensive Manual Database on the web.