The Tamiya CC-02 comes with the TBLE-02S ESC and Mabuchi brushed motor. If you choose to swap those parts out, know that almost any electronics will work; full-size servo, 540 motor, standard ESC and receiver. The CC-02 is even designed to work with typical LiPo batteries – no more shotgun-only packs!
 While the receiver box is not waterproof, it will protect it from dust or splashes. If you’re set on a full waterproof setup, you can probably add a bead of silicone between the case and lid to seal things up.
It’s always a good idea to test your electronics prior to installation (as well as center the servo). However, it’s good to know that you can easily get to the servo horn to reset the servo if it becomes offset.
The CC-02 comes standard with Tamiya’s TLU-01 LED Light Unit. While I will be using this, I won’t be showing it installed in this build.
Unfortunately, the Tekin ESC hasn’t shown up yet, so I won’t be showing that in this build either.

Let’s start off with building the servo saver. If you’ve had Tamiya cars before, you’ll recognize this thing right away.
Slip the two chrome clips into place followed by the black clip. This does require some pressure to settle them in place.
Attach the 6mm ball connector to the servo horn.

Attach the servo horn to your servo. Note the orientation – I am installing the servo with the output shaft facing down. If you’re installing with the output shaft facing to the front, it will look different.

Attach the servo to the mount using the two 3x10mm flange tapping screws.

Pop the steering link onto the 6mm ball connector.

Attach the electronic mounting pads to both sides of the CC-02.

Using the provided double-sided tape, attach the receiver box to the right side of the chassis. Install your receiver and route your servo and ESC wires into the back of the box.
Secure the lid with the two 3x8mm screws.
I’m sure, by this time, you’ve already installed a battery and fired up the electronics. Bet you can’t wait to get this rig outside!
Find job! Only 1 step left – Part 8 – the Final Steps.
Tamiya CC-02 Trail Truck Build – Opening Page
Tamiya CC-02 Trail Truck Build – Part 1 – Transmission
Tamiya CC-02 Trail Truck Build – Part 2 – Chassis
Tamiya CC-02 Trail Truck Build – Part 3 – Driveshafts
Tamiya CC-02 Trail Truck Build – Part 4 – Front Axle
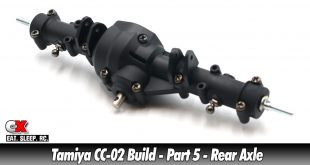
Tamiya CC-02 Trail Truck Build – Part 5 – Rear Axle
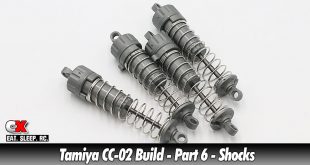
Tamiya CC-02 Trail Truck Build – Part 6 – Shocks
Tamiya CC-02 Trail Truck Build – Part 7 – Electronics
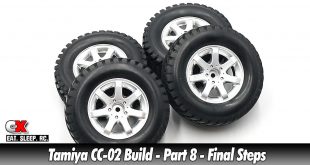
Tamiya CC-02 Trail Truck Build – Part 8 – Final Steps