The Build – Part 9
The radio tray is the heart of your RC8.2. This tray is connected to the chassis with 6 screws. Removing these 6 screws will allow you to quickly remove the tray for vehicle maintenance.
Build Notes: Installing all of the electronics only to find something is not working can suck. It’s a good idea to test everything before installing.
Team Associated RC8.2 Build Step 123
To help protect the receiver, a foam pad is stuck to the bottom of the receiver box. Note the direction.
Team Associated RC8.2 Build Step 124
Stick the other foam pad to the receiver box lid. Note the direction.
Team Associated RC8.2 Build Step 125
Hopefully by this time you have a radio system picked out. Take the reciever out…
Team Associated RC8.2 Build Step 126
…and feed the antenna up through the on/off switch plate. Attach the on/off switch to the switch plate.
Team Associated RC8.2 Build Step 127
Attach the on/off switch plate to the receiver box. I’ve attached the receiver pack to show you how it will wire up. Plug the other end of the switch into the receiver (any port but #1 or #2).
Team Associated RC8.2 Build Step 128
Remove the receiver pack and install the receiver box lid. Add the body clips to keep it shut. Attach the servo tray to the receiver box.
Team Associated RC8.2 Build Step 129
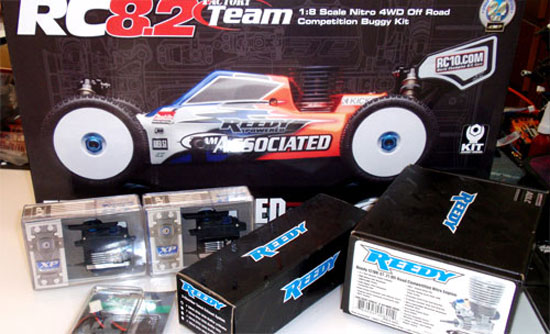
For this build, I wil be using Team Associated’s XP line of servos; a DS1015 for the steering and a DS1313 for the throttle.
Team Associated RC8.2 Build Step 130
Drop the DS1313 servo into the rear servo mount area and secure with the four 3x14mm screws. Install height spacers if necessary so the servo doesn’t touch the chassis. Note the direction of the servo.
Team Associated RC8.2 Build Step 131
Install the DS1015 servo into the front-most servo area and secure with the four 3x14mm screws. Install height spacers if necessary so the servo doesn’t touch the chassis. Notice the direction of the servo.
Team Associated RC8.2 Build Step 132
Open the receiver box and feed the servo wired into it through the grommeted hole. The steering servo should plug into port #1, the throttle servo into port #2.
Team Associated RC8.2 Build Step 133
Wire tie the servo wires to keep a neat and tidy receiver box. Re-install the receiver lid.
Team Associated RC8.2 Build Step 134
Apply the foam pads to the top and bottom of the forward receiver pack box.
Team Associated RC8.2 Build Step 135
Install the receiver pack and feed the wires out through the bottom. ‘Clip’ the receiver pack box to the servo tray and secure with the 2 screws.
Team Associated RC8.2 Build Step 136
Feed the receiver pack lead into the receiver box and plug it into the switch. At this time it’s a good idea to turn everything on again and test the operation of the electronics.
Team Associated RC8.2 Build Step 137
Assemble your steering linkage. The turnbuckle should already be assembled…thanks AE! Make sure you choose the correct servo horn for the steering servo you are using.
Team Associated RC8.2 Build Step 138
Remove the servo screw from the servo, remove the stock servo horn and install the new servo horn assembly. Use the stock screw to keep the servo horn in place.
Tony Phalen -
As an avid RC enthusiast, Tony has been building, bashing and racing RC Cars for over 30 years. He has participated in every kind of surface racing events - 1/18 scale trucks, 1/10 scale TC, Rock Racers, Rally - if it had wheels, he's raced it! He's also worked on both sides of the industry fence; collaborating with many major manufacturers (as well as being a sponsored driver) to working for a high-profile industry magazine. During this time he has learned many tricks, tips and techniques and is sharing that knowledge on CompetitionX - the most informative RC website on the internet!

 Installing all of the electronics only to find something is not working can suck. It’s a good idea to test everything before installing.