The Build – Part 5
The rear bulkhead builds much like the front one. This should be a quick and easy step.
Build Notes: There are few areas where you will be screwing into aluminum objects. Don’t forget your loctite!
Pay close attention the installation of you rear diff. It is crucial that it is installing in the correct direction.
Team Associated RC8.2 Build Step 56
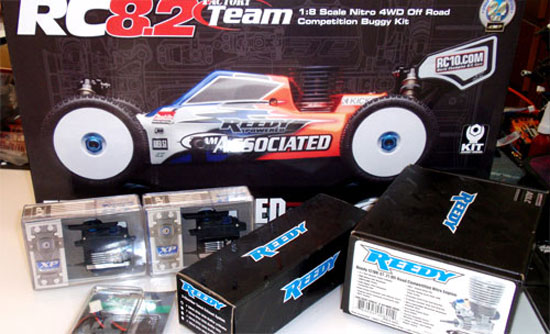
Start off this step by opening up your FF bag. Once again, you’ll see the included Factory Team parts in here.
Team Associated RC8.2 Build Step 57
Build your rear CVA exactly like you built the front one. Make sure to use plenty of grease on both the ball end (when installing the boot) and the joint end.
Team Associated RC8.2 Build Step 58
Insert the two bearings and the diff pinion gear into the rear bulkhead.
Team Associated RC8.2 Build Step 59
Attach the rear CVA assembly to the diff pinion gear. Don’t forget your loctite here on the set screw.
Team Associated RC8.2 Build Step 60
Time to install the aluminum C-plate. First off, push the 2-dot hinge pin bushings into place, making sure the dots are in the down position. Attach the block to the rear bulkhead.
Team Associated RC8.2 Build Step 61
Install the rear body mount to the rear shock tower. Pay close attention to the direction of the tower. The machined side should be AWAY from the mount.
Team Associated RC8.2 Build Step 62
Attach the shock tower to the bulkhead.
Team Associated RC8.2 Build Step 63
Grab your rear diff and slide a shim onto each side.
Team Associated RC8.2 Build Step 64
Insert the diff into the rear bulkhead. Note the direction of the diff (VERY IMPORTANT) and make sure the shims are INSIDE the rear bulkhead.
Team Associated RC8.2 Build Step 65
Attach the bulkhead cap. Make sure you don’t pinch the diff shims.
Team Associated RC8.2 Build Step 66
Screw the upper shock mounts into place. Use a little loctite here to help prevent the screws from loosening up.
Team Associated RC8.2 Build Step 67
Finally, attach the rear bulkhead brace. This might need to swivel while installing this bulkhead to the chassis so don’t tighten this screw down all the way yet.
Tony Phalen -
As an avid RC enthusiast, Tony has been building, bashing and racing RC Cars for over 30 years. He has participated in every kind of surface racing events - 1/18 scale trucks, 1/10 scale TC, Rock Racers, Rally - if it had wheels, he's raced it! He's also worked on both sides of the industry fence; collaborating with many major manufacturers (as well as being a sponsored driver) to working for a high-profile industry magazine. During this time he has learned many tricks, tips and techniques and is sharing that knowledge on CompetitionX - the most informative RC website on the internet!

 There are few areas where you will be screwing into aluminum objects. Don’t forget your loctite!