The steering system on the Tekno EB410.2 is exactly like the .1, using a reversed bellcrank setup that is supposed to give a more consistent steering response (however I’ve never driven a Tekno with a standard steering so it’s hard to compare). It is bearing supported and mounts to the front bulkhead, making installation and maintenance a little bit easier.
 We will be installing screws into metal on this step, so have some threadlocker ready to keep them from backing out.
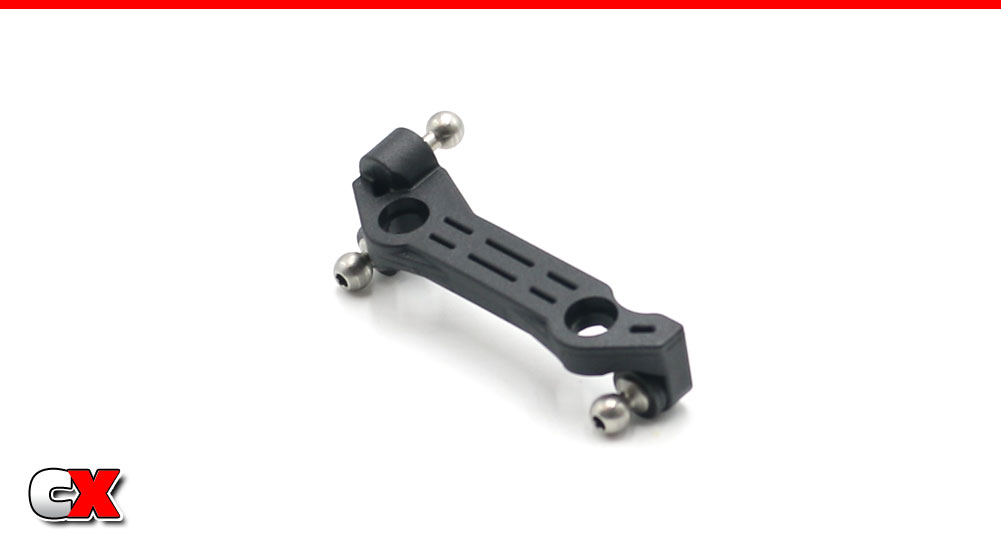
Build the steering rack, using 4 washers behind each ball stud. You can add or remove shims to adjust the Ackermann.
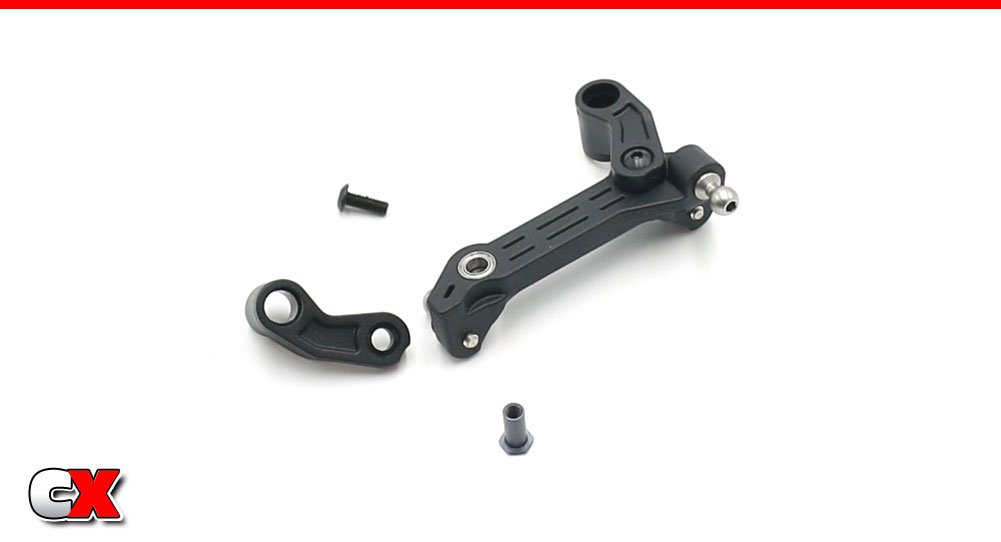
Press the bearings into the rack, then attach the bellcrank arms. Use a small drop of threadlocker to keep the screws in place. Note the direction of the arms. Set this assembly aside.
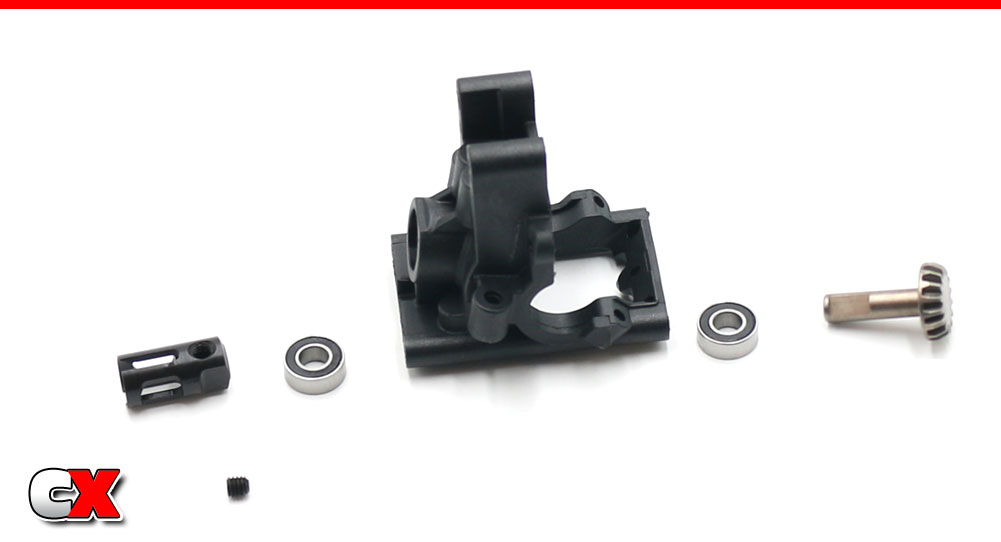
Press the pair of bearings into the front bulkhead. Slide the pinion gear into place, then slip the outdrive over the pinion gear shaft. Secure in place with the M4 grub screw. A drop of threadlocker here is suggested.
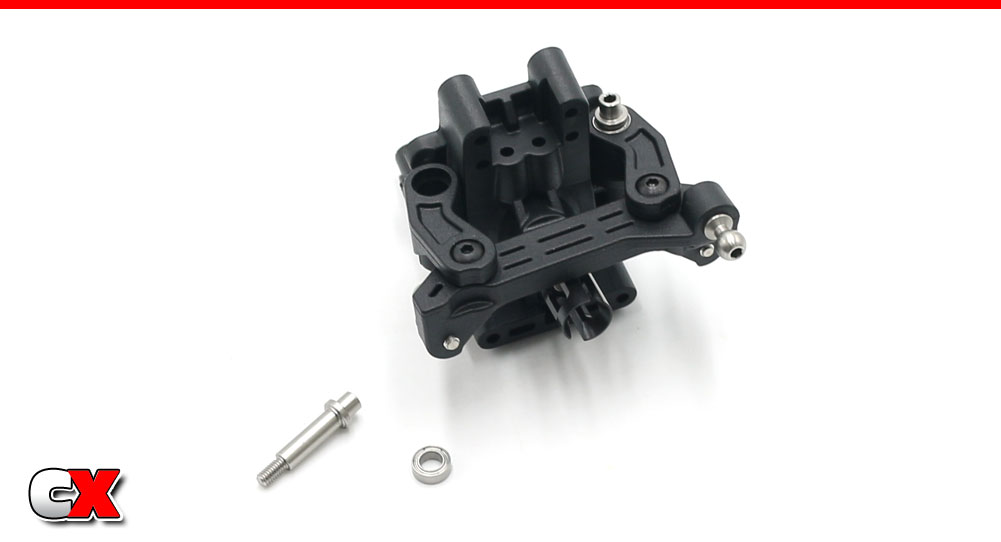
Slowly pre-thread the steering posts into the bulkhead to ensure they go in straight.
Press the bearings into the bellcrank arms, then attach the assembly to the front bulkhead with the steering posts. Make sure the steering system swings freely. If not, back the steering post screws off a tiny bit.
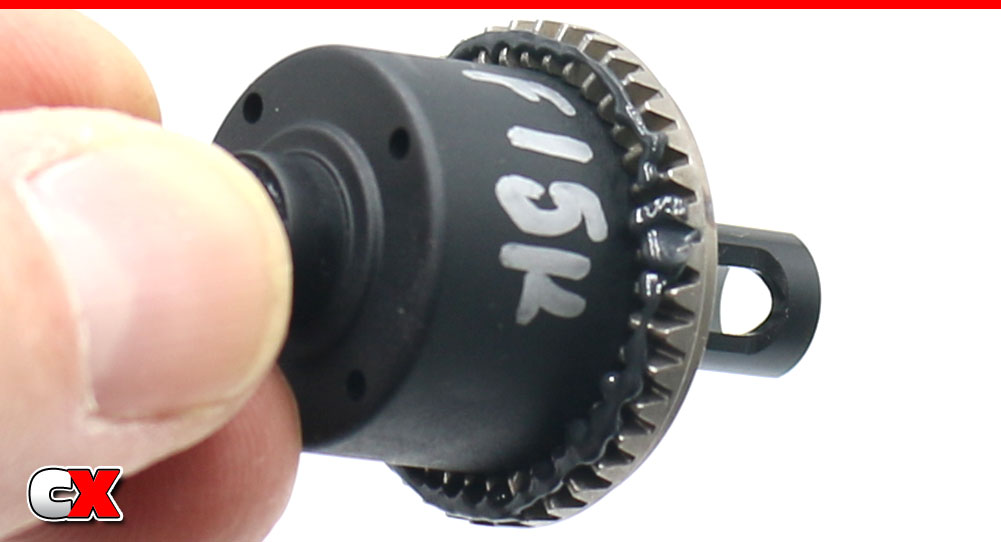
Before inserting the front diff into the bulkhead, apply a liberal amount of black grease to the teeth. This will help prevent wear and quiet the gear mesh down.

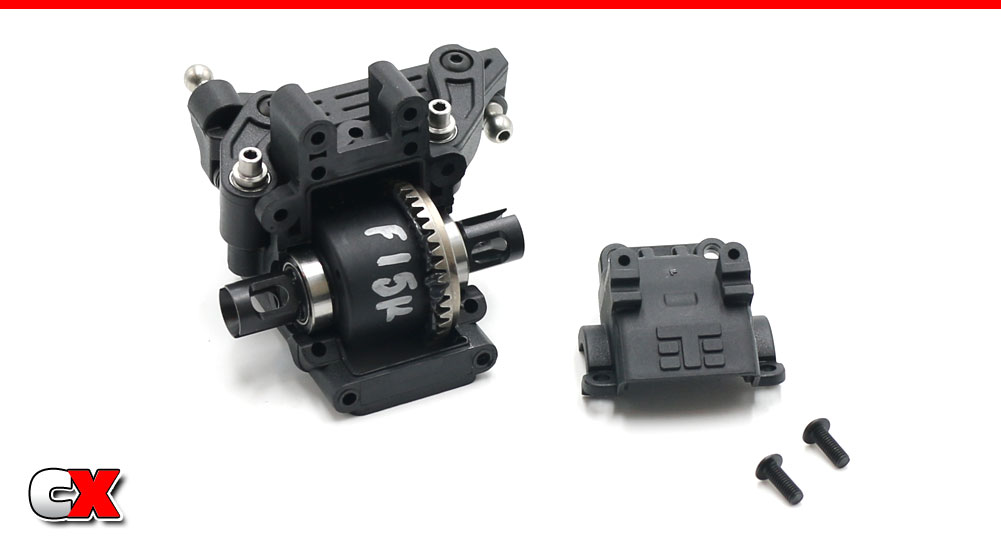
Slip a 10×15 bearing onto each side of your diff and drop it into the front housing. Attach the bulkhead cap using the two M3x8mm screws.
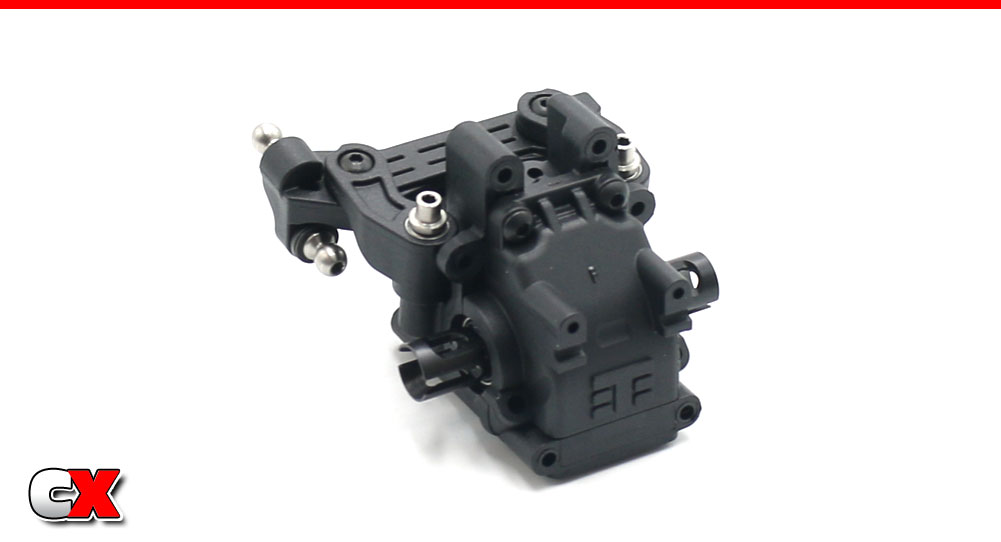
Your front bulkhead should look like this.
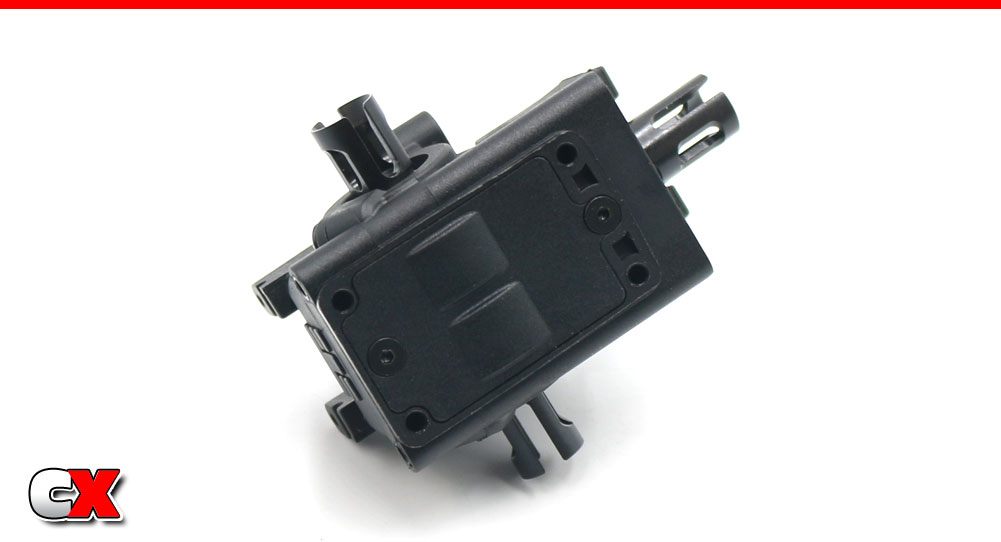
Finish off this step by attaching the cover to the bottom of your bulkhead.
Great job. Your front bulkhead is done – time to move on to the rear one.
Tekno RC EB410.2 4WD Buggy Build – Opening Page
Tekno RC EB410.2 4WD Buggy Build – Part 1 – Differentials
Tekno RC EB410.2 4WD Buggy Build – Part 2 – Steering/Front Bulkhead
Tekno RC EB410.2 4WD Buggy Build – Part 3 – Rear Bulkhead
Tekno RC EB410.2 4WD Buggy Build – Part 4 – Rear Suspension
Tekno RC EB410.2 4WD Buggy Build – Part 5 – Front Suspension
Tekno RC EB410.2 4WD Buggy Build – Part 6 – Chassis Assembly
Tekno RC EB410.2 4WD Buggy Build – Part 7 – Shocks
Tekno RC EB410.2 4WD Buggy Build – Part 8 – Electronics
Tekno RC EB410.2 4WD Buggy Build – Part 9 – Final Assembly
 CompetitionX CompetitionX is the most up-to-date source for RC Car News, Reviews and Videos for Radio Control. We also have the most comprehensive Manual Database on the web.
