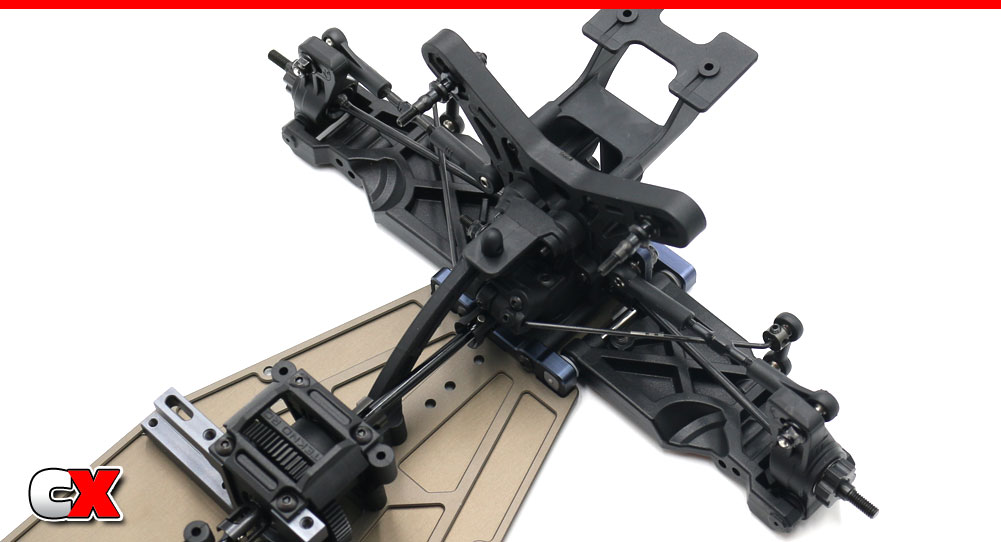
In this step, we’ll be attaching the front clip, the rear clip and the center diff to the chassis.
 None in this step.
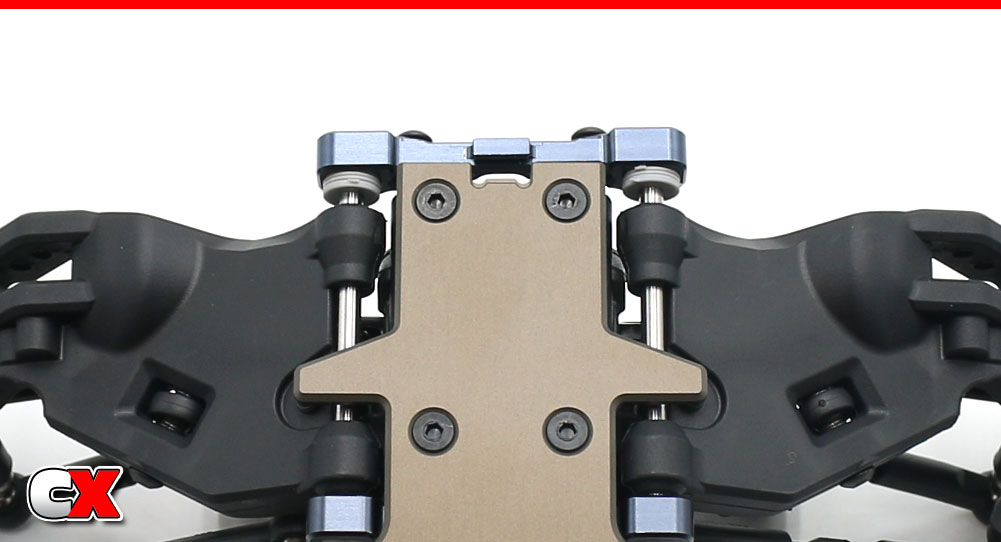
The manual shows the removal of the A arm mount to attach the front clip. Knowing that this would probably result in little shims flying everywhere and hingepins falling out, I opted to try a different method that actually worked out.
Back the screws out that hold the A arm mount in place – maybe 3/4 of the way. This will allow the A arm mount to slide out enough to allow attachment of the front clip, but not allow the hingepins and shims to fall out. Once you get the front clip attached to the chassis, slide the A arm mount back in place and tighten up the screws.
The A arm mount should ‘grab’ the little lip in the chassis.
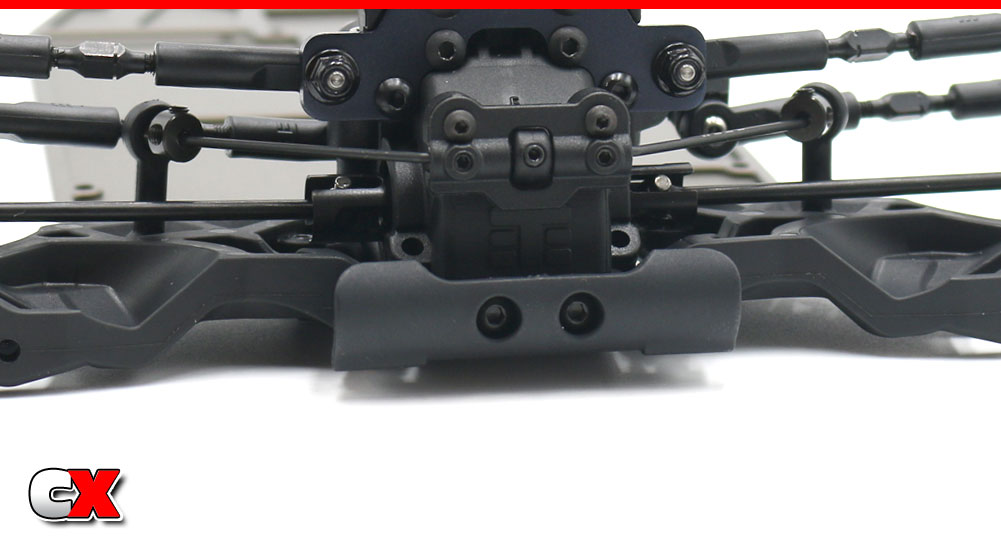
Attach the front bumper to the chassis.
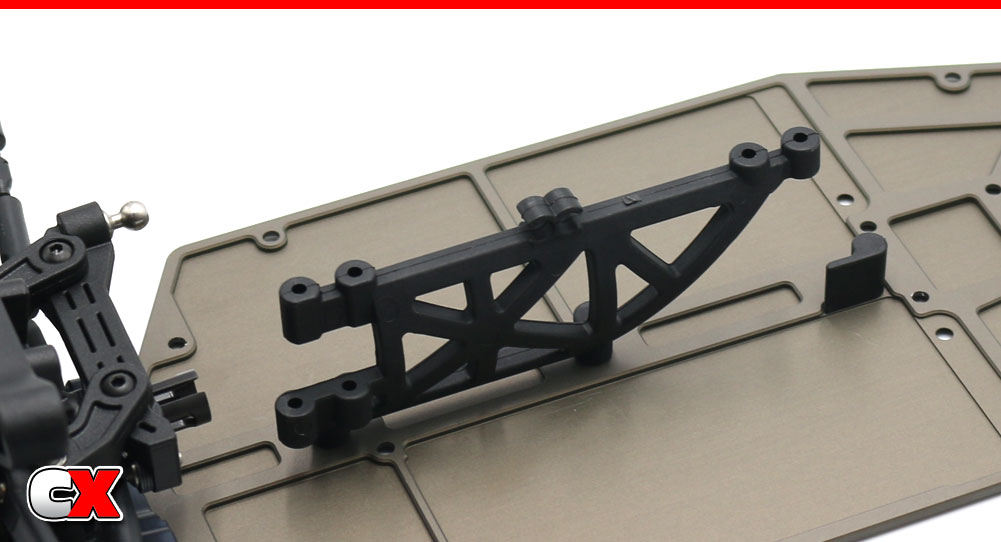
Install the center brace and battery stop to the chassis.
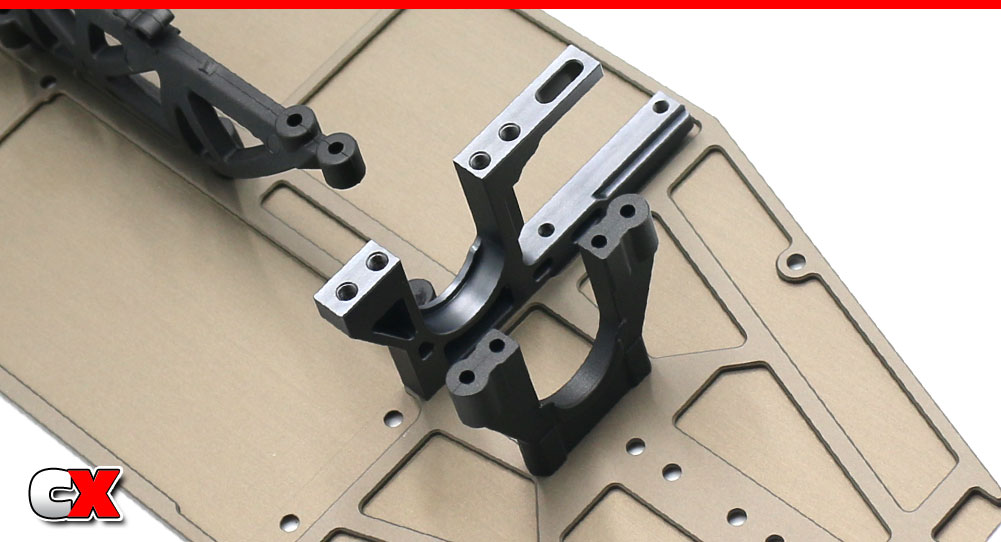
Attach the motor mount and rear diff bulkhead to the chassis. Note the orientation of both. A small drop of threadlock should be applied to the screws going into the aluminum mount.
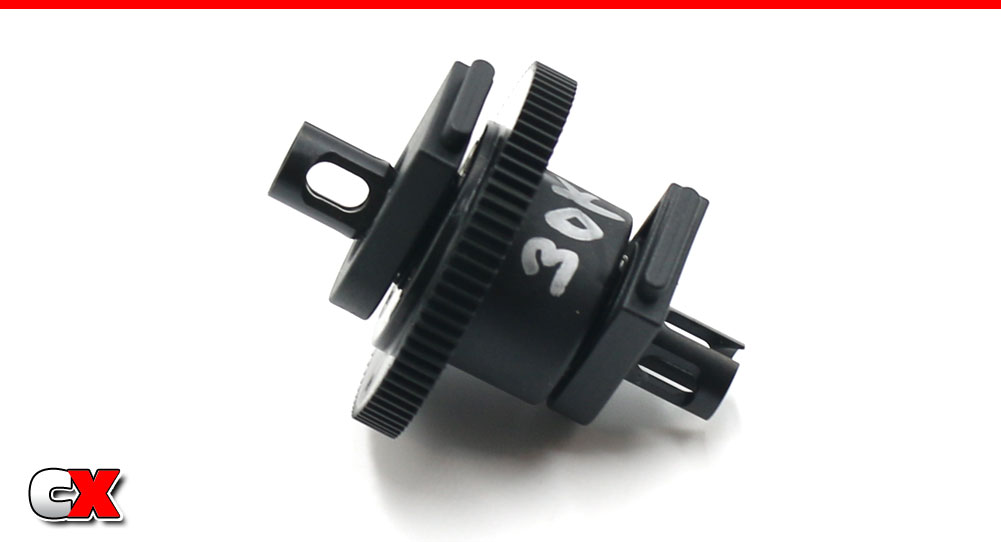
Slide a 10×15 bearing onto each side of the diff, then press the bearing supports into place. Give the bearings (and supports) a good push to make sure they seat as close to the diff as possible.
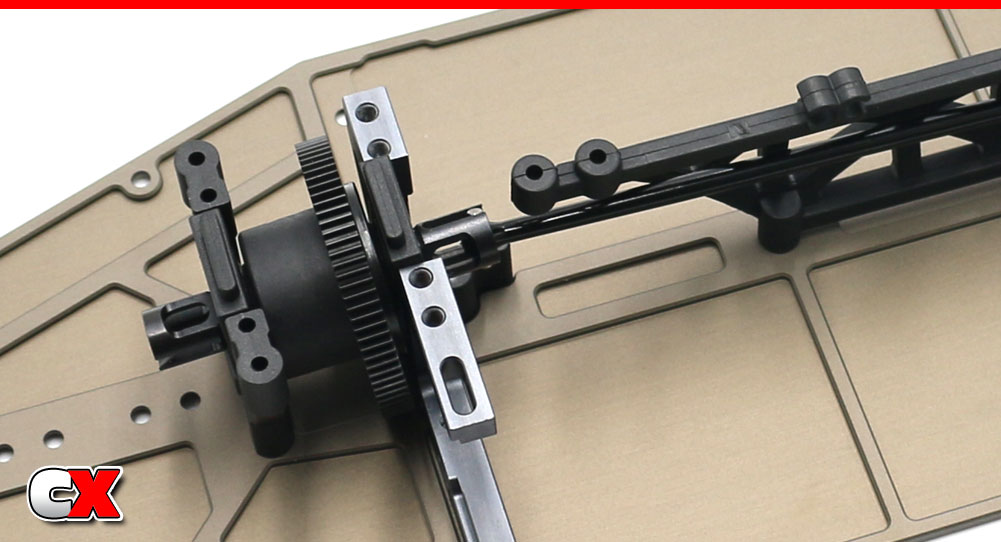
Key the front driveshaft to the front and center outdrives, then drop the center diff into place. Note how the bearing supports (on the center diff bearings) key to the center bulkheads.
(I noticed the picture isn’t great, but they bearing supports do key to the bulkheads if installed correctly).
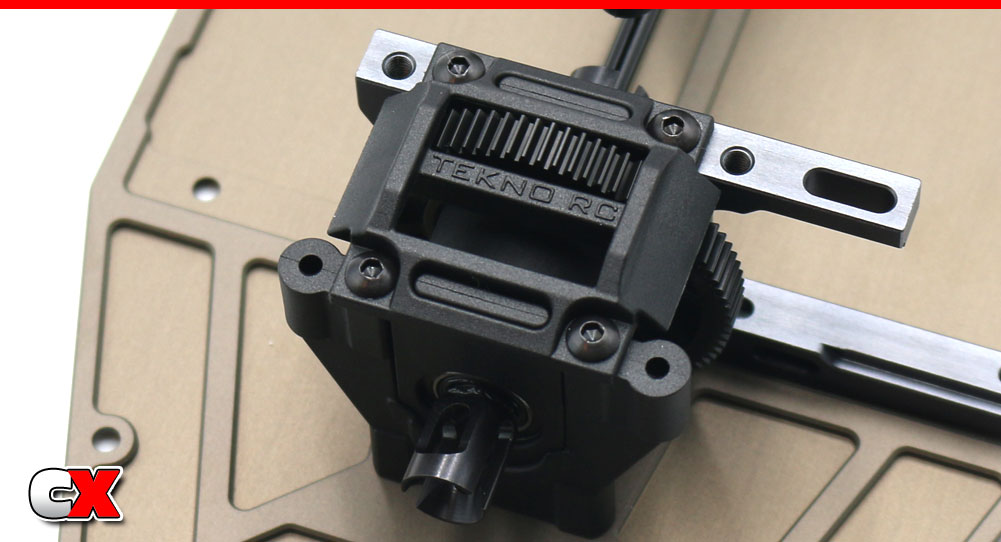
Cap the center diff. The cap is not directional so it can go either way.
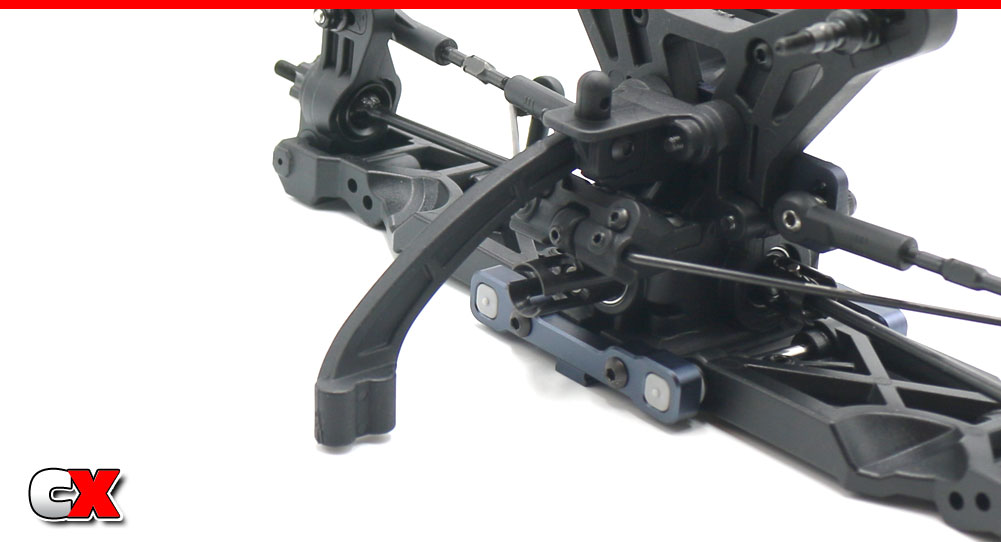
Attach the rear support brace to the rear clip. You can use one brace, two braces or no braces depending on the traction level you are looking for (no braces, more traction, both braces less traction).

Key the rear driveshaft to the rear and center outdrives, then attach the rear clip to the chassis.
Easy peasy, right? Your Tekno EB410.2 is starting to take shape! Good job – let’s move on to Step 7 – the shocks!
Tekno RC EB410.2 4WD Buggy Build – Opening Page
Tekno RC EB410.2 4WD Buggy Build – Part 1 – Differentials
Tekno RC EB410.2 4WD Buggy Build – Part 2 – Steering/Front Bulkhead
Tekno RC EB410.2 4WD Buggy Build – Part 3 – Rear Bulkhead
Tekno RC EB410.2 4WD Buggy Build – Part 4 – Rear Suspension
Tekno RC EB410.2 4WD Buggy Build – Part 5 – Front Suspension
Tekno RC EB410.2 4WD Buggy Build – Part 6 – Chassis Assembly
Tekno RC EB410.2 4WD Buggy Build – Part 7 – Shocks
Tekno RC EB410.2 4WD Buggy Build – Part 8 – Electronics
Tekno RC EB410.2 4WD Buggy Build – Part 9 – Final Assembly
 CompetitionX CompetitionX is the most up-to-date source for RC Car News, Reviews and Videos for Radio Control. We also have the most comprehensive Manual Database on the web.
One comment
Pingback: Tekno RC EB410.2 4WD Buggy Build | CompetitionX