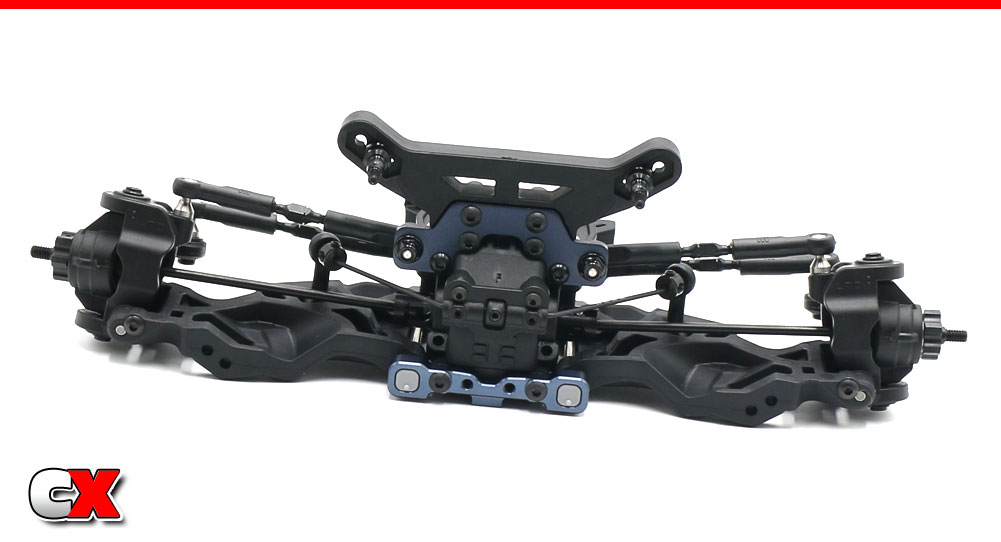
The front suspension build on the Tekno EB410.2 is very similar to the rear; anti-roll bar, aluminum arm mounts will plastic pills, etc. We will also be installing the caster and steering blocks as well as the shock tower.
 When building and installing the turnbuckles, always make sure the notches (on the turnbuckles) are facing the same way. The standard direction is to the car’s left.
 The turnbuckle ballcups are directional so when installing, make sure the Tekno “T” is facing up.
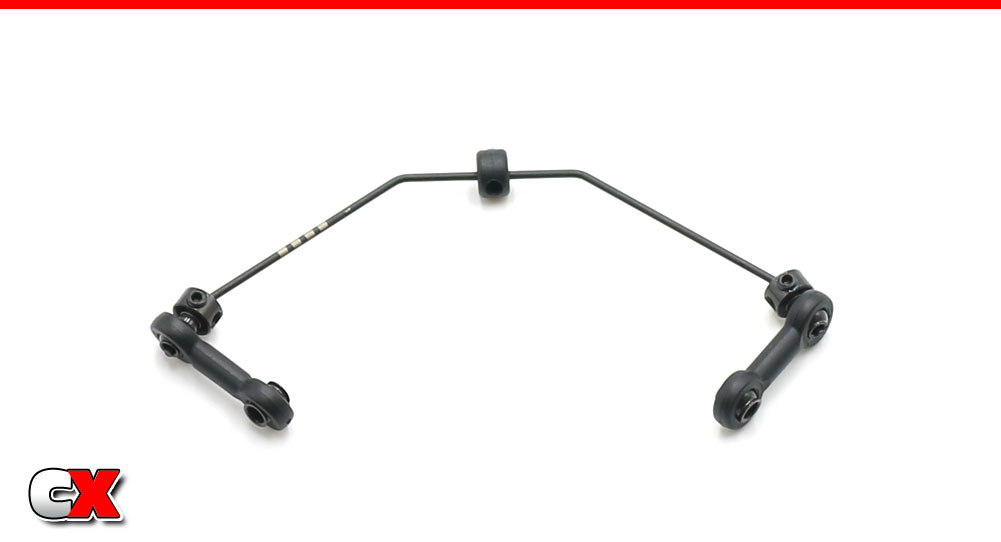
The front anti-roll bar build just like the rear; plastic stopper, aluminum ball ends and plastic links. The only difference is the addition of the aluminum balls instead of the ball ends on the bottom part of the links. Your completed front anti-roll bar should look like this.
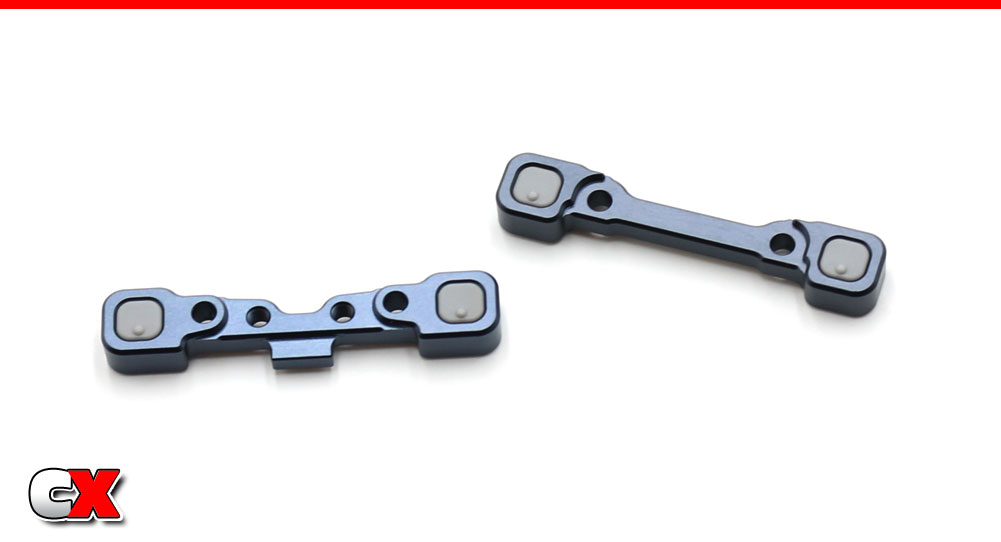
A (left) and B (right) aluminum arm mounts. Press the center-pip-down pills into each block as shown.
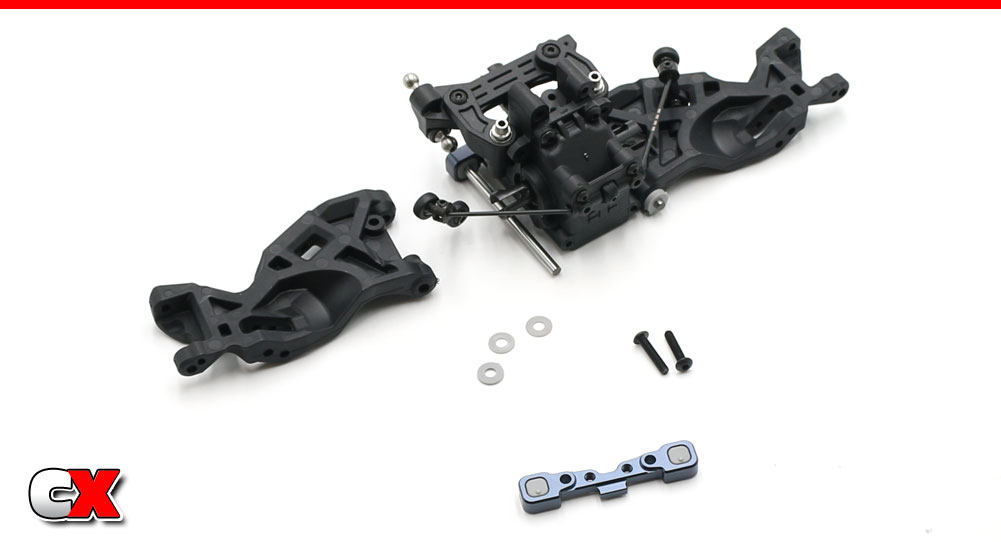
Attach the front anti-roll bar to the front bulkhead. Installation is exactly like the rear in regards to the small grub screws; do not overtighten. Make sure the anti-roll bar swings freely.
Insert the droop screws into the front suspension arms. Don’t worry about making them perfect right now; we’ll set them at the end of the build.
Attach the B arm mount to the back of the front bulkhead. Slip the hinge pin in place followed by the suspension arms. Slide the 3 spacers (1 1mm, 2 .5mm) onto the arm, then capture with the A arm mount. Use the M3x14mm screws to hold it all in place.
Move the suspension arms up and down to make sure they swing freely.
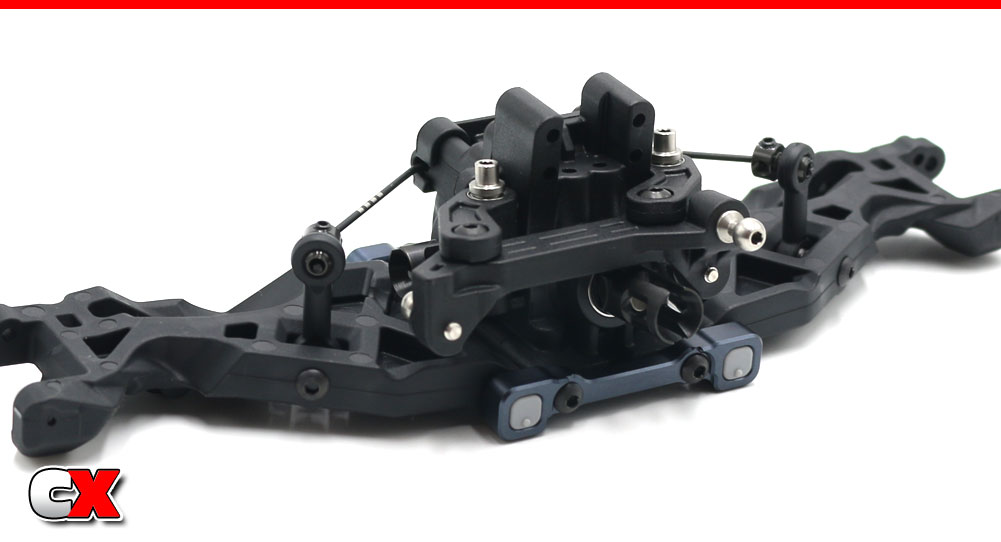
Attach the lower part of the front anti-roll bars.
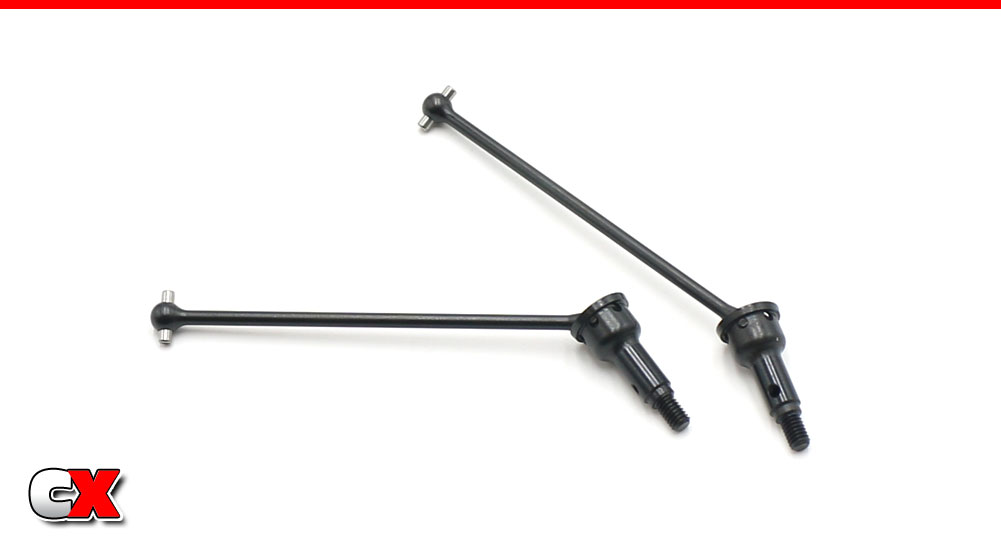
Build a pair of front CVDs. They build exactly like the rears.
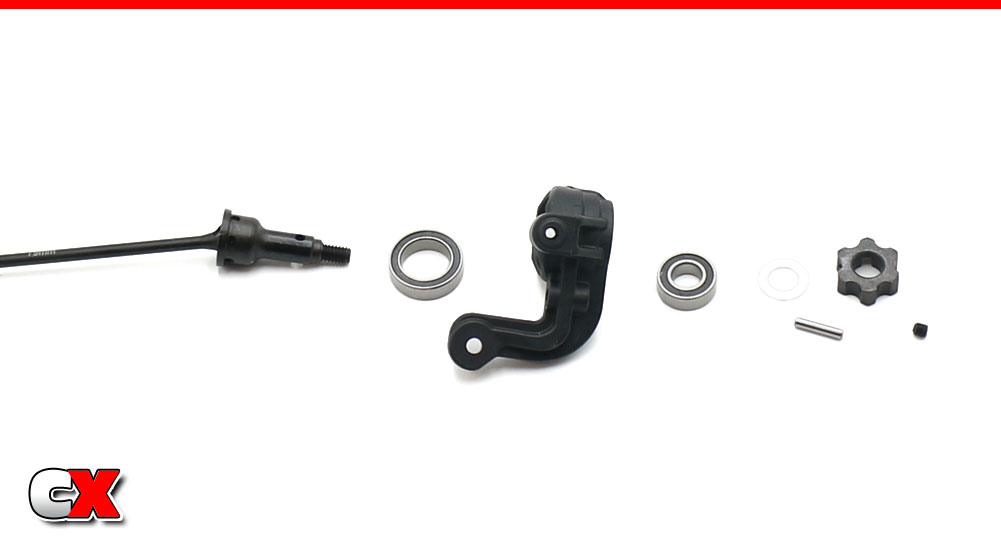
Press the 10×15 bearing into the rear part of the steering knuckle, the 6×12 bearing into the front. Feed the CVD assembly through the bearings, then slide the 6×10 washer into place. Slip the pin through the hole in the axle, then slide the wheel hex adapter into place, keying it to the pin. The grub screw holds everything in place.
Build a right and left side.
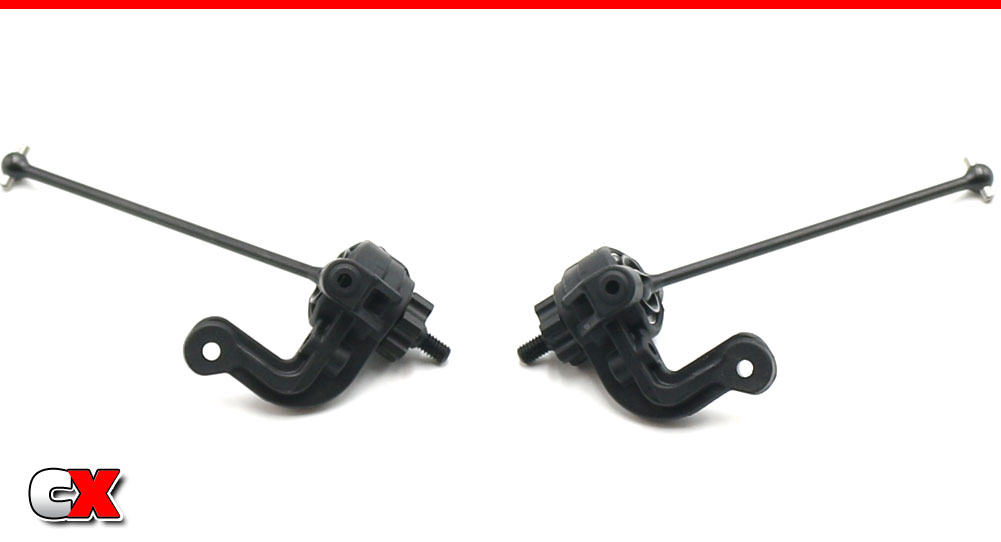
Your completed right and left side steering assemblies.
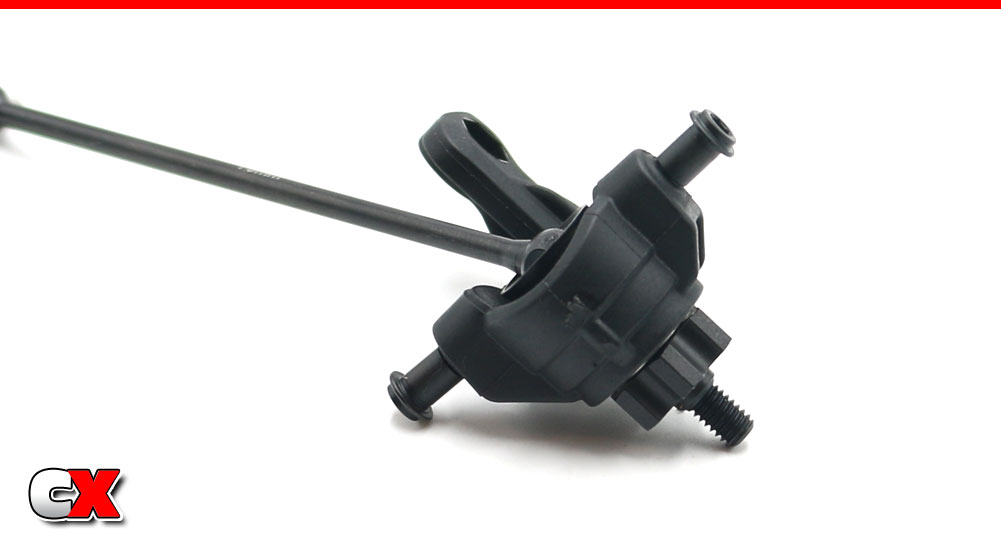
To make sure everything lines up correctly during the next steps, Tekno wants you to pre-thread the kingpin screws into the steering assembly. So, yeah, I did it.
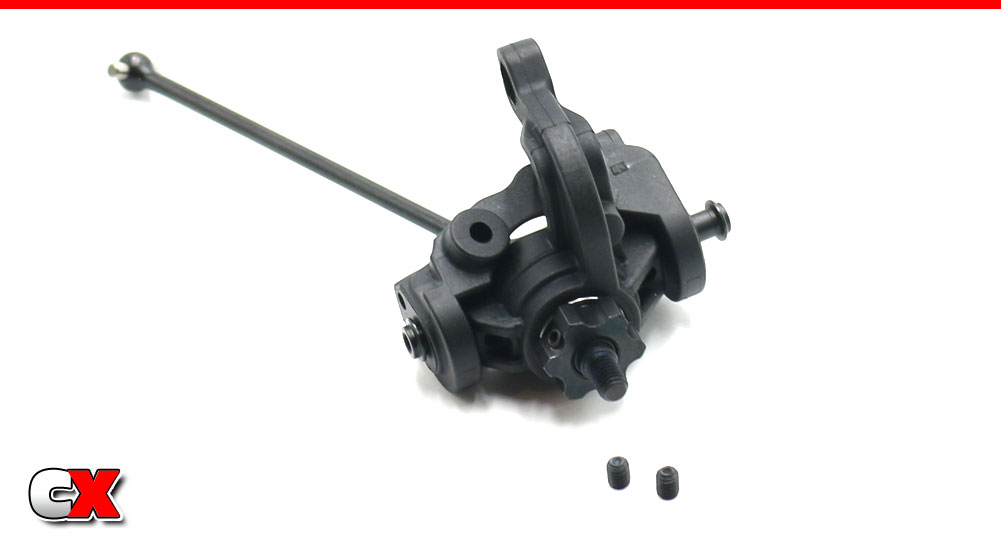
Back those screws out, slide the steering assembly into the appropriate caster block, and re-install the kingpin screws. The two little grub screws are a secondary security blanket to keep the kingpin screws from backing out. DO NOT OVERTIGHTEN – they only need to be snug.
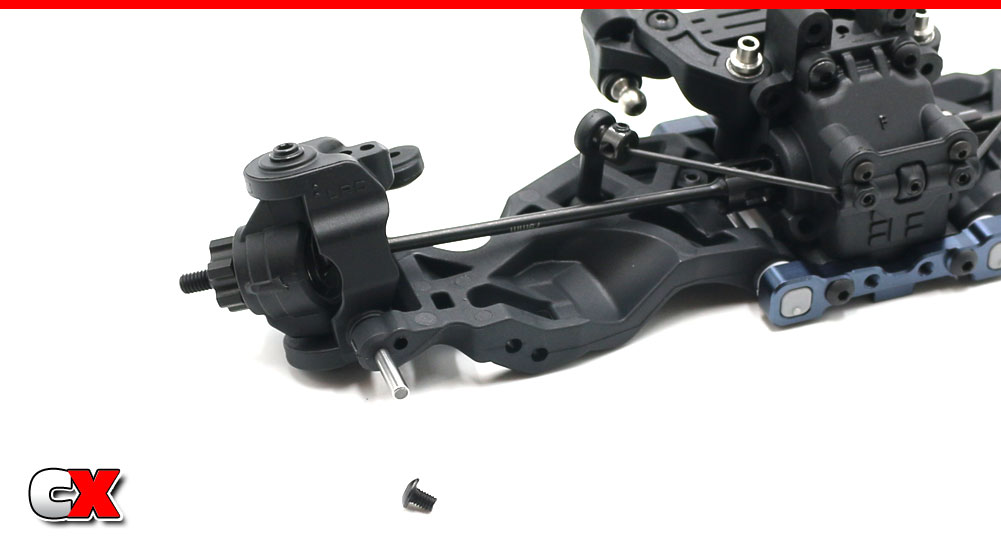
Place the right side steering assembly into place in the right suspension arm, then slide the hingepin through to keep everything in place. Add the M3x4mm screw to secure the hingepin.
Follow the same procedure for the left side.
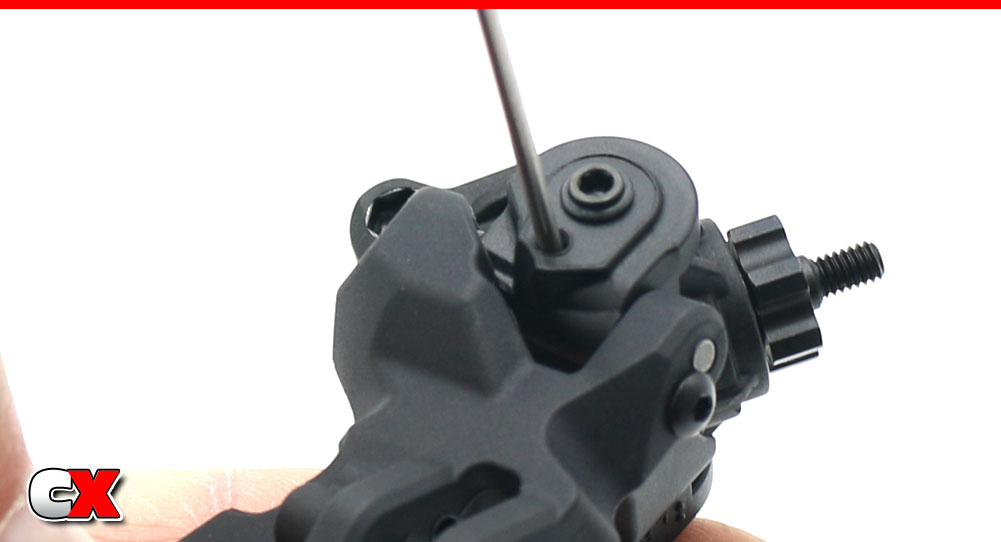
Install the grub screw through the bottom of the caster block. This only needs to be snug.
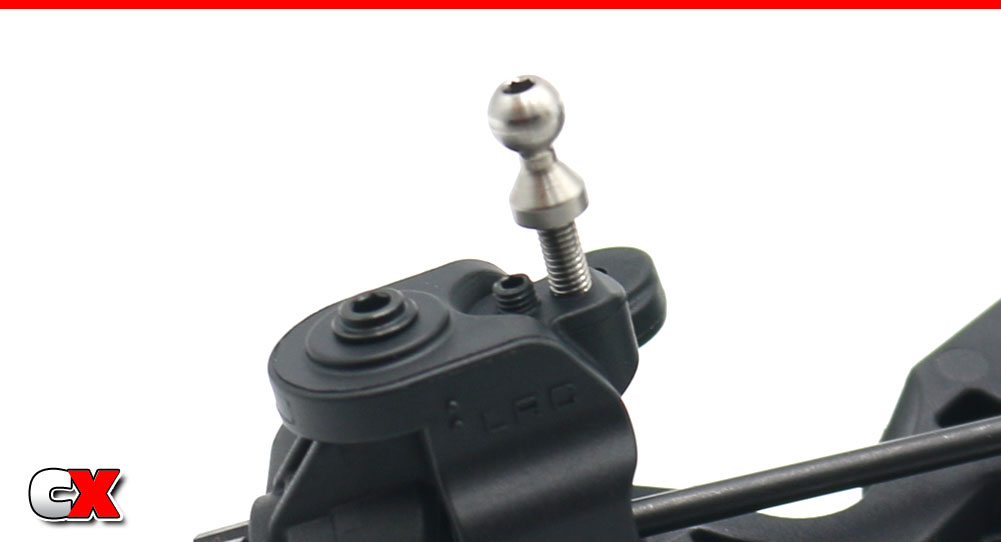
Since the camber link holes in the caster block are so close, Tekno uses a grub screw in the unused hole to help prevent the plastic from deforming.
I like to thread the ballstud in a bit, then fully install the grub screw (until it’s flush with the top of the plastic. Finish installing the ballstud.
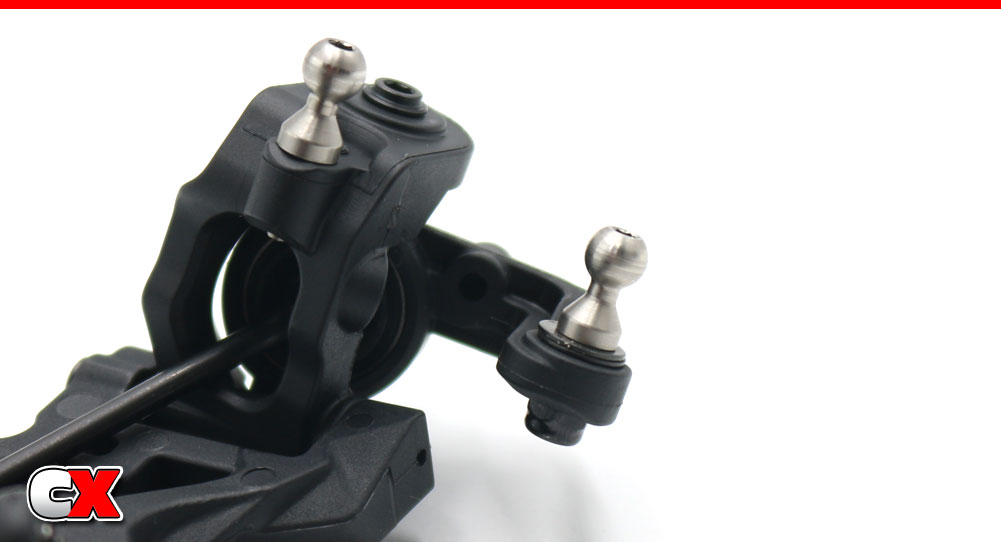
Attach the steering link ballstud, using 2 washers under it. Complete both sides.
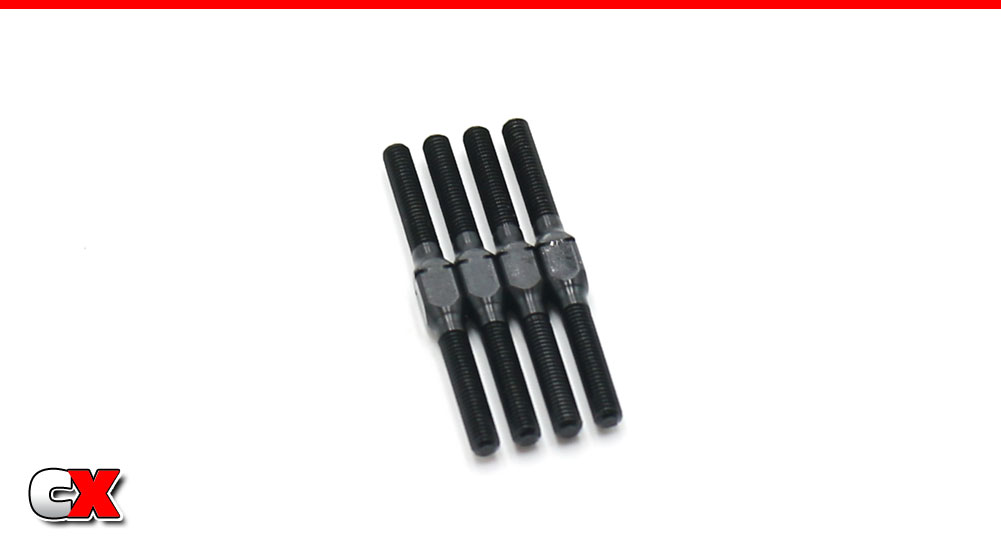
Thankfully, Tekno has made the front camber and steering turnbuckles the same size.
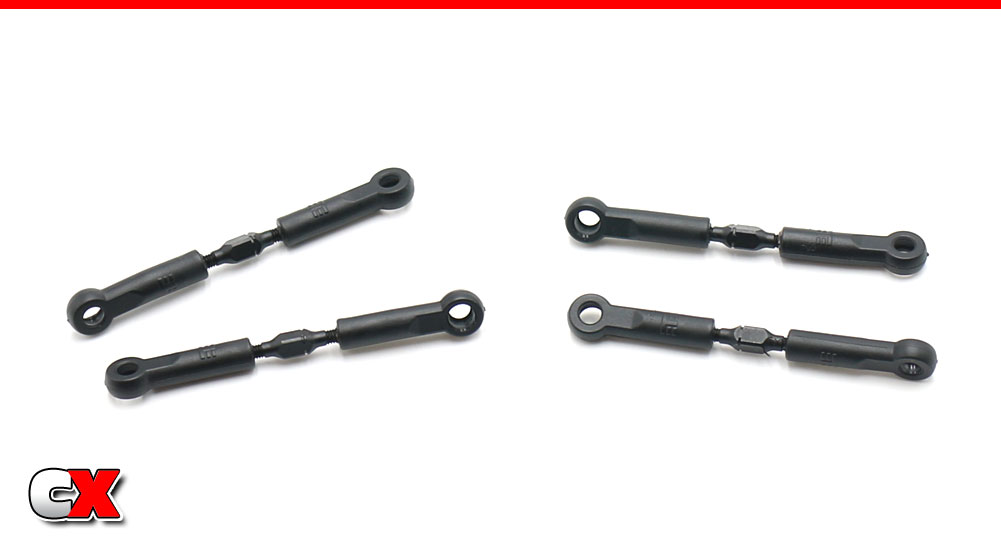
Build 2 steering and 2 camber link turnbuckles.
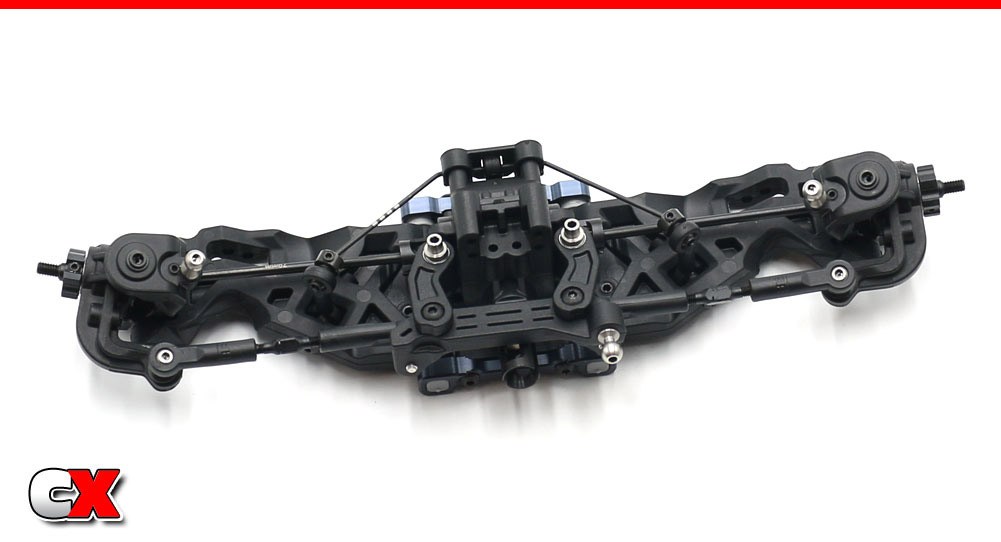
Attach the steering turnbuckles. Make sure the notch in the turnbuckles is pointing to the left side of the car.
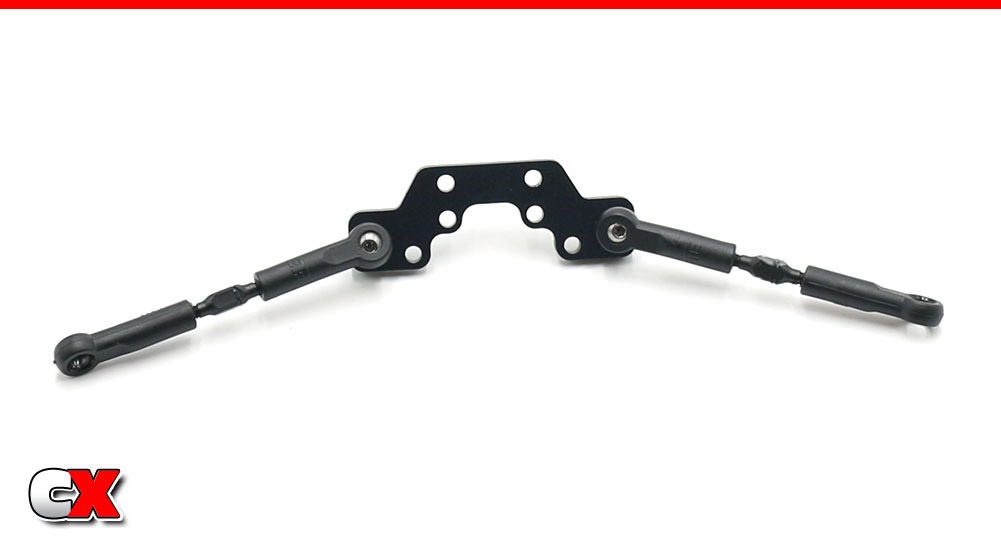
Assemble the camber link plate (link you did with the rear) and attach the camber links to it.
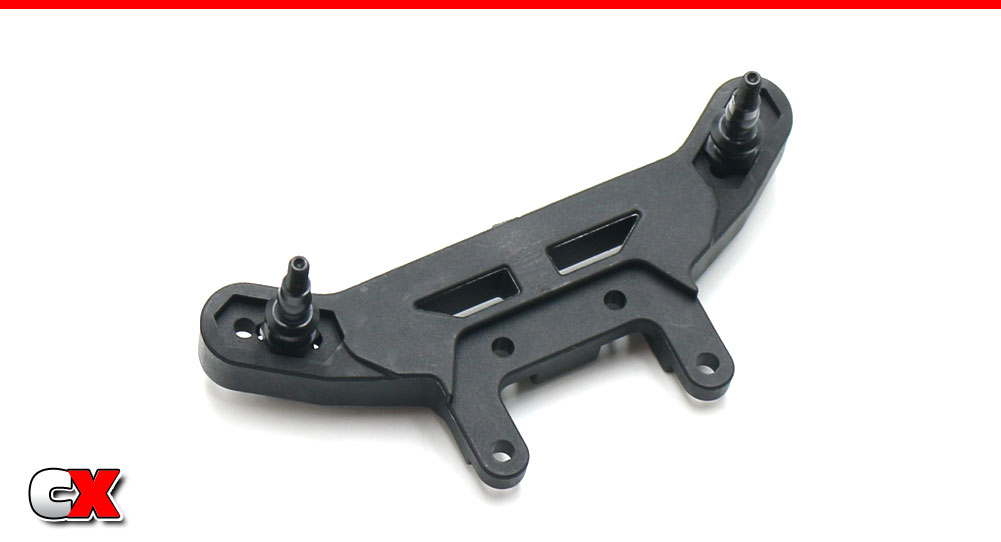
Assemble the front shock tower. Note the orientation of the shock standoffs.
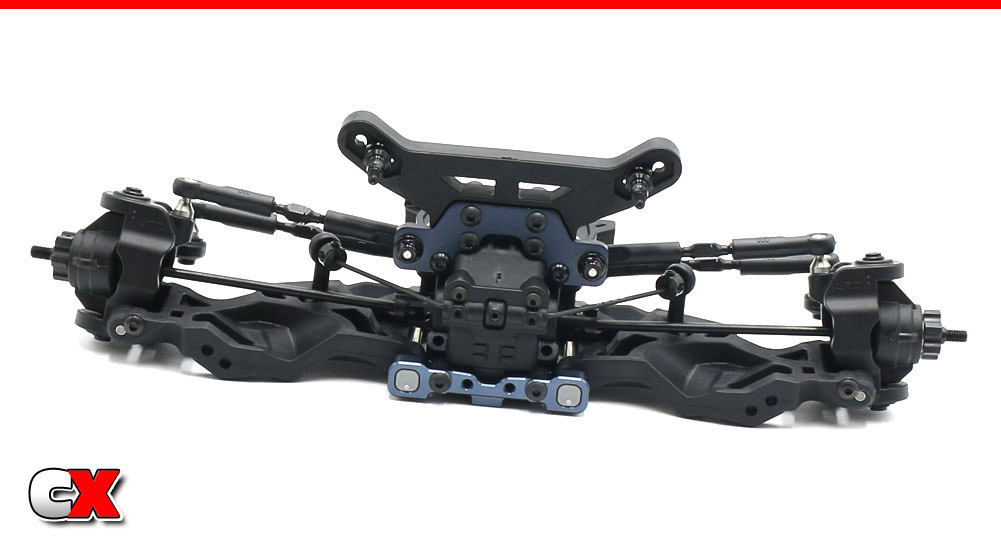
Press the shock tower into place on the bulkhead followed by the camber link plate. Six screws will hold it all together (2x M3x10mm, 4x M3x14mm). Once attached, key the CVD to the outdrive and pop the remaining turnbuckle links into place.
Again, make sure the Tekno “T” (on the ballcups) are always facing up.
And – BAM! Front clip of your Tekno EB410.2 is done. Nice job! Let’s start getting all of this mounted to the chassis.
Tekno RC EB410.2 4WD Buggy Build – Opening Page
Tekno RC EB410.2 4WD Buggy Build – Part 1 – Differentials
Tekno RC EB410.2 4WD Buggy Build – Part 2 – Steering/Front Bulkhead
Tekno RC EB410.2 4WD Buggy Build – Part 3 – Rear Bulkhead
Tekno RC EB410.2 4WD Buggy Build – Part 4 – Rear Suspension
Tekno RC EB410.2 4WD Buggy Build – Part 5 – Front Suspension
Tekno RC EB410.2 4WD Buggy Build – Part 6 – Chassis Assembly
Tekno RC EB410.2 4WD Buggy Build – Part 7 – Shocks
Tekno RC EB410.2 4WD Buggy Build – Part 8 – Electronics
Tekno RC EB410.2 4WD Buggy Build – Part 9 – Final Assembly
 CompetitionX CompetitionX is the most up-to-date source for RC Car News, Reviews and Videos for Radio Control. We also have the most comprehensive Manual Database on the web.
