In Part 5 of our Tekno EB410 build, we’ll be attaching assemblies to the beautiful chassis. This includes the front and rear clips, center diff and all the miscellaneous bits that hold these pieces together.
 In Step 3, the manual shows the chassis brace being installed before the center bulkheads. Because the brace surrounds the front drive axle, it was a bit challenging to get this all in place. I rearranged the build slightly to make it easier. You’ll see what I mean.
Using two M3x10mm and two M3x8mm screws, attach the front end assembly to the chassis. Once secure, attach the front bumper.
A small dab of the blue threadlocker on the bumper screws is suggested.

Attach the battery stop…

…followed by the aluminum and plastic center bulkheads. Note the direction of the plastic bulkhead.

Press a 10x15mm bearing onto each side of your center diff followed by the plastic diff wedges. As the instructions show, make sure the rounded edge of the wedges are pointing down.
Align the front drive axle into the front bulkhead outdrive and center diff and drop the diff into place. Make sure the diff is seated correctly; you can check this by rotating the drivetrain. It should be buttery smooth without any binding.
Attach the center bulkhead cap, using blue threadlocker on the two M3x8mm screws that feed into the aluminum.

Attach the plastic chassis brace.

Attach the two chassis braces to the rear bulkhead.
Note: For the kit build, you will use the inserts with the hole in the UP position. If you decide to run either (or both) of the bulkhead risers, you will need to adjust these risers accordingly.

Align the rear drive axle into the rear bulkhead outdrive and center diff and attach the rear bulkhead assembly to the chassis with eight of the M3x10mm screws.
Check the drivetrain for binding by rotating it a few times. If it seems a little tight, that’s ok; Tekno has stated that the gear mesh might be tight for the first couple of battery packs.
WOO HOO! It’s all starting to come together! Clean off some space and get ready for the next step – the shocks!
Tekno EB410 Buggy Build – Part 1 – Differentials
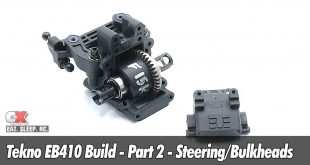
Tekno EB410 Buggy Build – Part 2 – Steering and Bulkheads
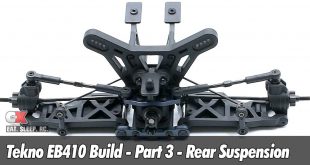
Tekno EB410 Buggy Build – Part 3 – Rear Suspension
Tekno EB410 Buggy Build – Part 4 – Front Suspension
Tekno EB410 Buggy Build – Part 5 – Chassis
Tekno EB410 Buggy Build – Part 6 – Shocks
Tekno EB410 Buggy Build – Part 7 – Final Assembly